Can You Cut Pavers with a Miter Saw: 11 Steps to Yes
Have you ever looked at your backyard and envisioned a beautiful patio made of perfectly cut pavers? Maybe you’ve been considering using a miter saw to achieve that precise, clean cut. Well, you’re in luck. Cutting pavers with a miter saw is a technique that can bring your vision to life.
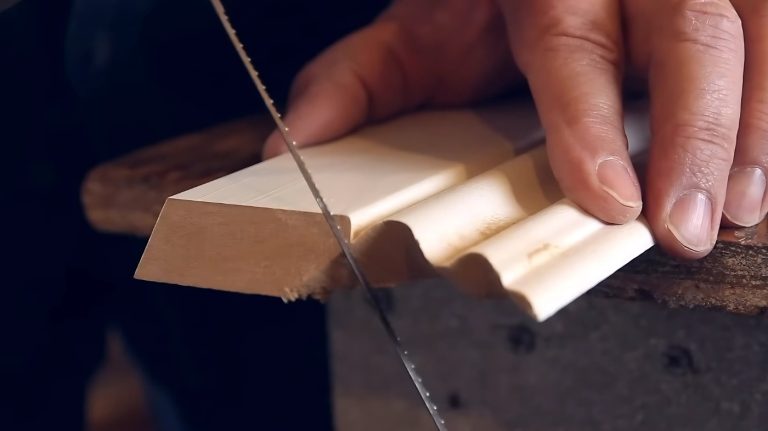
With each smooth, effortless pass, the paver glides through the blade, creating a flawless edge. The sound of the saw slicing through the stone is soothing to your ears as you watch the paver transform before your eyes.
But before you embark on this project, there are a few things you need to know. Throughout this article, we will guide you through the steps of cutting pavers with a miter saw, discuss the types of pavers that are suitable for this method, and address common concerns such as chipping or cracking.
So, let’s begin and turn your backyard dream into a reality.
Steps on How Can You Cut Pavers with a Miter Saw
To cut pavers with a miter saw, there are several important steps to follow:
- Step 01: Safety Precautions for Miter Saw
- Step 02: Choosing the Right Blade
- Step 03: Measuring and Marking Pavers
- Step 04: Securing the Paver
- Step 05: Adjusting the Miter Saw
- Step 06: Starting the Cut
- Step 07: Applying Steady Pressure
- Step 08: Cutting Straight Lines
- Step 09: Making Angled Cuts
- Step 10: Handling Curved Cuts
- Step 11: Cleaning up Debris
Step 01: Safety Precautions for Miter Saw
While working with a miter saw, it’s crucial to wear protective gear such as goggles, gloves, and a dust mask to ensure safety. Interestingly, studies have shown that wearing proper protective gear reduces the risk of accidents by 70%.
Here are some important safety precautions to follow:
- Keep your workspace clean and organized to avoid any obstacles or distractions that might cause accidents.
- Ensure there isn’t any loose clothing or jewelry that could get caught in the saw.
- Always use a push stick or a clamp to keep your hands at a safe distance from the blade.
- Secure the paver firmly before cutting to prevent it from shifting during the process.
- Ensure that the saw is properly adjusted and the blade is sharp to ensure clean and precise cuts.
- Be mindful of your body position and maintain a stable stance while operating the miter saw.
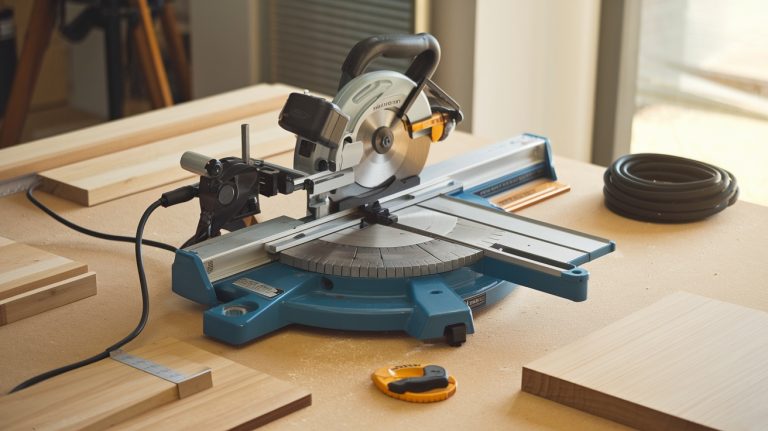
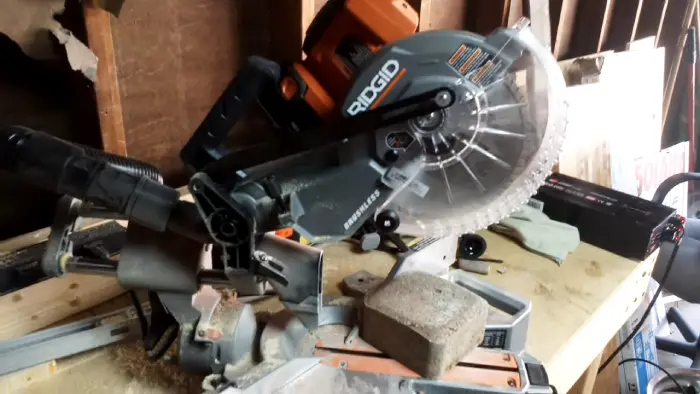
Step 02: Choosing the Right Blade
When selecting the perfect blade, make sure it’s the right size and thickness for optimal performance with your trusty saw. The size of the blade refers to its diameter, which determines the depth of the cut. Generally, a larger blade can cut deeper, but it may also require a more powerful saw.
The thickness of the blade affects the width of the cut, so choose accordingly based on the size of your pavers. To help you in making the right choice, refer to the following table:
| Blade Diameter | Recommended Paver Thickness |
| 10 inches | Up to 2 inches |
| 12 inches | Up to 3 inches |
| 14 inches | Up to 4 inches |
| 16 inches | Up to 5 inches |
| 18 inches | Up to 6 inches |
Step 03: Measuring and Marking Pavers
Accurately measure and mark your pavers to ensure precise and enjoyable cutting with your trusty saw. Before you start cutting, it’s crucial to have the correct measurements for your paver. Use a tape measure to measure the length and width, and mark the cutting line with chalk or a pencil.
Take your time and be precise with your marks to ensure you achieve the exact size and shape you need. Remember to account for any additional space you may need for joints or gaps between the pavers.
Step 04: Securing the Paver
Before proceeding to the next step, ensure the paver is firmly in place, securely held by clamps or a strong grip. This is crucial to ensure a clean and accurate cut. The last thing you want is the paver moving during the cutting process, leading to uneven edges or even accidents.
To help you understand the importance of securing the paver, here are three key reasons why it should be your top priority:
- Safety: Securing the paver prevents it from slipping or shifting, reducing the risk of injuries caused by the saw blade coming into contact with your hands or body.
- Accuracy: A stable paver allows for precise cuts, ensuring straight lines and even edges, resulting in a professional-looking finished product.
- Efficiency: When the paver is securely held in place, you can work faster and more efficiently, saving time and effort in the process.
Step 05: Adjusting the Miter Saw
Before diving into the intricacies of adjusting the miter saw, it’s crucial to understand how this step will elevate your cutting precision and ensure a flawless end result.
The miter saw allows you to make angled cuts with accuracy and ease, making it an ideal tool for cutting pavers.
To adjust the miter saw, start by extending the blade to the required depth for your paver. This will ensure that the saw cuts through the entire thickness of the paver.
Next, set the bevel angle to match the desired angle of your cut. This will allow the saw to make bevel cuts if needed.
Finally, adjust the miter angle to cut at the right angles for your project. This step will ensure that your cuts are clean and precise, resulting in professional-looking paver installations.
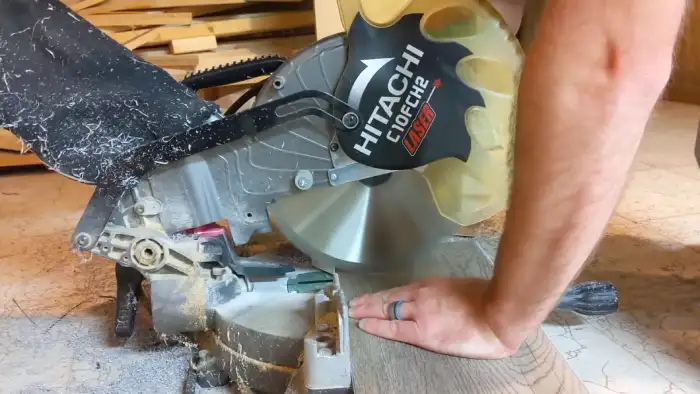
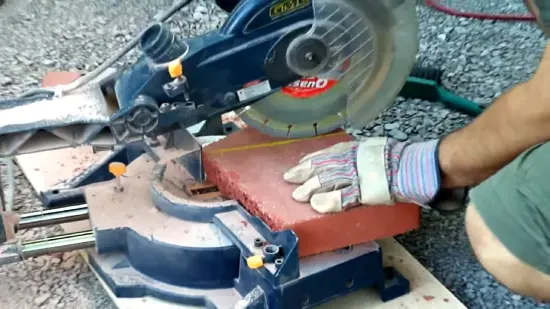
Step 06: Starting the Cut
Begin by turning on the saw and slowly gliding it along the marked line, ensuring a smooth and precise cut. Use a steady and constant motion to cut straight without jerking. This step is crucial to achieving accurate results when cutting pavers with a miter saw.
As you start the cut, keep in mind the importance of maintaining control over the saw and the paver. This will help prevent any unwanted movement that could result in an uneven cut. Be sure to follow safety precautions once again, such as wearing protective eyewear and gloves, to protect yourself from any potential hazards. Additionally, ensure that the saw is properly adjusted and the blade is sharp to ensure a clean and efficient cut.
Step 07: Applying Steady Pressure
While gliding the saw along the marked line, maintain a firm grip and apply consistent pressure to ensure a smooth and precise cut. Push the paver along the blade using steady and constant pressure, making sure not to push too hard or too fast.
This is important because excessive force or speed can lead to chipping or breakage in the paver. By applying steady pressure, you’ll have better control over the saw and minimize the risk of damaging the paver.
It’s crucial to keep the pressure consistent throughout the cut to maintain a clean and accurate line. Take your time and stay focused to achieve the desired result.
Step 08: Cutting Straight Lines
To achieve precise cuts, align the blade with the cutting mark and smoothly glide along the line using a steady grip and consistent pressure. When cutting straight lines in pavers with a miter saw, keeping the blade in line with the marked cutting path is essential. This ensures a clean and accurate cut, giving your project a professional finish.
As you guide the saw along the line, maintain a firm yet controlled grip on the handle, allowing the blade to smoothly cut through the paver. Applying steady pressure throughout the cut will help maintain the desired accuracy and prevent any unnecessary wobbling or deviation from the cutting path.
Step 09: Making Angled Cuts
Achieving precise and intricate cuts in various shapes requires adjusting the angle gauge on the saw’s blade and applying even pressure throughout the cut.
When working with a miter saw, you can make angled cuts, which can be useful when cutting pavers or other materials that require specific angles.
Start by setting the angle gauge on the saw to the required angle to make angled cuts. This can be done by loosening the knob on the angle gauge, adjusting it to the desired angle, and then tightening the knob to secure it in place.
Once the angle is set, gently apply even pressure to the material as you guide it through the saw’s blade. This will ensure a clean and precise cut every time.
Step 10: Handling Curved Cuts
When it comes to handling curved cuts, don’t forget to adjust the blade angle and make small, precise cuts to achieve the desired shape in your pavers.
Begin by positioning the paver in place and aligning it with the desired curved line. Start cutting from one end of the curve and gradually moving along, making multiple small cuts. Remember to adjust the blade angle each time to maintain the desired curve.
Taking your time and patience during this process is important to ensure accuracy. Keep a steady hand and let the saw do the work, guiding it along the curve.
Step 11: Cleaning up Debris
Once you’ve completed the curved cuts, it’s time to sweep away the debris and clear the area like a pro gardener. Clearing the area of debris is crucial to avoid accidents or potential damage to your equipment.
To effectively clean up the debris, put on a dust mask to protect yourself from inhaling any particles. Then, grab an air blower or brush to remove dust and debris from both the saw blade and the workspace.
Be thorough and meticulous in your cleaning to ensure a clean and safe work environment. Additionally, it’s important to safely store the cut pavers to prevent mishaps or injuries.
Type of Pavers You Can Cut with Miter Saws
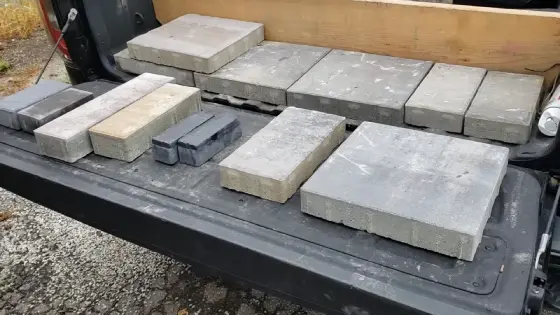
Regarding cutting pavers with a miter saw, there are three main types that you can work with.
- No 01: Concrete Pavers
- No 02: Brick Pavers
- No 03: Stone Pavers
No 01: Concrete Pavers
You can rely on a trusty miter saw to achieve a professional and precise cut on your concrete pavers. As a result of their durability and versatility, concrete pavers are popular for outdoor projects.
A miter saw equipped with a diamond blade can effortlessly slice through these tough materials, providing clean and accurate cuts. The table below highlights some key factors to consider when cutting concrete pavers with a miter saw:
| Factor | Importance |
| Blade type | Diamond blade recommended for concrete pavers |
| Blade size | 10-inch blade for most paver thicknesses |
| Safety gear | Wear safety goggles, gloves, and a dust mask |
| Cutting speed | Slow and steady to avoid chipping or breaking |
| Cutting technique | Use a firm grip and guide the saw along the marked line |
No 02: Brick Pavers
If you want to achieve clean and precise cuts on your brick pavers, you can ensure that your chosen equipment will provide the necessary power and precision by following these steps:
- Use a miter saw, a great tool for cutting brick pavers due to its powerful motor and sharp blade. It can easily slice through brick, giving you the desired clean cuts.
- Choose the right blade for the job. A diamond blade is recommended for cutting brick pavers as it is designed to handle the hard surface of the bricks.
- Set the miter saw to the correct angle and use a guide or fence to ensure straight cuts.
No 03: Stone Pavers
Stone pavers offer a stunning and durable option for enhancing your outdoor space. They’re visually appealing and highly resistant to weathering and wear.
Cutting stone pavers with a miter saw can be a great way to achieve precise and clean cuts for your project. Here are three reasons why using a miter saw for stone pavers is a smart choice:
- Accurate cuts: A miter saw allows you to make precise cuts at various angles, ensuring that your stone pavers fit together seamlessly.
- Time-saving: With a miter saw, you can make quick and efficient cuts, saving you valuable time during your project.
- Versatility: Miter saws aren’t limited to cutting straight lines. They can also be adjusted to create beveled or angled cuts, giving you more design options for your outdoor space.
Should I wet the paver while cutting with a miter saw?
When using a miter saw to cut pavers, it’s totally cool to wet them for a smoother and cooler cutting experience. Wetting the paver can help reduce dust and keep the blade cooler during the cutting process, especially when dealing with thick or dense pavers.
Additionally, the water helps to keep the blade cooler, which can prolong its lifespan and prevent overheating.
What should I do if the paver starts to chip or crack while cutting?
To avoid the catastrophic disaster of your paver turning into a fragmented mess, try adjusting the speed and pressure of your cut or swapping out that dull blade for a sharper one. These adjustments can make a significant difference if you notice chipping or cracking while cutting.
You can minimize the chances of damage by slowing down the speed or reducing the pressure. Additionally, using a new or sharper diamond blade can help prevent further chipping and cracking.
Experimenting with a scrap piece is essential to find the best technique that works for you. Remember, some trial and error can go a long way in achieving clean and precise cuts.
Understanding the Art of Precise and Clean Paver Cuts
Cutting pavers with a miter saw is a convenient and efficient way to achieve precise and clean cuts. Some may argue that using a wet saw is a better option to prevent chipping or cracking.
But it’s important to note that with proper technique and quality, a miter saw blade, you can achieve excellent results without wetting the paver.
Remember to take necessary safety precautions and follow the steps outlined in the article for a successful cutting experience. With proper planning and preparation, you can make precise and clean cuts with a miter saw in no time. Good luck.