How to Use a Ridgid Miter Saw? A Step-by-Step Guide
To use a Ridgid miter saw, start with safety glasses and hearing protection on. Secure the saw on a stable surface and make sure your workspace is clean. Set your miter angle and adjust the bevel if needed. Align your workpiece against the fence and clamp it securely.
During cutting, keep your hands at least three inches away from the blade. After completing your cut, wait for the blade to stop before removing the material. There’s more to discover about optimizing your saw for various projects.
Key Takeaways
- Always wear safety glasses, ear protection, and a dust mask while operating the Ridgid miter saw to ensure your safety.
- Align the blade with the back fence and secure the workpiece with clamps for stable and accurate cuts.
- Adjust the miter angle using the positive stops, and tighten the lock knob for precision before cutting.
- Perform a dry run to check for obstructions and verify workpiece alignment with the blade before proceeding.
- Maintain the saw by regularly cleaning the blade, checking the power cord, and lubricating moving parts for optimal performance.
Preparation and Safety Measures
Before you start using a miter saw, it’s important to prioritize safety and preparation to prevent accidents and guarantee effective operation.
First, equip yourself with safety glasses or goggles, hearing protection, and a dust mask if necessary. Confirm your work environment is clean, well-lit, and free from clutter. Additionally, ensure that all safety features are functioning properly to enhance your protection while operating the saw.
Inspect the saw for any defects and keep its blade tight and clean. Always support long workpieces against the fence, maintaining a safe distance from the blade’s path. Additionally, always consult general safety tips before beginning your project to ensure you are fully informed.
Avoid cutting more than one workpiece at a time and never freehand cut. Wait for the blade to stop completely before removing any workpiece. Familiarize yourself with emergency procedures to handle any unexpected situations effectively.
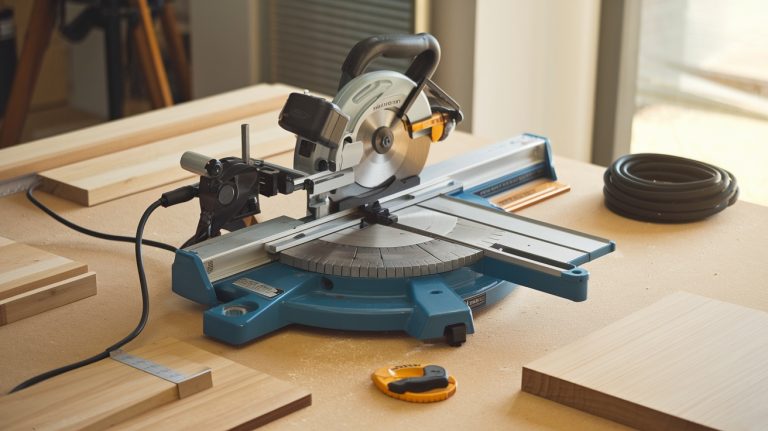
Setting Up the Miter Saw
When setting up your miter saw, make certain that the blade is perfectly aligned with the back fence to achieve accurate cuts. Use a speed square to check the alignment and adjust the fence as needed to guarantee a 90-degree angle.
Next, verify that the miter table is level and secure, checking for any play in the saw arm and adjusting accordingly. Release the miter detent to configure the miter angle, utilizing positive stops for common angles. Once set, secure the miter lock knob firmly.
Always ensure the workpiece is pressed against the fence and use clamps for stability. Additionally, wearing safety glasses is crucial to protect your eyes from any flying debris while operating the saw.
Finally, align the workpiece with the blade path and check for obstructions before proceeding. The dust collection efficiency of your miter saw is also essential to maintain a clean workspace during operation.
Operating the Miter Saw
To operate the miter saw effectively, start by verifying it’s plugged into a suitable power outlet, or use an appropriate extension cord.
Secure the workpiece against the fence and table for better control, using clamps if necessary. Always keep your hands at least three inches away from the blade during operation.
Before cutting, perform a dry run to identify any potential issues. When ready, grasp the saw handle firmly and squeeze the trigger, allowing the blade to reach maximum speed before lowering it into the workpiece.
Remember to always wear safety gear to protect yourself while operating the saw. A stable setup using a miter saw stand can greatly enhance precision and safety during your cuts.
After completing the cut, release the trigger and let the blade stop completely before raising it and removing the workpiece. This process verifies safety and precision in your cuts.
Adjusting Miter and Bevel Angles
Adjusting the miter and bevel angles on your saw is essential for achieving accurate cuts. Start by loosening the miter lock knob to adjust the miter angle, swinging the saw arm to your desired setting, and tightening the knob.
Use an angle gauge for precision and take advantage of positive stops at common angles like 0°, 15°, and 45°. Additionally, regularly check fence alignment to ensure that your cuts remain precise.
A double bevel saw allows for enhanced cutting efficiency when making bevel cuts, as it can tilt in both directions. For bevel adjustments, loosen the bevel lock knob, tilt the saw arm, and then secure it. Always verify the saw is off and the blade is stationary during adjustments.
Making Accurate Cuts
To make accurate cuts with your miter saw, follow these things:
Properly Align Workpiece
Aligning the workpiece properly is essential for making accurate cuts with a miter saw. Start by holding the workpiece firmly against the fence to guarantee stability. If needed, use clamps or hold-downs to secure it in place.
Check that the workpiece is aligned with the cutting line on the saw blade. For longer pieces, support them adequately to prevent sagging during the cut. Always maintain a safe distance from the “no hand zone” to avoid injury.
Before making cuts, measure the workpiece twice for accuracy. Calibration ensures accurate cuts will help you achieve precise cuts and enhance your overall safety while using the miter saw.
Additionally, ensuring the miter gauge is locked will prevent unwanted movement during cuts. Perform a dry run to identify any potential issues.
Utilize Laser Guide
When using a miter saw, the laser guide serves as an invaluable tool for achieving precise cuts. To effectively utilize the laser guide, follow these steps:
- Adjust the Laser: Use an Allen wrench to align the laser with the blade’s cutting path. Taking time to ensure accurate laser positioning can significantly enhance your cutting accuracy. Ensuring proper laser guide compatibility with your specific saw model is also essential for optimal performance.
- Consider Blade Width: Make your cuts on the “waste” side of the line to compensate for the blade’s kerf.
- Verify Alignment: Conduct test cuts on scrap wood to guarantee the laser accurately reflects the intended cut line.
- Regular Maintenance: Periodically check and clean the laser to prevent drift and maintain consistent accuracy.
Maintaining Your Miter Saw
Maintaining your miter saw is essential for peak performance and longevity. Start by cleaning the saw regularly; use compressed air or a vacuum to remove sawdust, and wipe down the sawtooth and other components with a damp cloth.
Regular cleaning prevents dust accumulation that can affect performance. Once clean, dry the surface thoroughly with a dry cloth. Next, lubricate moving parts with dry lubricants like graphite or PTFE sprays to minimize friction, as proper lubrication prevents rust and corrosion.
Regularly clean and inspect your blades for debris, sharpening them as needed. Check the power cord for damage, ensuring electrical components are in good condition. Finally, inspect the kerf board and table, keeping everything clean and level for maximum operation.
Troubleshooting Common Issues
Troubleshooting common issues with your miter saw can save you time and frustration during projects.
Troubleshooting your miter saw can help you avoid delays and enhance your project efficiency.
Here are some key areas to focus on:
- Guard Mechanism: Check screws for tightness and lubricate pivot points to guarantee smooth operation. Regular checks on guard screws can prevent functionality problems during use.
- Miter Lock: Inspect for blockages and adjust or replace worn parts to maintain cutting accuracy.
- Power Performance: Examine motor brushes for wear and verify the power cord is intact for peak function.
- Bevel Adjustment: Familiarize yourself with the adjustment mechanism and apply lubricant to ease operation.
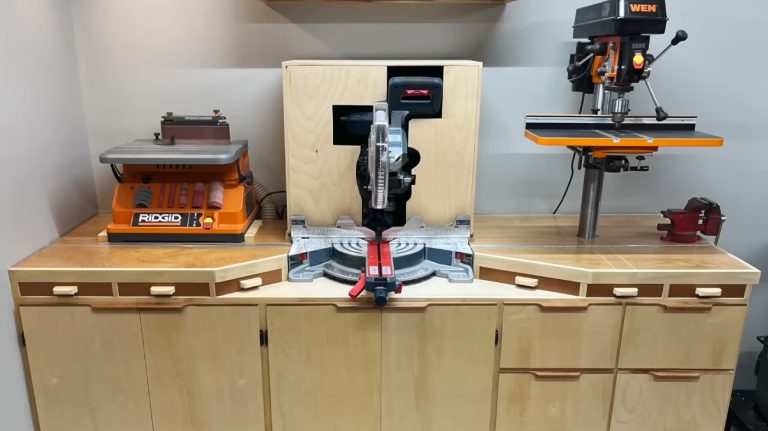
Utilizing Additional Features
To maximize the performance of your miter saw, take advantage of its additional features that enhance usability and precision.
Utilize the adjustable slide friction for smoother operation, allowing for better control during cuts. The compact design is perfect for tight spaces, while up-front controls make adjusting bevel and miter settings straightforward.
Additionally, miter saws are ideal for angled cuts that can improve the quality of your projects. The LED shadowline worklight greatly improves visibility of the cut line, ensuring accuracy.
Also, the dust port with a dust bag keeps your workspace cleaner by collecting sawdust. Furthermore, incorporating features like precision LED guide systems can enhance alignment accuracy during cutting tasks.
Accessories for Enhanced Performance
While you might rely on your miter saw for accurate cuts, adding the right accessories can greatly enhance its performance.
Enhance your miter saw’s performance with essential accessories for even more precise and efficient cuts.
Consider incorporating these essential tools:
- Dust Management: Use dust bags to keep your workspace clean and reduce airborne particles. Dust management is crucial for maintaining a safe and efficient work environment. Investing in a high-efficiency dust collector can capture up to 99% of sawdust, ensuring optimal cleanliness.
- Blade Accessories: Select specialized blades tailored for different materials to achieve the best cutting results.
- Workpiece Support: Employ clamps and support systems to stabilize your material, ensuring precision during cuts.
- Laser Guides: Utilize adjustable laser guides to improve alignment and accuracy, especially on complex angles.
Best Practices for Safety and Efficiency
Ensuring safety and efficiency when using a miter saw is essential for both your well-being and the quality of your work.
Always wear protective gear like safety glasses, ear protection, and a dust mask. Set up a clean, well-lit workspace, and mount your saw securely on a stable surface. Keep the blade sharp and clean, and always unplug the saw before making adjustments.
Position your hands safely, avoiding the blade path, and use clamps for long or heavy materials. Allow the motor to reach full speed before cutting and inspect your workpieces for defects. Remember that miter saws primarily cut wood and using the correct materials is crucial for safe operation.
Familiarize yourself with emergency procedures, and wait for the blade to stop completely before removing any material.
Frequently Asked Questions
What Types of Materials Can I Cut With a Miter Saw?
You can cut a variety of materials with a miter saw, including wood, metals like aluminum and mild steel, and plastics or composites.
It’s also capable of cutting ceramics when equipped with a diamond-tipped blade. For laminate materials, a miter saw performs effectively as well. Make sure to choose the right blade for each material to achieve the best results, ensuring accuracy and clean cuts in your projects.
How Do I Know When to Replace the Saw Blade?
Your saw blade’s like a superhero—when it’s dull, it can’t save the day. If you notice excessive splintering, reduced cutting speed, or increased vibrations, it’s time for a change.
Check for visible wear like chipped teeth and listen for unusual noise; they’re signs your blade’s wearing out. Regularly inspect and clean it, and when in doubt, replace it to keep your projects sharp and precise.
Can I Use My Miter Saw for Crosscutting?
Yes, you can use your miter saw for crosscutting. Miter saws excel at making precise crosscuts, cutting boards to length with accuracy. To achieve the best results, make sure your material is properly aligned against the fence and that the blade is sharp. Consider using a fine-toothed crosscut blade for cleaner cuts.
Always wear safety gear and check the saw’s calibration before starting to guarantee peak performance and safety during operation.
What Is the Maximum Cutting Capacity of the Saw?
You’d think this saw could slice through anything, and you’re almost right. The Ridgid miter saw boasts a staggering 16-inch crosscut capacity and a cutting depth of 6.25 inches for the 10-inch model. If you opt for the 12-inch version, you can tackle thicknesses up to 6.5 inches.
With miter angles of 52 degrees left and 60 degrees right, plus a dual bevel of 48 degrees, you’re set for precision cutting like a pro.
Is It Safe to Use a Miter Saw Indoors?
Yes, it’s safe to use a miter saw indoors, provided you follow essential safety precautions. Guarantee adequate ventilation to minimize dust and respiratory risks. Keep the area clean and free from clutter to prevent accidents.
Always wear eye protection, and make certain the blade guards are functioning properly. Additionally, avoid using the saw near water or in damp environments to prevent electrical shock.
Use Your Ridgid Miter Saw Perfectly and Enhance Your Craftsmanship
By mastering your Ridgid miter saw, you’re not just enhancing your woodworking skills; you’re transforming your projects into precise works of art. Remember, safety always comes first, and with the right setup and techniques, you’ll make cuts that are not only accurate but also efficient.
So, as you tackle your next project, think of your miter saw as a trusted partner—one that, when used correctly, can elevate your craftsmanship to new heights.