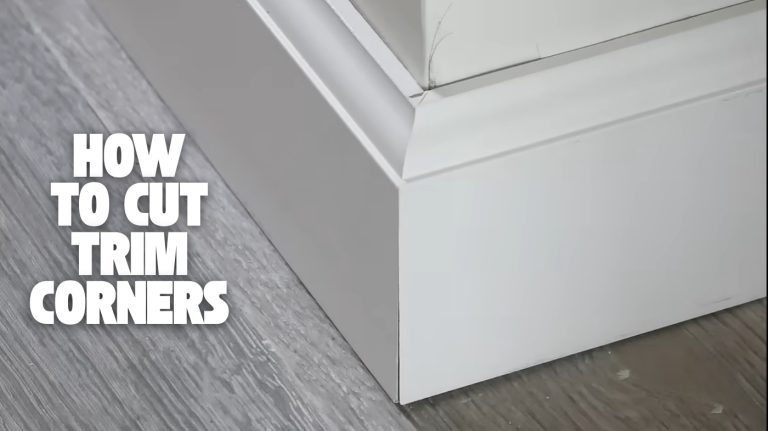
How to Unlock Ryobi Miter Saw: 7 DIY Steps to Follow
Ryobi miter saws can be adjusted and customized, and they can be easily transported and stored safely after they have been unlocked. The process also allows you to perform various maintenance procedures to improve your precision cuts at different angles and enhance practicality and efficiency.
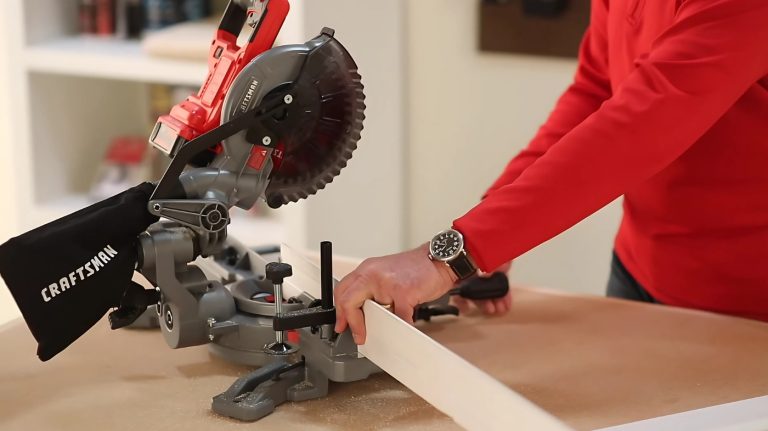
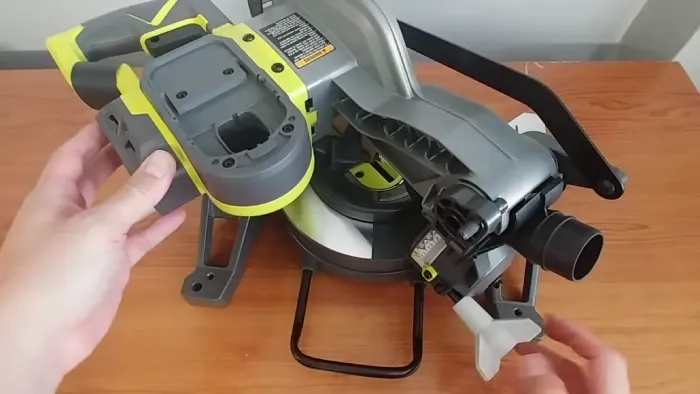
To unlock a Ryobi miter saw, locate the lock pin on the right side, pull it outwards to disengage the lock mechanism, and allow the saw arm to move freely. Always remember to lock the saw after use.
In this step-by-step guide, we will discuss unlocking your Ryobi miter saw, allowing you to make precise and accurate cuts easily. So, no more limitations or frustrations holding you back from achieving your desired woodworking projects. Let’s get started.
How to Unlock A Ryobi Miter Saw: Step-by-Step Guide
Unlocking your Ryobi miter saw is a straightforward process involving several key steps. To unlock a Ryobi miter saw, follow these step-by-step instructions:
- Powerhead arm unlocking
- Unlocking the sliding feature (if applicable)
- Bevel unlocking
- Table unlocking
- Unlocking the spindle lock
- Saw arm unlocking
Let’s discuss in detail:
Step 1. Powerhead Arm Unlocking
First, locate the powerhead arm lock near the elbow joint on the rear of your Ryobi miter saw, and give it a gentle push downward. This lock is usually a button, knob, or mechanism that you need to engage to unlock the powerhead arm.
Once you have pushed down on the lock, you can either pull or push the lock button to release the powerhead arm. This action will allow you to adjust the saw blade’s position and easily make angled cuts.
To ensure a smooth unlocking process, handle the lock button carefully and ensure it is fully engaged or disengaged. Refer to the table below for a visual representation of the powerhead arm lock and its location.
| Powerhead Arm Lock | ||
| Location | Near elbow joint on the rear | |
| Action | Push downward, then pull or push lock button |
Step 2. Unlocking the Sliding Feature (If Applicable)
Once you’ve conquered the powerhead arm lock, it’s time to unleash the hidden potential of your trusty cutting companion by releasing the sliding feature. This step is crucial for expanding the cutting capacity of your Ryobi miter saw.
To unlock the sliding feature, locate the slide lock on the side of the powerhead. It may be a push-button, pull-out pin, or knob. Follow these steps to unlock the sliding feature:
- Push the slide lock button or pull out the pin, depending on the design.
- Ensure that the slide lock is fully disengaged.
- Gently pull the powerhead towards you to unlock the sliding mechanism.
- Feel the smooth motion as the powerhead glides along the rails.
- Marvel at the extended reach and versatility of your miter saw as it unlocks a whole new world of cutting possibilities.
Step 3. Bevel Unlocking
To unlock the bevel on your Ryobi miter saw, disconnect the power cable and place the saw on a flat surface. Now Press down on the saw arm and locate the locking pin above the main pivot point.
Firmly grip the locking pin and push it away from the saw body to unlock the bevel. Make sure to do this smoothly. Once the bevel is unlocked, you can adjust it to your desired angle. Remember always to exercise caution and carefully handle the saw to ensure your safety while working.
Step 4. Table Unlocking
For your cutting companion to unleash its full potential, your next step is to liberate the table, unveiling a realm of endless possibilities and precision. This is accomplished by unlocking the table using a simple twist of a knob located at the front side.
The knob should be held firmly with one hand, then twisted to the desired table position. Once the table is set at the desired position, the knob should be returned to its original position to lock it. This allows for easy adjustment and stability during use.
Step 5. Unlocking the Spindle Lock:
It’s time to free your spindle from its chains to maximize its cutting capabilities. Follow these precise instructions to unlock the spindle lock on your Ryobi miter saw:
- First, ensure the saw is powered off, and the blade has completely stopped.
- Next, locate the spindle lock button on the back of the motor housing.
- Firmly press and hold the button while using your other hand to rotate the blade.
- You’ll feel the resistance release as the spindle lock disengages as you rotate the blade.
- Once the spindle lock is unlocked, you can proceed with your cutting tasks.
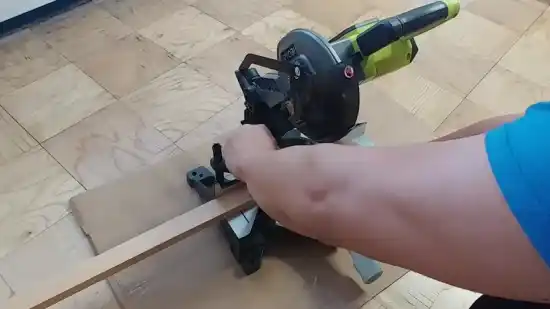
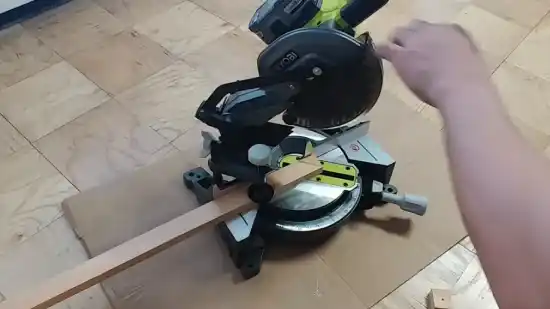
Step 6. Saw Arm Unlocking
Prepare yourself for the exhilarating moment when the power of the saw arm is unleashed, setting your cutting capabilities free. To unlock the saw arm on your Ryobi miter saw, locate the locking pin on the right edge of the saw arm above the main pivot point.
Gently press the top of the saw arm to free the pivot joint. After that, push the lock pin away from the saw’s body. By performing these actions, you will release the lock that holds the saw arm in place, allowing it to move freely.
Ryobi Miter Saw Unlocking: Tips and Precaution
When unlocking your Ryobi miter saw, it’s important always to turn the machine off and unplug the power cable for safety reasons.
Always Turn the Machine Off & Unplug the Power Cable
Remember, the power cable is the key that unlocks the full potential of your Ryobi miter saw, so always give it a chance to rest and recharge. Before attempting to unlock your Ryobi miter saw, ensure that the machine is turned off and the power cable is disconnected from the power source.
This is crucial for your safety and the proper functioning of the saw. Turning off the machine and unplugging the power cable prevents accidental start-ups and allows the internal components to cool down and reset.
#Note: Wait a few minutes after disconnecting the power cable to ensure the saw is completely off.
Don’t Twist the Knob too Much
Twisting the knob too much can lead to unwanted complications, so it’s best to take it easy and find the sweet spot for optimal performance. Here are three reasons why you should avoid twisting the knob excessively when unlocking your Ryobi miter saw:
- Prevent Damage: Over-tightening the knob can cause internal components to strain or break, leading to costly repairs or even rendering the saw unusable. It’s important to treat the knob with care to maintain the longevity of your machine.
- Ensure Accuracy: Twisting the knob too forcefully can throw off the alignment of your miter saw, resulting in inaccurate cuts. You gently adjust the knob to the appropriate position to ensure precise angles and measurements for your woodworking projects.
- Protect Yourself: Excessive force can cause the knob to slip suddenly, potentially leading to injuries. By taking a measured approach and avoiding unnecessary twists, you minimize the risk of accidents and keep yourself safe while operating the miter saw.
Don’t Forget to Keep the Locked Again
Don’t overlook the importance of securely relocking the knob to ensure your tool’s continued performance and enjoyment. After unlocking your Ryobi miter saw to make adjustments, lock it again before operating.
Neglecting this simple task can result in inaccurate cuts, potential damage to the workpiece, and even pose a safety hazard.
Follow the User Manual
To ensure optimal performance and safety, it’s essential to adhere to the instructions outlined in the user manual while operating your handy power tool.
The user manual provides detailed guidance on unlocking your Ryobi miter saw correctly. First, locate the locking mechanism, usually a lever or knob, and identify the locked position symbol. Next, firmly grasp the handle and apply gentle pressure to release the lock.
Ensure to follow the manufacturer’s recommended steps precisely, as improper unlocking may lead to potential accidents or damage to the tool.
Also, the user manual may contain specific instructions on engaging and disengaging certain safety features, such as blade guards or anti-kickback devices. Familiarize yourself with these instructions to ensure a smooth and safe operation every time.
Ask an Expert If You Need Help
If you need assistance, don’t hesitate to ask an expert for help with your handy power tool. Unlocking a Ryobi miter saw may seem like a daunting task, but with the guidance of a knowledgeable professional, you can easily overcome any obstacles.
An expert will have extensive experience working with these types of tools and will be able to provide you with precise and detailed instructions tailored to your specific model. They can guide you through the process step by step, ensuring you understand each action required to unlock your miter saw safely.
Why is unlocking a Ryobi miter saw important?
Unlocking a Ryobi miter saw is important because it allows you to adjust its features and ensure safe and convenient transportation and storage when not in use.
For example, imagine you are a carpenter who needs to transport your miter saw to different job sites. By unlocking the saw, you can easily fold and secure the powerhead arm, slide the mechanism in, and lock the bevel and table, making it compact and easy to carry in your vehicle.
This saves space and prevents any damage to the saw during transportation. Also, unlocking the miter saw allows you to make precise cuts at different angles by adjusting the bevel and table, ensuring accuracy and efficiency in your woodworking projects.
Where is the lock pin on a Ryobi miter saw?
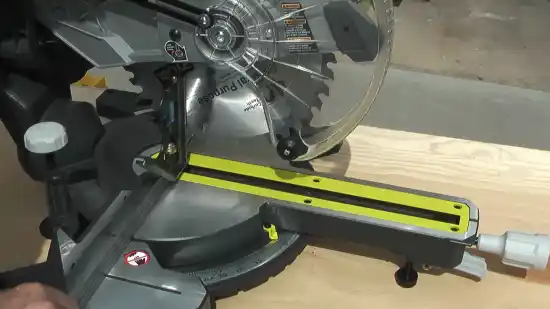
The lock pin on a Ryobi miter saw is on the right side above the main pivot point. It is a crucial component that ensures the saw blade remains securely in place during transportation and storage.
Unlocking the saw is necessary for various reasons. The lock pin provides stability and accuracy while making precise cuts. To unlock the miter saw, simply find the lock pin on top of the saw arm and pull it outwards.
This action disengages the lock mechanism, allowing the saw arm to move freely. Always keep in mind to lock the saw after use to ensure safe operation and prolong the lifespan of your Ryobi miter saw.
How should I prepare my Ryobi miter saw for storage after unlocking?
Before stowing away your powerful cutting companion, ensure its longevity and pristine condition by taking meticulous steps to protect and preserve its performance. Start by thoroughly cleaning the saw to remove sawdust and debris.
This will prevent any buildup that could potentially affect its performance in the future. Next, empty the dust collection bag to maintain optimal performance. This will ensure the saw can effectively collect dust and debris during use.
Finally, unplug the power cord and cover the saw to protect it from dust and other elements during storage. This will help prevent any damage or deterioration while the saw is not in use.
Carefully Unlock Your Ryobi Miter Saw to Maximize Potential
Unlocking your Ryobi miter saw is crucial in ensuring its longevity and optimal performance. You can easily unlock your saw by following the step-by-step guide and taking the necessary precautions.
Remember to locate the lock pin, release it, and securely store your saw after unlocking. By taking these measures, you can maintain the efficiency of your Ryobi miter saw and guarantee its reliability for future projects.
So, don’t hesitate to unlock your saw and unlock your potential!