How to Operate Ryobi Miter Saw? Tips for Safe, Efficient Use
To operate your Ryobi miter saw effectively, start by checking safety features, ensuring the blade guard works, and the saw is on a stable surface.
Wear safety gear like glasses and a dust mask. Secure your workpiece, adjust the miter and bevel angles, and utilize the LED cutline for precise cuts.
Maintain consistent pressure and keep hands away from the blade. Regular maintenance is key for longevity, and there’s more to mastering your saw that you may find helpful.
Key Takeaways
- Inspect safety features like the blade guard and ensure the saw is on a stable surface before operating.
- Adjust the fence and miter angle to set up for precise cuts based on your workpiece.
- Utilize the LED cutline indicator for improved visibility and make clear marks on the workpiece for accurate cutting.
- Secure the workpiece effectively and maintain even pressure while cutting to achieve clean, accurate results.
- Regularly inspect and clean the saw, including the dust collection system, to ensure optimal performance and safety.
Safety Precautions for Using a Miter Saw
When operating a miter saw, it’s important to prioritize safety to prevent accidents and injuries. Start by inspecting the blade guard to verify it’s functioning correctly and check for any damages on the saw.
Regular inspection of the blade guard ensures that it is a critical safety feature that creates a barrier between your hands and the blade. Always ensure that safety features, such as anti-kickback pawls, are functional to enhance protection during operation.
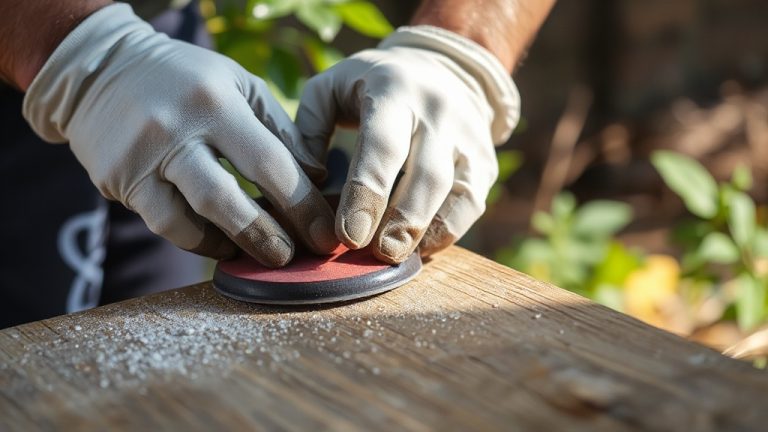
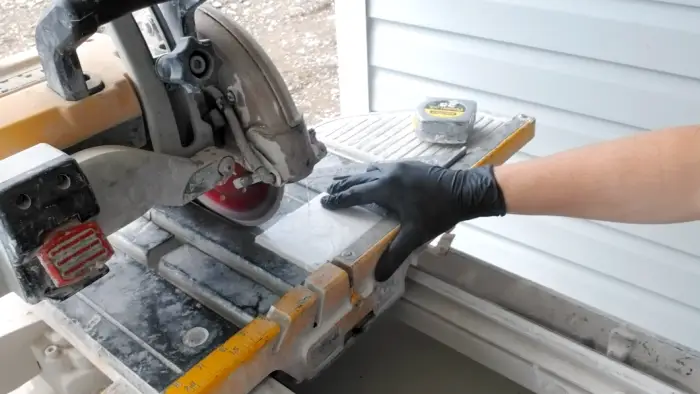
Secure your work area by removing debris and obstructions, and make certain the saw is mounted on a stable surface. Always wear appropriate safety equipment, including a dust mask, safety glasses, and hearing protection.
Keep your hands at least six inches from the blade and avoid awkward positions. Allow the motor to reach full speed before making cuts and never touch moving parts.
After use, wait for the blade to stop completely, disconnect the power, and clean your work area to maintain safety for future operations.
Assembling Your Miter Saw
As you begin assembling your Ryobi miter saw, confirm you’ve set up a clean, level work surface to facilitate a smooth installation process.
Carefully unpack the miter saw base and confirm all safety features, like blade guards, are operational. Align the base with any included brackets for stability, using a wrench to secure the bolts.
Additionally, ensure the miter saw is compatible with various miter saw brands, allowing for versatile compatibility in your setup. The blade size is also crucial for ensuring optimal cutting performance.
Next, install the rear bracket by sliding it into the openings on the base, aligning the holes, and tightening the screws to prevent tipping.
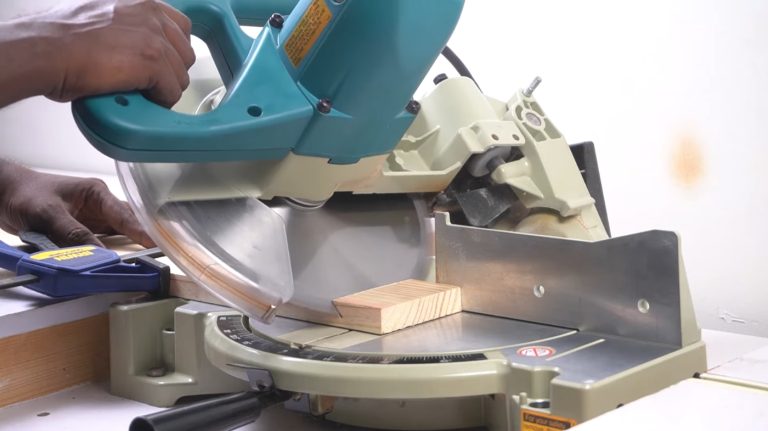
Install the blade with teeth facing downward, confirming the spindle alignment is correct. Finally, set up the miter fence, adjusting it to the desired angle and securing it with the lock pin. Conduct a final safety check before use.
Operating Basics for Effective Cuts
To achieve effective cuts with your Ryobi miter saw, follow the steps below:
Proper Assembly Procedures
Proper assembly procedures are essential for achieving effective cuts with your Ryobi miter saw. Begin by unboxing all components, checking for any damage. Align the table and fence to guarantee square cuts.
Next, install the blade according to the manufacturer’s instructions, confirming it’s securely fastened. Ensure that the blade specifications match those outlined in the user manual for optimal performance. Attach the dust collection bag or system to manage sawdust effectively.
Then, connect the power source, either by plugging it in or inserting the battery. Familiarize yourself with key components like the miter lock knob and bevel lock knob for angle adjustments.
Ensure that the blade size matches the requirements of the cuts you intend to make. Make certain you’ve set the desired miter and bevel angles before securing them in place.
Securing Workpieces Effectively
Operating your Ryobi miter saw effectively hinges on how well you secure your workpieces before making cuts. Properly securing your workpieces not only enhances accuracy but also guarantees safety during operation.
Here are key points to take into account:
- Workpiece Alignment: Align the workpiece with the fence to minimize movement.
- Clamping Mechanisms: Use the work clamp or a C-clamp for a firm grip. Secure mounting is essential for stability during cuts.
- Supporting Long Pieces: Employ a roller stand to support longer workpieces and prevent binding. Sliding miter saws are particularly useful for accommodating wider boards during cutting.
- Preventing Kickback: Keep hands clear of the cutting area and the free end of the workpiece.
- Fence Adjustments: Adjust the fence to accommodate various workpiece sizes for precise cuts.
Cutting Techniques: Cross, Miter, and Bevel Cuts
When using your Ryobi miter saw, mastering cross, miter, and bevel cuts is essential for precise results. Below are key techniques for each cut type, helping you achieve clean, accurate edges for any project.
Cross Cut Technique
Achieving a precise cross cut requires careful preparation and technique, ensuring you get clean, accurate results. Follow these steps for ideal performance:
- Marking Cuts: Clearly mark the cut line, ensuring the blade cuts outside the mark.
- Scoring Cuts: Make a light scoring cut first to minimize tearout. Preventing tearout is essential, as it occurs at the bottom face and back edge during cuts. Additionally, using a fine-tooth blade can help achieve cleaner edges.
- Workpiece Alignment: Align the workpiece securely against the fence for stability.
- Blade Positioning: Adjust the blade so it cuts on the marked side of the workpiece.
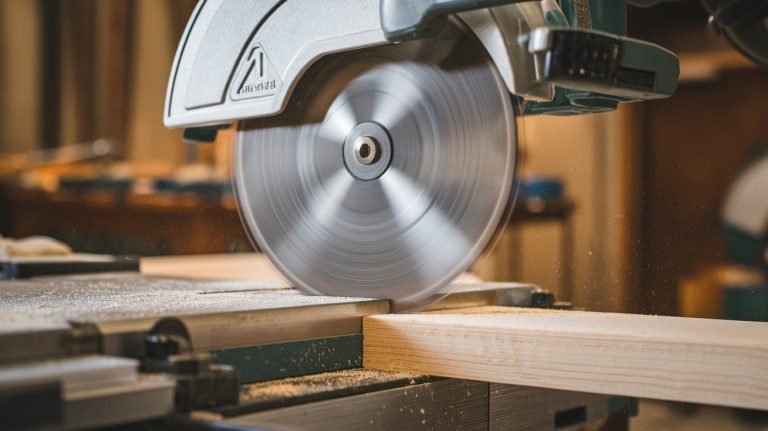
- Cutting Motion: Lower the blade smoothly and steadily through the material.
Miter Cut Adjustment
To ensure accurate miter cuts, you must first adjust the miter angle on your Ryobi miter saw. Start by unplugging the saw for safety. Raise the saw arm, then loosen the miter lock handle.
Rotate the control arm until the desired angle aligns with the miter scale, utilizing the index points for common angles like 0, 15, 22.5, 31.6, or 45 degrees.
It’s important to ensure the saw is unplugged before starting any adjustments. Using a stand with universal compatibility can also help streamline the setup process.
If you need a free rotation, use the detent release lever. Once set, tighten the miter lock handle to secure the angle. Align your workpiece against the miter fence, confirming it’s stable before making the cut.
Bevel Cut Settings
Bevel cut settings allow you to create angled edges on your workpieces, enhancing both functionality and aesthetics. To get started, follow these precise steps:
- Loosen the bevel lock knob to adjust the angle.
- Set the angle between 0 to 45 degrees using the gauge.
- Tighten the bevel lock knob securely once your angle is set.
- Verify the angle indicator for accuracy before cutting.
- Ensure safety gear is worn and unplug the saw during adjustments. Additionally, it’s important to ensure that the saw is squared up to guarantee the accuracy of your bevel cuts.
Performing Compound Cuts
When performing compound cuts with your Ryobi miter saw, start by verifying the workpiece is securely clamped in place to prevent any movement during the cutting process.
Adjust both the miter and bevel angles as needed, then lower the saw head steadily to make the cut. For consistent results, consider using stop blocks for repeat cuts.
The saw features a heavy-duty 9 Amp motor that ensures powerful performance during your cuts.
| Aspect | Details |
|---|---|
| Blade Selection | High-tooth count for finish |
| Safety Gear | Safety glasses, hearing protection |
| Alignment Check | Verify blade is square with table and fence |
| Cutting Speed | Maintain a steady pace |
Following these steps will enhance your accuracy and efficiency in performing compound cuts.
Maintenance Tips for Longevity
Performing compound cuts accurately sets the foundation for effective woodworking, but maintaining your Ryobi miter saw is just as important for ensuring long-term performance.
Follow these maintenance tips to keep your saw in top condition:
- Regularly inspect and clean the dust collection system.
- Use a leaf blower or air can to remove debris after each use.
- Wipe down the saw with a dry microfiber cloth. Preparation for Lubrication is essential before applying any lubricants to the moving parts.
- Apply dry lubricants to moving parts like rails and pivots.
- Store the saw in a dry place and use a protective cover.
Essential Accessories for Optimal Performance
To achieve ideal performance with your Ryobi miter saw, investing in essential accessories is crucial.
A work clamp secures your workpiece to the table, ensuring stability during cuts. You’ll need a blade wrench for safely removing or securing the blade.
A dust bag collects debris, keeping your workspace clean. Additionally, using genuine replacement parts can significantly enhance the overall cutting accuracy of your miter saw.
Table extensions provide support for longer workpieces, enhancing accuracy. A carry handle eases transportation, making it convenient to move your saw.
For safety, consider using protective gear like safety glasses and hearing protection. A miter saw stand elevates the tool for comfortable operation, while quick-release mounting brackets allow easy attachment.
Finally, workpiece hold-downs offer additional security, ensuring your cuts are precise and safe.
Troubleshooting Common Issues
When you’re facing issues with your Ryobi miter saw, it’s vital to address blade installation, cutting accuracy, and motor performance right away.
Misalignment or improper blade installation can lead to inaccurate cuts, while motor concerns may affect overall functionality. Ensuring proper plug connection can also play a crucial role in the saw’s operational efficiency.
Blade Installation Issues
Blade installation issues can arise during the process, leading to potential safety hazards or compromised cutting performance.
To avoid these problems, pay attention to the following:
- Verify the blade is compatible with your Ryobi model.
- Avoid cross-threading by not overtightening the blade bolt.
- Check the blade thickness to fit properly on the spindle.
- Align the Double D flats on the washer correctly with the spindle.
- Confirm the spindle lock is functioning to prevent accidents. Additionally, ensure that the saw does not run before proceeding with the installation to enhance safety.
Cutting Accuracy Problems
Accurate cuts are vital for achieving professional results, and various factors can disrupt this precision when using a Ryobi miter saw.
First, check the fence alignment with the blade; misalignment can lead to uneven cuts. Inspect the blade for warping using a straight edge, as warped blades notably affect accuracy. Additionally, ensure that the fence is square with the blade at a 90-degree angle to further enhance cutting precision.
Confirm the table is flat; an uneven surface can compromise your cuts. Properly adjust miter and bevel angles according to the owner’s manual. Finally, secure your workpiece firmly to prevent movement during cutting.
Motor Performance Concerns
Motor performance issues can greatly impact the efficiency of your Ryobi miter saw, leading to frustrating delays and compromised results.
To effectively troubleshoot common motor problems, consider the following:
- Check the power cord for damage or disconnection.
- Ascertain the saw is properly assembled and secured.
- Inspect for excessive dust buildup that could cause overheating.
- Verify electrical connections and the functionality of the switch.
- Regularly clean and lubricate moving parts to prevent seizing. Additionally, ensure that the saw is equipped with a heavy-duty 15 Amp motor to handle demanding tasks efficiently.
Tips for Achieving Accurate Cuts
To ensure precision when using your Ryobi miter saw, start by preparing the workpiece and the saw itself with careful attention to detail.
Make sure the saw is on a flat, level surface, and secure it with clamps for stability. Check the blade alignment to confirm it’s square with the table and fence.
Accurately measure and mark the workpiece, using a stop block for consistent cuts. Clamp the workpiece firmly against the fence, and adjust the miter and bevel angles as needed.
Make a light scoring cut to prevent tear-out, and always cut just outside the marked line. Finally, maintain full blade speed and apply even pressure during the cut for best results.
Frequently Asked Questions
What Is the Maximum Cutting Capacity of Ryobi Miter Saws?
You might think all miter saws are the same, but that’s far from true. The maximum cutting capacities for Ryobi miter saws vary by model. The 10-inch sliding compound saw cuts up to 12 inches wide and handles 2 in. x 12 in. lumber at 90°.
In contrast, the 12-inch model increases to a 13-1/4 inch cross-cut capacity and can cut 2 in. x 14 in. lumber, offering enhanced versatility for your projects.
Can I Use Non-Ryobi Blades With My Miter Saw?
Yes, you can use non-Ryobi blades with your miter saw, as long as they match the required specifications. Verify the blade diameter is correct, typically 7-1/4 inches, and the arbor size is compatible, usually 5/8 inch.
Check the tooth count for your specific cutting needs and verify the material compatibility. Always prioritize safety by properly securing the blade and using personal protective equipment while operating the saw.
How Do I Know When to Replace the Saw Blade?
You know it’s time to replace the saw blade when you notice reduced cutting efficiency, excessive vibration, or visible wear like dull or chipped teeth.
If your blade’s generating more heat than usual or operating louder than expected, those are also clear signs. Regularly inspect your blade and consider factors like material type, cutting frequency, and maintenance practices that influence its lifespan to guarantee peak performance.
Is It Safe to Operate the Saw in Wet Conditions?
It’s not safe to operate the saw in wet conditions. Moisture increases the risk of electrical shock and can damage the saw’s electrical components.
Wet surfaces also create slippery conditions, raising the chance of accidents. Additionally, reduced visibility in wet weather can hinder your ability to cut accurately.
What Types of Materials Can I Cut With a Miter Saw?
You can cut a variety of materials with a miter saw, including hardwoods and softwoods for general woodworking projects.
It’s excellent for precise cuts in MDF and plywood, often used in furniture construction. Additionally, you can tackle trim and molding, ensuring clean angles for finishing work.
Operate Your Ryobi Miter Saw Efficiently and Achieve Perfect Cuts Every Time
By prioritizing safety, mastering assembly, and understanding cutting techniques, you can operate your Ryobi miter saw with confidence. Embrace maintenance to guarantee longevity, invest in essential accessories for peak performance, and troubleshoot common issues as they arise.
With practice, you’ll achieve accurate cuts, execute cross, miter, and bevel cuts seamlessly, and enhance your woodworking projects. Remember, precision, care, and knowledge are your best tools in transforming your ideas into reality.