Can a Miter Saw Be Used as a Chop Saw | Explore the Hidden Truth
When dealing with power tools that cut materials precisely, miter saw and chop saw are two terms people often confuse. While they may seem similar, they both serve different purposes and have unique features. However, many of us wonder if a miter saw can serve as a chop saw.
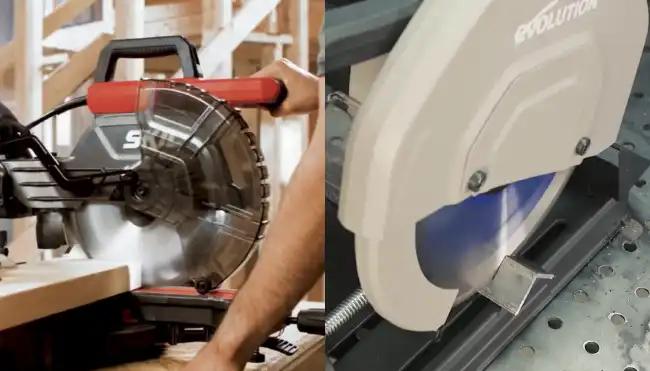
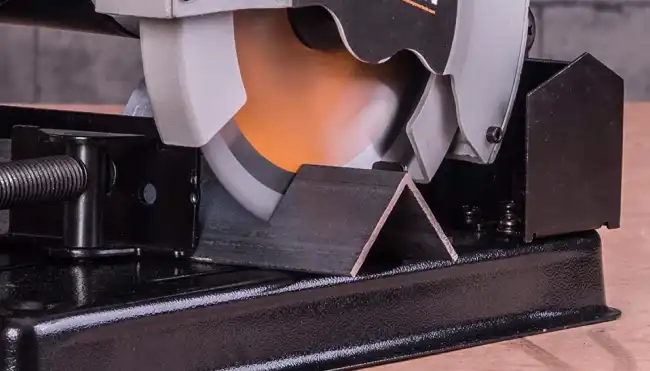
You shouldn’t attempt to operate a miter saw as a chop saw while the stock blade is installed since it’s designed for wood and other non-ferrous materials. However, a miter saw can be used like a chop saw when fitted with a low-speed ferrous cutting blade. Keep in mind that they cannot be interchanged.
But before you dive in, you should understand the differences between the two and how to use a miter saw effectively as a chop saw. Continue reading to discover more about this topic.
Miter Saw & Chop Saw: What are the Differences Between them?
You may wonder the difference between a miter saw and a chop saw. Well, let’s break it down with the following differences:
- Types of cuts
- Cutting materials
- Blade differences
- Size and speed
Let’s discuss these differences in detail:
1. Types of Cuts
A miter saw is more versatile than a chop saw to make different cuts. While a chop saw is designed for straight crosscuts, a miter saw can handle straight, miter, and bevel cuts. Its ability to rotate through angles to the right and left allows for cutting at various angles, making it suitable for a wide range of projects.
Whether you need to make angled cuts for picture frames or bevel cuts for crown molding, a miter saw can easily handle the job. Some models even offer the capability to create compound angles, providing even more flexibility in your cutting options.
2. Cutting Materials
When cutting materials with a chop saw, you’ll want to ensure you have the appropriate abrasive cutting wheel or toothed blade for the specific metal you’re working with. This is crucial to achieve precise and clean cuts.
Using the wrong cutting wheel or blade can result in inefficient cutting and potential damage to the material. An abrasive cutting wheel is the best choice for steel and cast iron, as it’s designed to withstand the hardness of these metals.
Conversely, miter saws are primarily used for cutting wood. They can handle various types of wood, including dimensional lumber for framing, decking, and flooring. Some can also cut small pieces of aluminum with the right blade.
3. Blade Differences
Chop and miter saw blades have distinct characteristics that make them suitable for different tasks. Chop saw blades typically have more teeth and are designed to run at lower speeds than miter saw blades. They may also have a different arbor size, which means they aren’t compatible with miter saws.
In contrast, miter saw blades are specifically designed for cutting wood and come in various tooth counts. The choice of blade can greatly impact the quality of the cut, with higher tooth counts providing smoother cuts in hardwoods.
4. Size and Speed
When comparing a miter saw to a chop saw, one of the key differences is their size. Miter saws come in different sizes, including compact and portable options, making them more suitable for home workshops. Conversely, chop saws are larger and heavier, often requiring bolting down for stability and safety.
Another important factor to consider is the speed of the tool. Miter saws usually operate at higher speeds, around 3,500 and 5,000 or more, while chop saws typically operate at lower speeds, around 1,500 to 4,000 RPM.
How to Use a Miter Saw as a Chop Saw?
To use a miter saw in place of a chop saw, you must properly follow some steps to avoid any potential damage to your tools, such as:
Step 1. Safety First
Safety is of utmost importance when operating any power tool including a miter saw. Ensure you’re wearing safety glasses, hearing protection, and a dust mask before cutting with the miter saw.
Safety glasses will shield your eyes from flying debris while hearing protection will prevent damage to your ears from the loud noise produced by the saw. A dust mask is also essential to prevent inhalation of sawdust and other particles.
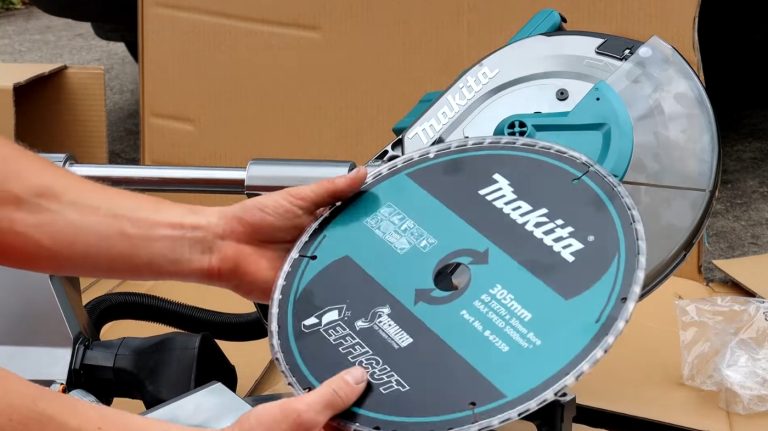
Step 2. Select the Proper Blade
When using your miter saw to cut metal or stone, ensure you’ve installed the appropriate abrasive blade with more teeth. The choice of blade is crucial for achieving clean and precise cuts without damaging the material.
Abrasive blades are designed to withstand the heat generated by cutting harder materials like metal and stone. These blades have a diamond or carbide grit edge that grinds through the material rather than cutting it with teeth like a wood blade.
Selecting a blade that matches the material you intend to cut is essential, as using the wrong blade can lead to dangerous kickbacks or melting the metal.
Step 3. Secure Your Workpiece
Ensure your workpiece is firmly held to prevent movement during the cutting process. A securely held workpiece ensures the cut is clean and precise without any unexpected shifts or deviations.
To achieve this, place your workpiece securely on the miter saw’s base or table, and if necessary, use clamps or other securing methods to hold it in place. This is particularly important when working with materials that may have sharp edges, as they can easily shift or slide during cutting.
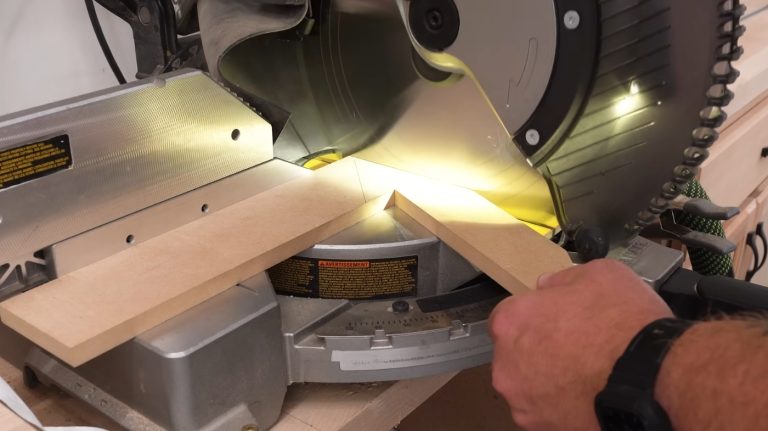
Step 4. Adjust the Angle
Most miter saws have a clear and precise angle scale, allowing you to set the angle accurately. To adjust your miter saw’s angle, loosen the locking mechanism and slide the saw head to your desired angle.
Once you’ve chosen the desired angle, tighten the locking mechanism to secure the saw head. Ensure the locking mechanism is securely tightened to prevent movement during the cutting process. Double-check the angle using a square or protractor before making your cut to ensure accuracy.
Step 5. Position and Secure the Workpiece
Align your workpiece with the blade, ensuring it’s flush against the saw’s fence or backstop, and firmly secure it to prevent any movement during cutting. When aligning the workpiece, ensure it’s parallel to the saw’s blade and positioned correctly for the desired cut.
Once aligned, use clamps or hold-downs to secure the workpiece in place firmly. This will help prevent any shifting or slipping during the cutting process, which could lead to inaccurate cuts or potential safety hazards.
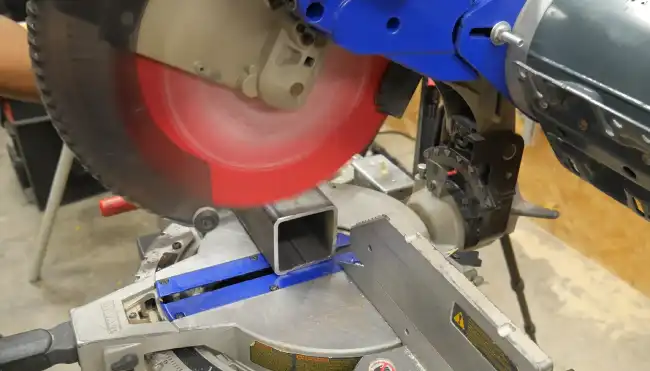
Step 6. Start Cutting
Now that you’ve positioned and secured the workpiece on the miter saw, it’s time to start cutting. To begin, simply start up the miter saw and lower the blade onto the material with a slow and controlled motion.
As the abrasive blade makes contact with the workpiece, allow it to cut through the material smoothly. Remember to maintain a firm grip on the workpiece and apply a steady downward pressure to ensure a clean and precise cut.
Can you put a metal cut-off blade on a miter saw?
If you want a metal cut-off saw blade on a miter saw, ensure it matches your saw’s speed for safe and effective cutting. Using the wrong blade can be dangerous and result in inefficient cutting.
When cutting metal on a miter saw or similar tool, you must have a blade specifically designed for metal cutting. These blades are designed to withstand the high-speed rotation of the miter saw and provide clean and precise cuts.
Using a low-speed blade on a high-speed saw can lead to the blade becoming damaged or even causing kickback, which can be extremely dangerous.
What is the most common reason to use a miter saw as a chop saw?
The most common reason you’d use a miter saw as a chop saw is for making straight crosscuts in various materials. A miter saw is designed to make clean and precise cuts at various angles, but it can also make straight cuts easily.
Whether you’re working with wood, metal, or plastic, a miter saw can provide you with accurate and straight cross cuts every time. Its powerful motor and sharp blade ensure you can quickly and efficiently cut through materials without hassle.
Also, the miter saw’s adjustable fence and cutting capacity make it a versatile tool for any DIY project or professional carpentry work.
What happens if you use a wood cutting blade to cut metal on a miter saw?
Using a wood cutting saw blade to slice metal on a miter saw can cause the blade to burn out faster and risk damaging it due to the softness of the wood.
The blade isn’t properly equipped when you attempt to cut metal with a wood-cutting blade. Metal is much harder than wood, requiring a specialized blade with teeth designed to cut through it efficiently.
The wood-cutting blade will struggle to make clean and precise cuts in metal, leading to excessive friction and heat buildup. This increased workload and stress on the blade can cause it to fatigue and burn out faster.
Also, the teeth on the wood-cutting blade can become damaged or dulled when used on metal, compromising its effectiveness. Using the appropriate blade for the material you’re cutting is always recommended to ensure optimal performance and longevity of your tools.
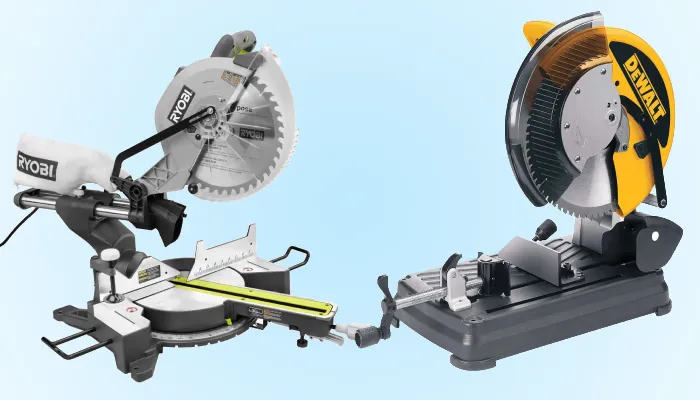
Miter Saw or Chop Saw: Understand Their Differences and Choose a Tool That Works For You
Miter and chop saw may seem similar, but they serve different purposes and come with unique features and advantages. While a miter saw can cut non-ferrous metals with the correct blade, it is not an ideal substitute for a chop saw when cutting metals.
A chop saw is designed to make straight precision cuts and usually comes with abrasive or toothed blades optimized for cutting different metal types. On the other hand, a miter saw is ideal for angled cuts and can handle various types of wood with the right blade.
So, depending on your cutting needs, it’s best to choose the right tool for the job and ensure your safety by following the manufacturer’s guidelines. We hope this article has provided valuable insights into the differences and suitability of using a miter and chop saw.