How To Cut Straight With A Portable Band Saw: 5 DIY Steps
Portable band saws can cut through various materials with precision and smoothness, and mastering cutting straight with this saw is crucial for achieving professional-quality results. That’s why I’ve discovered some proper strategies that work like a charm.
First, adjust the blade speed to cut horizontally with a portable band saw. Make sure you mark a clear line on your material so that you can guide your cutting process. Then, set up the backstop at a 90-degree angle to maintain straight cuts and feed the material slowly and steadily to prevent errors.
Throughout this article, I’ll share my secret findings for achieving precise cuts every time. I’ll also discuss some factors you must consider when cutting straight with a portable band saw. Let’s master the art of straight cutting together.
How to Cut Straight With a Portable Band Saw: Steps to Follow

In the following paragraphs, I have listed a few steps that you must follow to cut straight using a portable band saw.
- Adjust the band saw blade speed
- Mark a clear line on the material
- Set up the backstop at 90 degrees
- Feed the material slowly and steadily
- Smooth edges with fine-grit sandpaper
Step 1: Adjust the Band Saw Blade Speed
To start, adjust the band saw blade speed to ensure a clean and efficient cut. The speed at which the blade moves is crucial for different materials.
- Steel should be cut at between 50-200 FPM,
- Rubber at between 150-250 FPM,
- Aluminum between 200-420 FPM,
- Brass at 75-420 FPM,
- Bronze at 75-150 FPM,
- Cast iron between 80-100 FPM,
- Copper between 115-175 FPM.
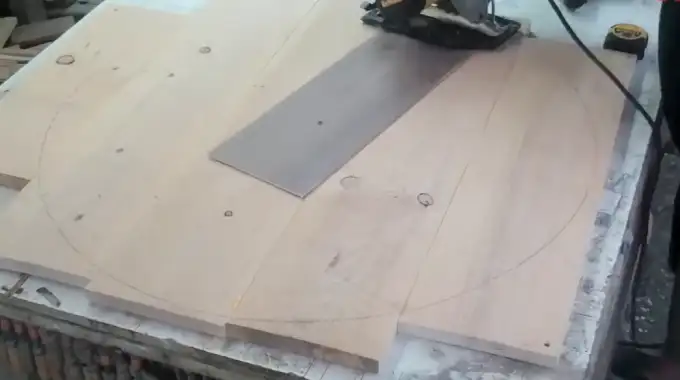
Step 2: Mark a Clear Line on the Material
After adjusting the blade speed and ensuring proper tension on the blade, I advise marking a clear line on the material you want to cut. To mark the line, use a sharp pencil or marker and ensure it’s visible on the material.
If necessary, you can enhance the visibility by using tape or chalk lines. Take your time to accurately mark the line, as this will greatly contribute to the overall accuracy of your cuts.
Step 3: Set Up the Backstop at 90 Degrees
Now, continuing with the setup process, I recommend securing the backstop at a 90-degree angle to ensure straight cuts. The backstop serves as a guide and prevents material deviation during the cut.
To achieve this, position the backstop perpendicular to the cutting line and secure it tightly. Use clamps to hold the material firmly against the backstop, ensuring it stays in position throughout the cutting process.
This is particularly important when working with depth materials, such as square tubes, as it helps maintain accuracy and precision.
Step 4: Feed the Material Slowly and Steadily
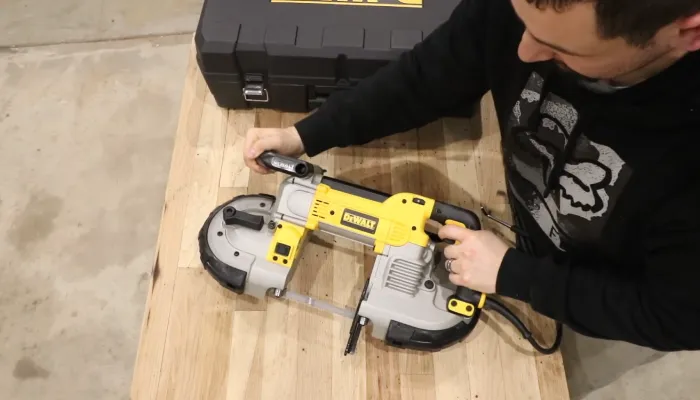
Feed the material into the blade slowly and steadily with a portable band saw to ensure straight and clean cuts, minimize errors, and achieve a clean finish along all edges. This is crucial for maintaining control and preventing the blade from veering off course.
By feeding the material slowly, you give the blade ample time to cut through the material without causing any unnecessary pressure or strain. A steady feeding motion also ensures a consistent cutting speed, which is essential for straight cuts. Rushing the feeding process can lead to uneven cuts and jagged edges.
Step 5: Smooth Edges with Fine-Grit Sandpaper
This additional step can greatly enhance the overall finish of your project, especially when working with wood or softer materials. Fine-grit sandpaper is designed to remove any roughness or imperfections left behind after cutting with a band saw.
By gently sanding the edges, you can create a smooth, polished surface that’s visually appealing and safe to handle. Use fine-grit sandpaper, such as 220-grit or higher, and work in small, controlled motions to achieve the best results.
What to Consider When Cutting Straight With a Portable Band Saw?
I recommend some important aspects when considering a straight cut with a portable band saw.
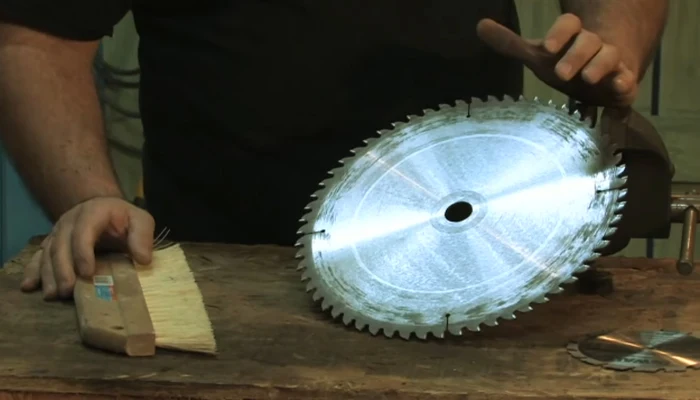
Blade Selection
Choose the right blade to ensure clean and accurate cuts when determining blade selection. For wood cutting, I recommend a blade with fewer teeth per inch (TPI) for faster cutting and efficient chip removal. Alternatively, a blade with more teeth per inch is recommended for smoother and more precise cuts when cutting metal.
The tooth type, such as hook or regular, should also be considered based on the material being cut. By carefully selecting and installing the appropriate blade, you can achieve straight cuts with ease and efficiency.
Blade Tension
When the blade isn’t properly tensioned, it can wander and veer off course, resulting in inaccurate cuts. So, maintain proper blade tension throughout the cutting process with a portable band saw to ensure straight cuts.
One way to determine if the tension is correct is by pressing down on the blade with your thumb. If it deflects about 1/4 inch, then the tension is likely adequate. However, always refer to the manufacturer’s instructions for the specific tension requirements of your portable band saw.
Blade Condition
Dull or damaged blades can compromise the quality of the cut and lead to inaccuracies. Regularly monitor the blade’s sharpness and overall integrity to ensure optimal blade condition.
Inspect the blade for any signs of wear, such as missing or chipped teeth, and replace it as needed. Also, following the manufacturer’s recommendations for blade maintenance is crucial. This may include periodic sharpening or replacing the blade altogether.
Material Support
Proper material support is crucial to ensure accurate and straight cuts with a portable band saw. When cutting materials, use a stable work surface that can withstand the weight and movement of the saw.
Additionally, consider using additional supports, especially for longer or heavier materials. Roller supports or additional stands can provide better stability and prevent the material from shifting during the cutting process, helping maintain the integrity of the cut and ensure precision.
Why does my portable bandsaw blade not cut straight?
According to my findings, a portable bandsaw blade doesn’t cut straight due to a dull blade, improper feeding, loose blade tension, or not using a workpiece guide.
A dull blade can cause the saw to veer off course and create uneven cuts. Also, improper feeding, such as pushing too hard or not maintaining a consistent pace, can lead to crooked cuts.
Additionally, loose blade tension can cause the blade to wander, resulting in inaccurate cuts or leading to user safety. Ensuring proper tension by following the manufacturer’s guidelines is essential.
What type of portable bandsaw blade should you use for straight cuts?
When choosing a portable bandsaw blade for straight cuts, consider the thickness of the wood and the desired TPI.
For long, straight cuts, a wider blade is recommended. The thickness of the wood will determine the TPI (teeth per inch) required for an optimal cut. Thinner wood requires a higher TPI, while thicker wood requires a lower TPI.
For example, a 3 or even 2-TPI blade is suitable when resawing. This ensures the blade can handle the larger material being cut without getting stuck or causing the cut to veer off course.
Achieve Professional-Grade Straight Cuts by Using a Portable Band Saw
Cutting straight with a portable band saw can be challenging. But if you follow my instructions and consider the relevant factors, you’ll be well on your way to mastering the art of cutting straight with a portable band saw.
Don’t let your frustration get the best of you if your blade doesn’t cut straight initially, as there are solutions to the problem. Choose the right blade type for straight cuts to achieve the desired results. So, grab your portable band saw and prepare to make flawless cuts.