Can You Use a Table Saw as a Planer: 6 Steps to Follow
Table saws are among the most commonly used woodworking tools and can perform a wide array of tasks with precision cuts. Planers, on the other hand, serve as an essential tool for flattening and smoothing wooden surfaces. But can you use a table saw as a planer for your woodworking projects?
As a woodworking enthusiast, I researched this topic and found that using a table saw as a planer is possible. For good results, the workpieces need to be smaller dimensions that can fit on the table, and you will also need to take adequate safety measures during the process.
I will demonstrate how to use a table saw as a wood planer effectively to achieve excellent results.
How to Use a Table Saw as a Planer: Detailed Instructions
Based on my findings, the following are the steps you will need to follow in order to use a table saw as a planer:
- Step 1: Adjust the blade height
- Step 2: Prepare your workpiece
- Step 3: Set up the feather board
- Step 4: Make the first pass
- Step 5: Inspect and flip the workpiece
- Step 6: Sand to desired grit
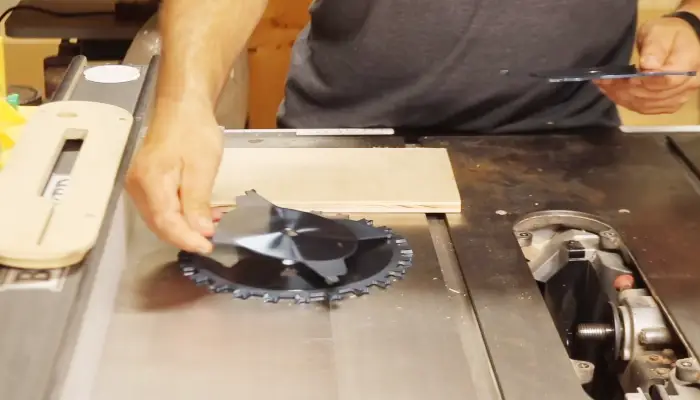
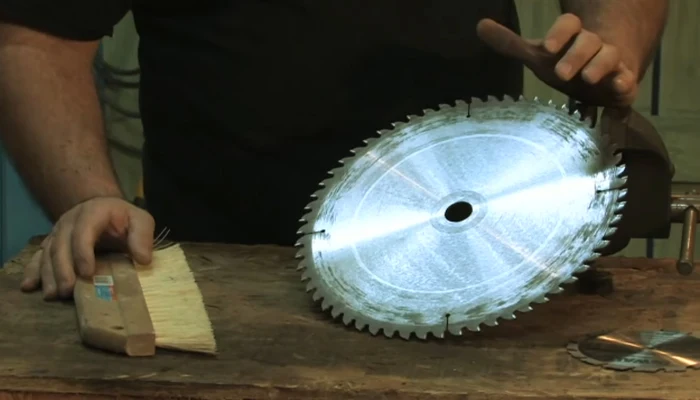
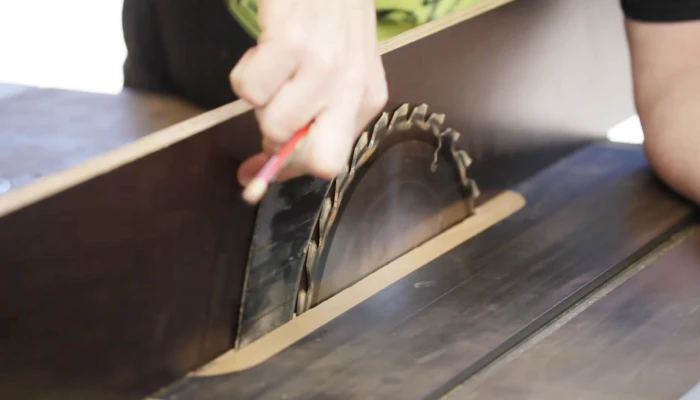
Step 1: Adjust the Blade Height
Adjusting the blade height on your table saw is the first step in using it as a planer. Start by setting the blade as high as it will go, allowing you to remove a small amount of material with each pass. This ensures an even wood planing process.
Once the blade height is set, tighten the fence against the blade. Then, slightly adjust by nudging the fence about 1/16 inch closer. This adjustment is crucial in achieving the desired thickness with each cut.
Additionally, ensure that your table saw is tall enough to support the wood length you are working with. A stable and adequately supported workpiece enhances the safety and accuracy of the planing process, allowing for smoother and more controlled cuts.
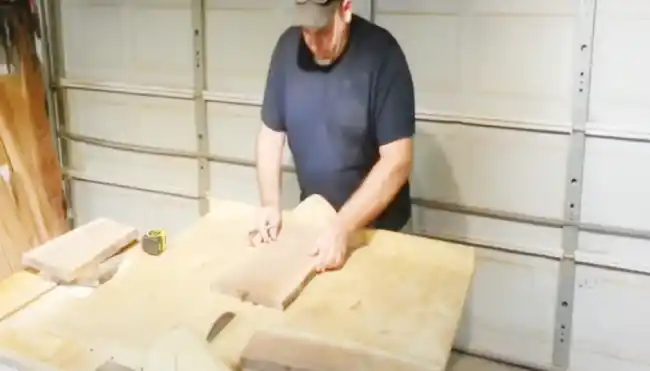
Step 2: Prepare Your Workpiece
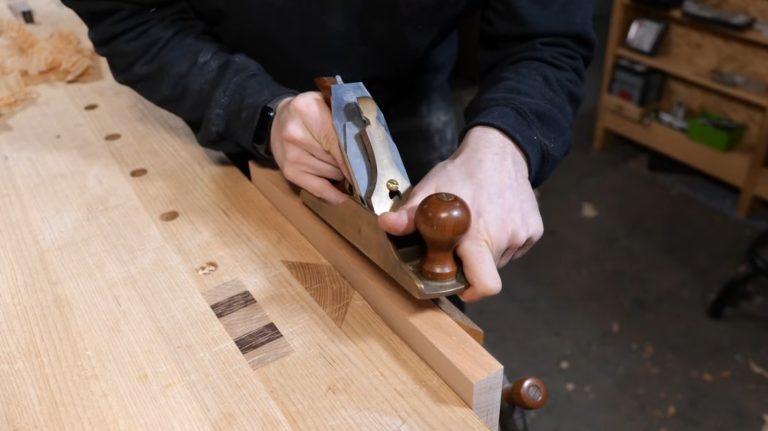
To properly prepare your workpiece for using a table saw as a planer, you’ll need a flat and square piece of wood with three faces in ideal condition. These three faces include one flat face and both edges.
The flat face will serve as a reference against the rip fence, while the square edges will align with the saw table. It’s crucial to have these references in place to ensure accurate and consistent results.
If your wood isn’t already flat and square, you can use the table saw to square it up. This step is essential for achieving precise planing and avoiding any potential issues during the process.
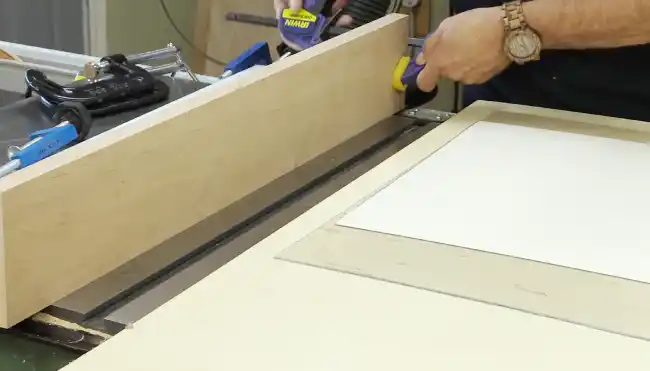
Step 3: Set up the Feather Board
Now that you have prepared your workpiece, it’s time to set up the feather board for using a table saw as a planer. Start by positioning the feather board on the table saw’s surface, ensuring it exerts gentle pressure on the workpiece.
Secure the feather board on the side of the workpiece facing the fence using clamps or mounting mechanisms. Adjust the height of the feather board to align with the thickness of the workpiece. This will guide the wood smoothly through the blade, minimizing the risk of kickback.
Make sure the feather board exerts pressure in the opposite direction of the feed to prevent the wood from lifting or shifting.
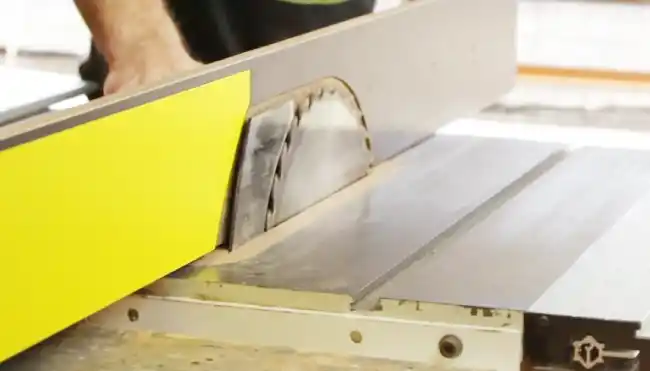
Step 4: Make the First Pass
Start by positioning the workpiece against the fence and carefully running it through the table saw to remove a small amount of material, using the table saw as a planer. Use push sticks and pads to maintain a safe distance from the blade as you make the cut.
Removing only a small amount of material, typically around 1/16 or 1/32 inch, is important to avoid any potential damage to the workpiece. By making this initial pass, you’re setting the foundation for the rest of the planing process. Take your time and be precise in your movements to achieve the best results.
Step 5: Inspect and Flip the Workpiece
After making the first pass, take a close look at the cut side of the board. It’s normal to see slight burn marks, but be sure to check for any significant flaws or irregularities.
If everything looks good, flip the board over and repeat the process for the other half. This ensures that both sides of the board receive the same treatment and helps achieve an even thickness across the entire board.
If you need to remove more material, adjust the fence accordingly and repeat the process on both sides. By inspecting and flipping the workpiece, you can ensure that your planed boards are smooth and uniform.
Step 6: Sand to Desired Grit
After inspecting and flipping the workpiece, continue the process of using a table saw as a planer by sanding the board to your desired grit. Start with a coarser grit sandpaper to remove any remaining imperfections or rough spots on the wood’s surface.
Gradually work your way up to a finer grit to achieve a smoother finish. Take your time and sand evenly, making sure to sand with the grain of the wood. Once you’ve reached your desired level of smoothness, wipe away any dust or debris before moving on to the next step in your woodworking project.
Can I use any type of wood on a table saw as a planer?
You can use various wood types on a table saw as a planer. However, three faces, one face and both edges of the wood must be flat and square. This preparation provides stable references for accurate and consistent planing.
Whether it’s hardwoods, softwoods, or other types, a well-prepared workpiece is crucial for optimal results. It’s essential to note that the type of wood may affect the speed and efficiency of the planing process.
For instance, harder woods may require slower feed rates to prevent damage to the blades, while softer woods may allow for faster feed rates. Overall, as long as the wood is properly prepared, you can use different kinds of wood on a table saw as a planer.
Can I achieve the same results as a dedicated planer with a table saw?
It is possible to achieve results similar to those of a dedicated planer with a table saw, but it requires meticulous setup and attention to detail. Additionally, a dedicated planer is specifically designed for the task and may offer more consistent results.
When using a table saw as a planer, blade height adjustment, workpiece preparation, and feeding techniques must all be prioritized to approach the quality of results achievable with a dedicated planer.
While a table saw can be effective for planing, it is a viable alternative primarily for smaller projects or when a dedicated planer is unavailable. To achieve precise and consistent results, it is essential to prioritize precision in all aspects of the planing process.
It’s crucial to note that a planer or jointer is a different machine than a table saw. Each tool serves its unique purpose in woodworking. While a table saw can offer planing capabilities with the right setup, it may not replace the specialized functions of a dedicated planer or jointer.
How do I know when to make multiple passes during the planing process on a table saw?
To determine whether multiple passes should be made during planing on a table saw, consider the thickness of the material you’re working with. If significant material removal is needed, it’s best to start with a lower blade height and gradually raise it with each subsequent pass.
This incremental approach allows for better control and reduces the strain on both the table saw and the wood. Additionally, exercising good judgment based on the specific characteristics of your project and prioritizing safety is essential.
Making multiple passes leads to a more gradual and controlled removal of material, resulting in a smoother and more precise final planed surface. Remember to adjust the blade height accordingly and take your time for the best results.
Use Your Table Saw as a Planer and Elevate Your Woodworking Experience
It’s possible to use a table saw as a planer, achieving effective results for your woodworking projects. Just follow the steps that I have described, from adjusting the blade height to sanding to your desired grit.
By meticulously preparing your workpiece and incorporating safety measures, you can transform your table saw into a versatile woodworking machine for planing. While it may not replace the precision of a dedicated planer, this method offers a practical solution, especially for smaller projects.
Embrace the process, prioritize precision, and enjoy the satisfaction of creating smooth and uniform surfaces with your table saw.