How to Burn Plywood: Step-by-Step Wood Burning Guide
You should never burn plywood indoors because adhesives release toxic fumes like cyanide.
Instead, burn plywood only outside in well-ventilated areas, away from others. Use a high-quality respirator with organic vapor filters and protective clothing.
Control ventilation by choosing open, windy spots to disperse fumes safely.
Prepare edges carefully if charring, and use steady torch techniques for consistent burns.
Properly dispose of remnants to avoid environmental harm.
Continued guidance covers safe practices and alternatives you’ll find essential.
Key Takeaways
- Avoid burning plywood indoors due to toxic fumes from adhesives, preferring outdoor spaces with proper ventilation instead.
- Wear protective gear including a respirator mask rated for organic vapors, flame-resistant gloves, and safety goggles.
- Set up in open areas with steady airflow, maintain at least a 10-foot safety distance, and avoid standing downwind.
- Use a torch with controlled heat and steady movement for consistent charring if burning plywood intentionally for surface effects.
- Collect and dispose of plywood ash and scraps properly, following local hazardous waste regulations to prevent environmental harm.
Why Burning Plywood Indoors Is Dangerous (And What To Do Instead)?
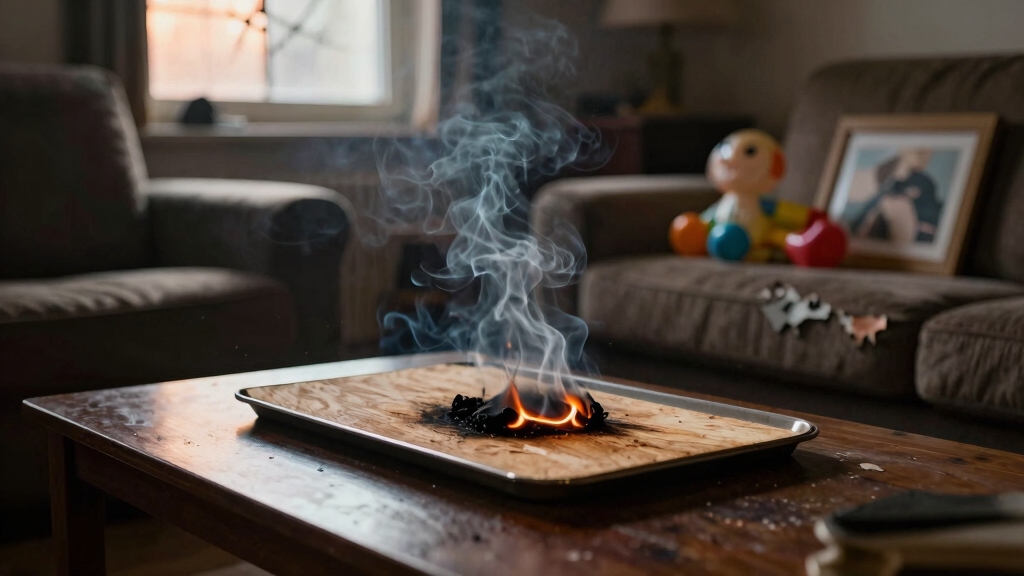
Because plywood contains adhesives with toxic chemicals like cyanide, burning it indoors poses serious health risks that you can’t ignore.
When you burn plywood in fireplaces or woodstoves, these adhesives release hazardous fumes that can cause respiratory irritation or more severe health effects.
Additionally, toxic emissions can accumulate in chimneys or appliances, leading to damage or increased fire hazards.
Many regulations explicitly prohibit burning plywood indoors due to these risks.
Instead, you should avoid using plywood as fuel and opt for untreated, solid wood designed for indoor burning.
If you must burn plywood, do so only outside with proper ventilation to minimize fume exposure.
Prioritize air quality and appliance safety by never using plywood in enclosed residential heating systems.
For maintaining wood safety and longevity, consider applying wood preservatives to protect against moisture and decay rather than resorting to burning.
What Safety Gear You Need When Burning Plywood Outside?
When you’re burning plywood outside, it’s super important to gear up properly. Start with a good-quality mask, like an RZ respirator. This will help filter out those nasty toxic fumes that can be harmful.
Also, make sure you’re in a well-ventilated area. This way, you can avoid any buildup of harmful gases and keep your inhalation risks to a minimum.
And don’t forget about protective clothing! You want to shield your skin from heat, sparks, and any potential chemical exposure. It’s all about staying safe while you get the job done!
Additionally, be aware that burning materials like plywood can produce significant dust generation, which may pose respiratory risks and require extra cleanup efforts.
Essential Respiratory Protection
How should you protect your lungs while burning plywood outdoors?
Burning plywood releases toxic fumes from adhesives and chemicals that can severely harm your respiratory system. You need to minimize inhalation of these hazardous vapors with the right gear.
Here’s what you must have:
- A high-quality respirator mask (like an RZ mask) designed to filter smoke and chemical fumes effectively.
- Respiratory filters rated for organic vapors and particulate matter to block toxic particles.
- A secure fit ensuring no gaps so contaminated air can’t bypass the mask.
Wearing this gear isn’t optional; it’s essential. Without proper respiratory protection, you risk exposure to cyanide and other dangerous substances released during burning. Always prioritize your lung safety when working with plywood pyrography outdoors. Using HEPA filters in your protective gear can enhance filtration of fine particles and improve respiratory safety.
Proper Outdoor Ventilation
Protecting your lungs with the right respirator mask is just one part of staying safe while burning plywood. You must ensure proper outdoor ventilation to prevent toxic fume buildup, especially from adhesives in plywood.
Choose an open area with steady airflow to disperse hazardous emissions efficiently.
Here’s a quick guide to ventilation essentials and safety gear:
| Equipment | Purpose | Notes |
|---|---|---|
| Respirator Mask | Filters toxic fumes | Use N95 or higher-grade mask |
| Open Outdoor Space | Maximizes airflow | Avoid enclosed or semi-enclosed areas |
| Fan or Blower | Enhances air circulation | Position downwind of burning site |
| Wind Direction | Guides smoke away | Burn with wind at your back |
| Safety Distance | Keeps bystanders safe | Stay at least 10 feet away |
It is important to maintain steady airflow to ensure hazardous fumes do not accumulate and pose health risks.
Protective Clothing Requirements
Although burning plywood outdoors reduces toxic fume exposure, you still need proper protective clothing to safeguard your skin and eyes from heat, sparks, and chemical irritants.
Wearing the right gear minimizes risk from unpredictable flare-ups and airborne particles released during combustion. Prioritize these essentials:
- Flame-resistant gloves and a long-sleeved jacket to protect against burns and chemical contact.
- Safety goggles or a full-face shield to prevent eye injury from sparks and irritant vapors.
- A high-quality respirator mask rated for smoke and chemical fumes to avoid inhalation hazards.
Remember that even outdoor burning releases hazardous volatile organic compounds that can affect respiratory health.
How To Ventilate Properly When Burning Plywood?
When burning plywood, you must guarantee adequate ventilation to minimize exposure to toxic fumes released by adhesives and chemical binders.
Always conduct burning outdoors or in a well-ventilated space where air circulation is continuous.
Position fans or open windows and doors strategically to create a cross-breeze that disperses harmful gases quickly.
Avoid enclosed areas to prevent accumulation of cyanide and other hazardous compounds.
Use a high-efficiency respirator or mask rated for chemical fumes to protect your respiratory system.
Monitor wind direction and avoid standing downwind of the burning plywood.
Make certain that chimneys or exhaust vents connected to your burning area are unobstructed and draft effectively.
Proper ventilation not only safeguards health but also reduces damage to surrounding structures from corrosive emissions.
For optimal respiratory protection during plywood burning, consider using a powered respirator system with advanced filtration to reduce inhalation of hazardous particles and gases.
Preparing Plywood Edges For Burning With Routing
Ensuring proper ventilation sets the stage for safe handling during the surface preparation phase.
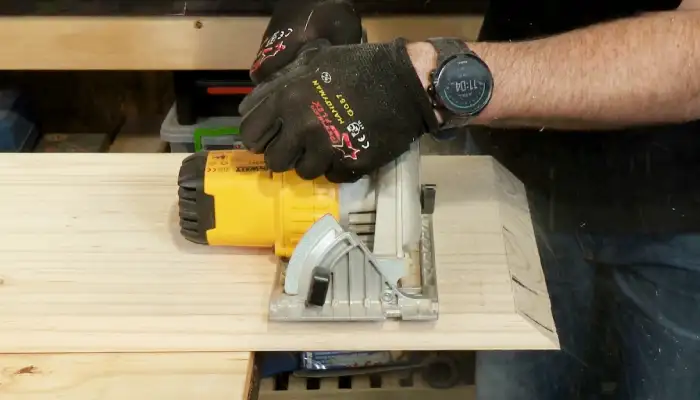
Before burning, you need to prepare plywood edges accurately with a router fitted with a 45-degree chamfer bit. This step prevents misalignment and guarantees a clean, professional finish.
Follow these precise steps:
- Secure the plywood firmly to avoid movement during routing, reducing risks of uneven edges.
- Set the router depth carefully to create a uniform chamfer that complements the charred surface.
- Rout slowly and steadily, maintaining consistent pressure to prevent splintering or tear-out.
This method enhances the plywood’s structural integrity and visual appeal, making your burning process safer and more effective.
Avoid shortcuts to assure the best results while minimizing hazardous fumes exposure.
Additionally, always prioritize safety by using appropriate protective gear such as goggles and gloves during the entire process.
Charring Plywood For Cladding: Step-By-Step
First off, you’ll want to make sure the plywood surface is prepped really well. This step is key for achieving an even char and a smooth finish.
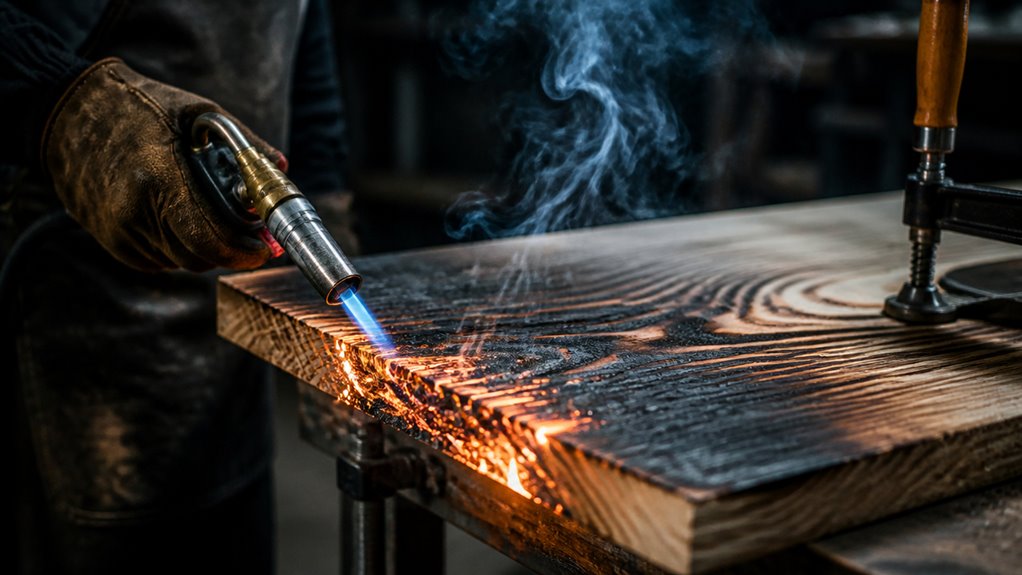
Once that’s done, it’s time to grab your torch! Use controlled techniques to burn the wood, focusing on managing the heat intensity and how long you expose it to the flame.
For best results, consider applying a penetrating finish after charring to protect the wood from moisture and UV damage while preserving its texture.
Surface Preparation Techniques
Prepare your workspace by securing a propane or LPG canister connected to a heat torch conversion kit. This guarantees a steady fuel supply for controlled surface burning.
Next, clean the plywood surface thoroughly to remove dust and debris that could interfere with consistent charring. Use a router with a 45-degree chamfer bit to bevel edges, improving panel alignment and aesthetics post-burning.
Prioritize outdoor setup with ample ventilation to minimize exposure to toxic fumes.
Focus on these critical preparation steps:
- Verify fuel connections for leak-free operation and stable flame control.
- Inspect plywood for defects; smooth rough areas to guarantee even char depth.
- Arrange panels flat and secure to avoid movement during surface burning.
Additionally, wearing appropriate protective gear such as goggles and gloves is essential to ensure safety during the burning process.
These steps set the foundation for a precise, safe, and visually appealing charred finish.
Controlled Burning Process
Once you’ve secured your fuel source and prepared the plywood surface, ignite the torch carefully. Maintain a steady flame to achieve consistent charring.
Move the torch evenly across the surface, holding it at a fixed distance to control heat exposure. This helps avoid burning too deeply.
Focus on creating a uniform char layer, which enhances both texture and durability for cladding. Use large head attachments to selectively char areas, leaving accents unburned for visual contrast.
Rout edges with a 45-degree chamfer bit beforehand to guarantee clean alignment during installation. Always work outdoors or in a well-ventilated area.
Wear a quality respirator to protect against toxic fumes from adhesives. This controlled burning process results in a precise, durable charred finish suitable for exterior plywood cladding.
For enhanced safety and precision, ensure that all proper safety gear is worn during the controlled burning process.
How To Control Burn Depth And Create Patterns?
Mastering burn depth and pattern creation on plywood requires precise control of heat application and timing.
To achieve consistent results, regulate your torch’s distance from the surface and adjust exposure time carefully. Moving too slowly deepens the burn; too fast results in a light scorch.
Patterns emerge by varying these factors and employing deliberate strokes.
Follow these steps to control burn depth and design patterns:
- Set a consistent torch angle and maintain steady movement for uniform char depth.
- Use masking tape or stencils to outline complex patterns, protecting unburned areas.
- Practice layering burns with light passes first, followed by deeper burns to add texture and contrast.
This methodical approach lets you create intricate, precise designs while preventing overburn or uneven charring.
Safe Disposal Methods For Plywood After Burning
Controlling burn depth and creating detailed patterns on plywood requires careful technique. Handling the material after burning is equally important for safety and environmental reasons.
Once you’ve finished burning, avoid disposing of plywood ash or scraps by burning them further. Residual adhesives release toxic compounds. Instead, collect all remnants and check local regulations for hazardous waste disposal.
Many areas prohibit burning composite woods, so use designated wood recycling or waste centers that accept plywood waste. If recycling isn’t available, securely bag the burned material and dispose of it through municipal solid waste systems.
This helps minimize environmental impact. Never mix plywood debris with regular firewood or household trash during disposal. Proper handling guarantees you reduce toxic exposure risks and comply with environmental safety standards.
Recommended Alternatives To Burning Plywood
When considering alternatives to burning plywood, you should prioritize methods that minimize health risks and environmental harm.
Burning plywood releases toxic fumes from adhesives and chemical binders, posing respiratory hazards and pollution concerns.
Instead, follow these practical alternatives:
- Recycle or Donate: Locate local facilities that accept plywood for recycling or repurpose it through donations. This reduces landfill waste and exposure to toxins.
- Use Untreated Wood Fuel: Opt for clean, untreated wood or wood pellets as fuel sources. This ensures safer combustion without hazardous emissions.
- Repurpose Material: Convert plywood into functional items like shelving, furniture, or art projects. This extends its lifecycle and avoids burning altogether.
Frequently Asked Questions
Can Burning Plywood Affect Nearby Plants or Soil Quality?
Yes, burning plywood can harm nearby plants and soil quality.
Toxic fumes from adhesives and chemicals settle on foliage and soil, introducing hazardous substances like cyanide compounds.
These contaminants disrupt nutrient cycles and microbial activity essential for healthy soil.
If you burn plywood near vegetation, you risk damaging plant health and degrading the soil’s fertility.
Always choose safer disposal methods or burn in well-ventilated, isolated outdoor areas to minimize environmental impact.
How Long Does the Plywood Surface Burning Process Typically Take?
Think of surface burning plywood like slowly toasting bread. You don’t rush it or it burns unevenly.
Typically, the process takes about 10 to 20 minutes per panel, depending on thickness and desired char depth.
You’ll want to move the torch steadily across the surface, applying heat systematically for consistent texture.
Rushing can cause scorching; go slow to create that distinct, controlled char finish with precision.
What Types of Plywood Are Best for Achieving a Deep Char Finish?
You’ll get the best deep char finish using exterior-grade or untreated plywood, as they lack chemical treatments that interfere with charring.
Softwoods with a tight grain, like Baltic birch or high-quality plywood with minimal glue layers, respond well to surface burning.
Avoid plywood with heavy veneers or plastic coatings since they resist uniform charring and produce toxic fumes.
Choosing such plywood guarantees consistent, deep char without compromising safety or finish quality.
Are There Specific Brands of Blowtorches Recommended for Pyrography on Plywood?
You don’t want a blowtorch that sputters like a candle in the wind; instead, choose brands like Bernzomatic or Iroda, renowned for consistent flame control and durability.
These torches pair well with propane or LPG canisters, ensuring steady heat essential for precise pyrography on plywood.
Look for models with adjustable flames and compatibility with heat torch conversion kits, giving you the control needed to create detailed char patterns effectively and safely.
How Do Weather Conditions Impact Outdoor Plywood Burning Techniques?
You’ll find weather conditions markedly affect outdoor plywood burning.
Wind can disperse heat unevenly, causing inconsistent charring and safety hazards by spreading embers.
High humidity slows the burning process, reducing char depth and texture control.
Dry, calm days offer prime conditions for precise, controlled surface burning.
Always monitor weather to ensure stable flame application, maintain safety, and achieve your desired char pattern without unexpected flare-ups or uneven burns.
The Secret to Safe and Effective Plywood Burning
Burning plywood requires careful planning and safety measures to avoid health risks and environmental harm.
Don’t throw caution to the wind; use proper gear, ventilation, and controlled techniques to ensure safe, effective results.
Always prep edges and monitor burn depth precisely to create clean patterns or charring for cladding.
When finished, dispose of remnants responsibly and consider safer alternatives to burning.
Following these steps keeps your project on solid ground and stress-free.