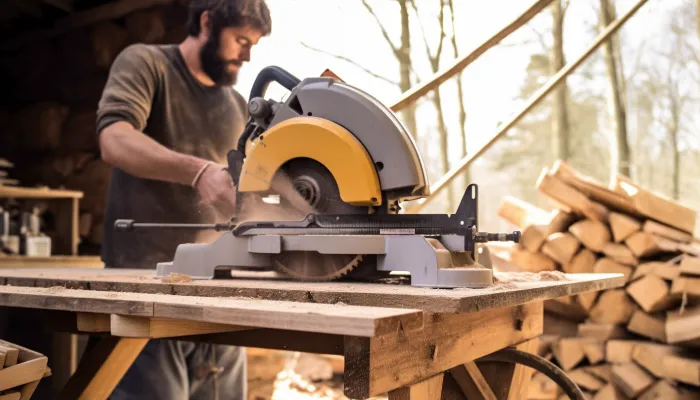
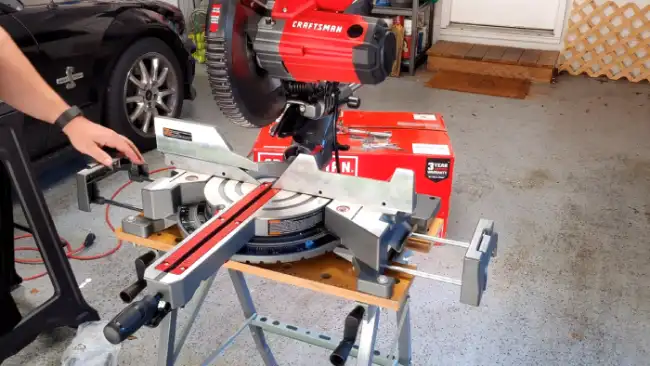
How Tall Should a Miter Saw Table Be: 4 Factors to Consider
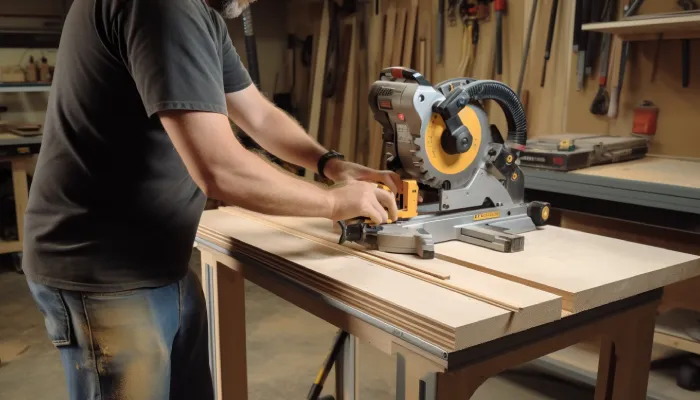
If you’re setting up a workshop for woodworking or carpentry, a miter saw is one of the essential tools you’ll need. To ensure optimal performance from your tool, getting the right height for your miter saw table is crucial. The miter saw table should be adjusted to fit your height and preferences.
While the standard countertop height of 36′ to 44′ is a good starting point, it is important to remember that everyone’s requirements and preferences may differ. To determine the ideal height for your miter saw table, consider your height, arm length, and comfort level.
Today we’ll guide you through determining the optimal height for your miter saw table, ensuring maximum comfort and precision in your work. So, keep reading.
How Tall Should a Miter Saw Table Be: 4 Considerations for Actual Measurement
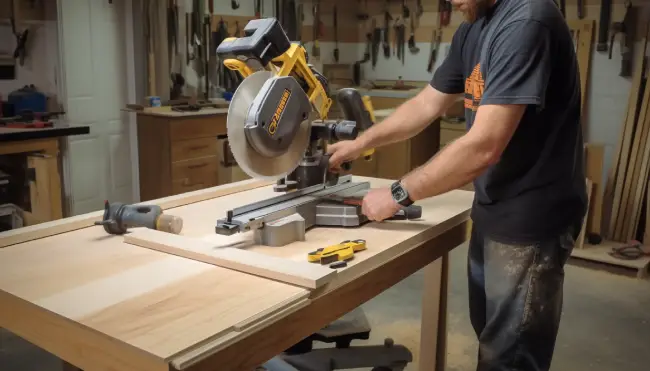
When determining the right height for your miter saw table, several key points must be considered.
- Consider your height
- Elbow height
- Workbench height
- Trial and error
Let’s discuss these in detail:
1. Consider Your Height
To determine the ideal height of a miter saw table, it’s important to consider your height as the operator. This crucial factor ensures that you can work comfortably and efficiently.
Start by measuring the distance from the floor to your waist while standing relaxed. This measurement serves as a reliable starting point for determining the table height. Considering your height, you can customize the table to your needs, preventing strain on your back, neck, or shoulders.
A table that is too low may cause you to bend over, leading to discomfort and potential injuries. If the table is too high, it could result in arm fatigue and difficulty controlling the saw.
2. Elbow Height
Setting the table height to match your elbow height provides a relaxed and ergonomic working position.
When your elbows are at the same level as the miter saw’s surface, you can maintain a natural posture while operating the tool. This positioning allows your arms to comfortably rest on the table, reducing strain and fatigue in your shoulders and back.
Also, having your elbows at the correct height promotes better control and accuracy when making cuts with the miter saw. It ensures optimal leverage and stability, crucial for achieving precise and clean cuts.
3. Workbench Height
Aligning your table miter saw to the height of your workbench can ensure consistency in your workspace. Most workbenches are between three to four and a half feet high, providing a comfortable working surface for various tasks.
By aligning your miter saw table with the height of your workbench, you can create a seamless transition between the two, making it easier to move materials and work efficiently. This alignment also helps maintain proper posture and reduce strain on your back and arms.
Having a consistent height between your workbench and miter saw table can greatly enhance your woodworking experience and improve the accuracy of your cuts.
4. Trial and Error
Now that you have set up your workbench comfortably, it’s time to find the ideal height for your miter saw table.
This can be done through a process of trial and error. Start by placing your miter saw on the workbench at the same height as your work surface. Make a few test cuts and observe your body posture and overall comfort.
It may be too low if you need to bend over or strain your back to use the miter saw. Conversely, the table may be too high if your arms are uncomfortable or your cuts need more precision.
Adjust the height of the table in small increments and repeat the test cuts until you find the perfect balance of comfort, control, and precision.
Why Miter Saw Tables Height Should Be at Their Optimal Range
A miter saw table at the optimal height ensures you can work comfortably without straining your back or causing discomfort. It’s also important that the miter saw table is at an optimal height for several reasons:
1. Comfort and Ergonomics
The height of the miter saw table should be customized to ensure comfort and prevent strain on your back, shoulders, and arms. As an experienced woodworker, you understand the importance of ergonomics in your workspace.
When the table is set at the optimal height, you can maintain a natural and relaxed posture, allowing you to work efficiently without unnecessary strain. By avoiding awkward positions or having to reach too far, you minimize the risk of fatigue and discomfort during long periods of use.
2. Avoiding Bending
Adjust the miter saw table height to a comfortable level to prevent excessive bending and strain on your back. When the table is too low, you will hunch over, putting unnecessary stress on your back muscles. This can lead to discomfort and even injury over time.
Conversely, if the table is too high, you must reach up and strain your arms and shoulders while making cuts. This not only affects your precision but can also cause fatigue and discomfort.
Finding the right table height is crucial for maintaining a comfortable and ergonomic position. Take the time to adjust it properly, and you will notice a significant improvement in your comfort and work quality.
3. Proper Visibility
Make sure you adjust the height of your raised miter saw table to have a clear sightline to the cutline, ensuring better visibility and accuracy in your work.
When making precise cuts or working on intricate designs, having proper visibility is crucial. Raising the table to a suitable height eliminates the need to bend down or strain your eyes to see the cutting area. This enhances your accuracy and reduces the chances of making errors.
Seeing the workpiece and aligning the blade with precision clearly is essential for achieving the desired results. So, take the time to adjust the height of your miter saw table to optimize your visibility and improve your overall woodworking experience.
4. Maintain Cutting Consistency
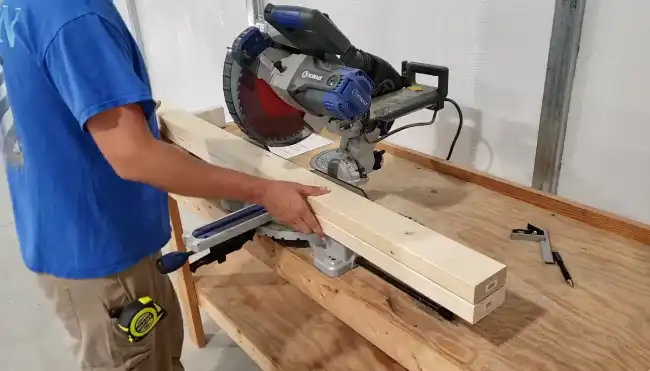
Adjusting the height of your raised miter saw table ensures consistent cutting for all users. This is crucial because different heights can affect the accuracy and quality of the cuts.
When the miter saw table is set at the right height, it allows for proper alignment of the workpiece and the blade, resulting in precise cuts. If the table is higher, you may have to hunch over, leading to a compromised cutting position and potential mistakes.
On the other hand, if the table is too high, you may need help maintaining control, which can also result in inaccuracies. Therefore, finding the optimal height provides a comfortable and ergonomic working position.
5. Maintain Accuracy and Precision
When you can comfortably stand and maintain a steady posture, your cuts with the miter saw will be more accurate and precise. This is because having a comfortable working height gives you better control over the saw, resulting in cleaner and more precise cuts.
When hunched over or straining to reach the material, it becomes difficult to maintain a steady hand, leading to potential inaccuracies in your cuts. By ensuring that your miter saw table is at the right height, you can work easily and confidently, knowing that your cuts will be consistent and precise.
This attention to detail will ultimately contribute to the overall quality of your woodworking projects.
6. Ease of Material Handling
Having a comfortable working height for your miter saw table allows for easy maneuvering and placement of materials onto the table for accurate cuts. When considering the height of your table, it is important to consider the ease of material handling.
A table that is too low may require excessive bending and lifting, leading to fatigue and potential injury. On the other hand, a table that is too high may make it easier to control and position the materials properly.
To ensure ease of material handling, it is recommended to set the height of your miter saw table at a level that allows you to comfortably reach and manipulate the materials without straining your back or arms.
How big should a miter saw table be?
The ideal size for a miter saw table depends on the available space and the specific requirements of the saw. Miter Stations have left and right sides measuring 96″L x 24″D x 36″H and a center section that can differ depending on the saw.
When determining how big your miter saw table should be, consider both the dimensions of the table and the space around it.
A miter saw table should be wide enough to comfortably support the length of your workpieces, ensuring stability and accuracy during cutting. The depth of the table should also be sufficient to accommodate the size of your saw and allow for proper operation and clearance.
What is the minimum board length for a miter saw?
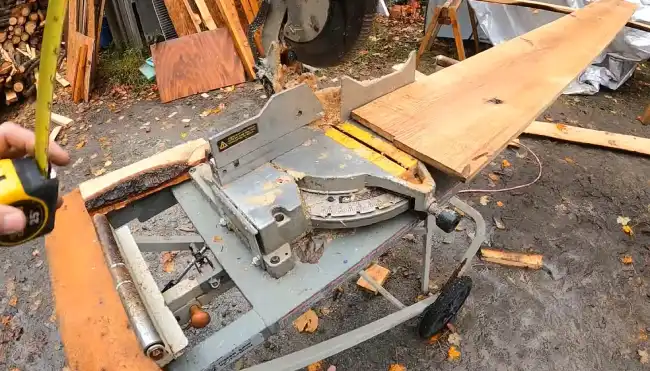
To determine the minimum board measurement for a miter saw, consider where your hands will be positioned throughout the operation. Having enough space for your hands to control the workpiece while cutting safely is important.
A general rule of thumb is that the board should be at least 12 inches, allowing for a comfortable grip and control. However, the minimum length may vary depending on the specific miter saw and the cut you are making.
Refer to the manufacturer’s guidelines or consult the user manual for more precise measurements. Always prioritize safety and ensure enough room for your hands to maneuver the workpiece effectively.
| Hands Position | Minimum Board Length |
| Before | 12 inches |
| During | 12 inches |
| After | 12 inches |
| Total | 12 inches |
Find the Perfect Miter Saw Table Height for Comfort and Safety Operations
Setting the proper miter saw table height is crucial for optimal performance, comfort, and safety. There are a range of approaches to determining the ideal height, including considering the operator’s height, elbow height, workbench height, and trial and error.
You should remember that these are just starting points, and what works for one person might not work for another. Therefore, making adjustments based on your specific needs and preferences is advisable until you find the perfect height.
Following the tips outlined in this blog post, you’ll find the perfect height for your miter saw table. So, get a table height that allows you to work comfortably, efficiently, and safely.

