Will a 12 Inch Miter Saw Cut a 6×6: Eight Easy Steps to Follow
Miter saws are a crucial tool in any woodworker’s arsenal. They are specifically designed to make accurate and precise cuts at various angles. However, when cutting larger pieces of wood, such as a 6×6 timber, there is often a lot of reluctance and doubt about whether a 12-inch miter saw can get the job done.
A 12-inch miter saw can cut a 6×6 piece of lumber, but it may require turning the wood block & multiple passes. The maximum cutting capacity of the specific saw will determine how many passes are needed.
You may need to turn the wood block three times to achieve a perfect and smooth cut. This ensures that each side of the 6×6 piece is accurately cut.
Today we’ll discuss cutting through a 6×6 with a 12-inch miter saw. You’ll discover the best techniques to make clean and precise cuts and which miter saw blade type is ideal. So keep reading for more information.
How to Cut a 6×6 Timber with a 12-Inch Miter Saw?
To cut a 6×6 timber with a 12-inch miter saw, you must properly set up the miter saw before cutting. Then follow these steps:
- STEP 1. Set up the miter saw
- STEP 2. Measure and mark the 6×6 wood
- STEP 3. Adjust the miter saw angle
- STEP 4. Set the bevel angle
- STEP 5. Position the 6×6 timber
- STEP 6. Make the cut
- STEP 7. Complete the cut
- STEP 8. Inspect the cut
Let’s discuss these steps:
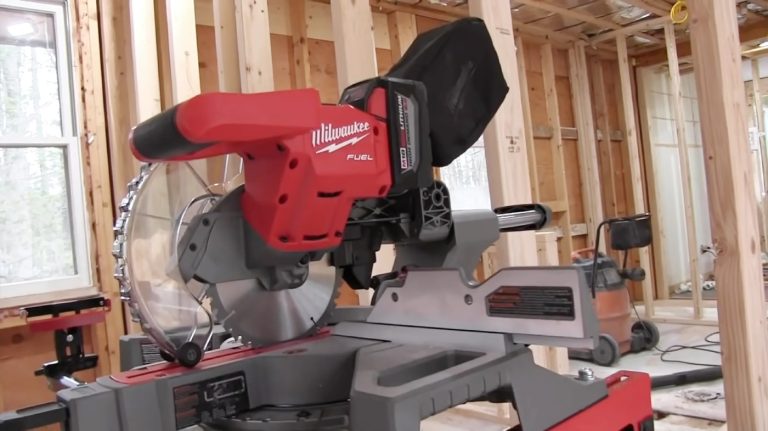
STEP 1. Set Up the Miter Saw:
The first step in cutting a 6×6 timber with a 12-inch miter saw is to set up the saw on a stable surface. Ensure the saw is securely clamped or fastened to prevent accidents.
Check the blade is sharp and in good condition to ensure a clean and precise cut. A dull blade can cause splinters and ragged edges, which can be a safety hazard.
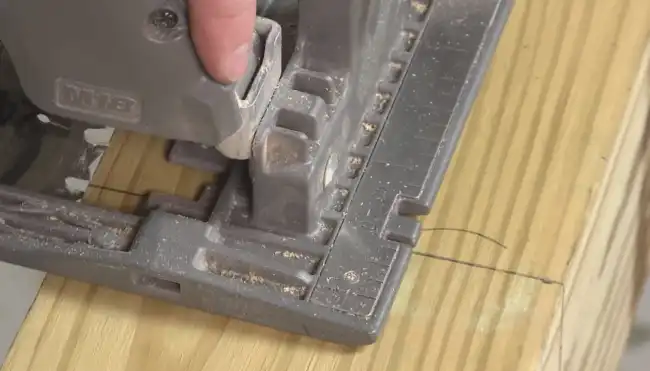
STEP 2. Measure and Mark the 6×6 Wood:
Next, use a measuring tape and pencil to mark the desired length on your 6×6 timber. Ensure you have an accurate and easy-to-read measuring tape, as precision is key in this step.
Begin by placing one end of the measuring tape at the timber’s edge and extending it to the desired length. Make sure the tape is straight and aligned with the edge of the timber. Then, use a pencil to mark the measured point on the timber.
Double-check your measurements to ensure accuracy before proceeding to the next step. Measuring and marking the wood correctly will help ensure your project turns out as intended.
STEP 3. Adjust the Miter Saw Angle:
Adjust the miter saw angle accordingly after marking the desired length on the 6×6 timber. Make sure to follow these steps to ensure an accurate angled cut:
- Align the saw blade: Set the miter angle to match the desired angle of the cut. Use the angle scale on the miter saw to guide you. Double-check that the blade is aligned properly with the mark on the timber.
- Secure the timber: Place the 6×6 wood securely against the fence and hold it firmly in place. This will prevent movement during cutting and ensure a clean and precise cut.
- Test the angle: Before making the final cut, performing a test cut on a scrap piece of wood with the same dimensions is good practice. This will help you confirm that the miter angle is set correctly and that the resulting cut will meet your requirements.
STEP 4. Set the Bevel Angle:
Now that you have adjusted the miter saw angle, it’s time to move on to the next step: setting the bevel angle. This is particularly important for making a beveled or angled cut on your 6×6 timber.
The bevel angle determines the tilt of the blade, allowing you to create angled cuts instead of just straight ones. To set the bevel angle, refer to the specifications of your miter saw and adjust it accordingly.
Remember, for a 6×6 timber, you might not need to adjust the bevel angle if you’re simply making a crosscut. But if you want to create more intricate cuts, it’s crucial to correctly set the bevel angle.
STEP 5. Position the 6×6 Timber:
Place the 6×6 timber securely on the miter saw’s base, ensuring it is aligned with the blade and fence. This is crucial to achieve an accurate and clean cut.
Start by positioning the timber against the fence, firmly in place. Take a moment to check that the marked cut line aligns precisely with the blade. This will ensure that the cut is made exactly where intended.
These precautions can prevent any potential errors or hazards during the cutting process. Remember, accuracy is key when using a miter saw, especially when dealing with larger pieces of wood like 6×6 timber.
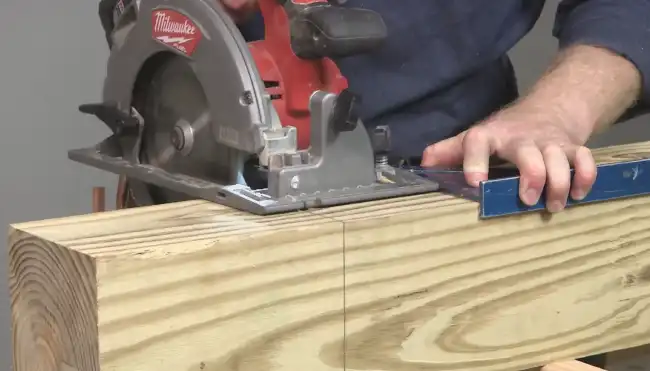
STEP 6. Make the Cut:
Align your 6×6 timber with the marked cut line and securely hold it against the fence and base of the miter saw. This step is crucial to ensure a clean and accurate cut.
To cut, follow these steps:
- Turn on the miter saw and allow the blade to reach its full speed. This will ensure a smooth and efficient cut.
- With both hands, firmly hold the timber against the fence and the base of the miter saw. This will provide stability and prevent any movement during the cut.
- Slowly lower the blade onto the 6×6 timber, following the marked lines precisely. Take your time and maintain a steady motion to ensure a precise cut.
- Use a smooth and consistent motion to guide the blade through the wood. Avoid applying excessive pressure, which can lead to blade binding or kickback.
STEP 7. Complete the Cut:
To finish the cut, ensure the blade has passed through the entire width of the timber and allow it to come to a complete stop before lifting it. This step is crucial to prevent any accidents or injuries.
Once the blade has cut through the timber, it is important to check if the cut is complete. Rotate the block and align the previous cutting line to ensure accuracy. Take your time and ensure the blade has fully penetrated the wood before proceeding. Safety should always be the top priority when operating a miter saw.
STEP 8. Inspect the Cut:
Check the timber for rough or uneven areas after the cut to ensure it is done cleanly and accurately. Carefully inspect the timber, paying close attention to the edges and surfaces. Look for any signs of splintering, jagged edges, or uneven cuts.
Run your hand along the cut to feel for any roughness or inconsistencies. If you notice any imperfections, adjust your cutting technique or blade. Take note of any areas that require further attention and address them accordingly. Remember, a clean and accurate cut is crucial for achieving the desired result.
Which miter saw blade type is best for cutting a 6×6?
For cutting a 6×6, the best miter saw blade type is an ultra-thin kerf carbide-tipped high tooth count with an ATAF tooth design for ultra-precision cutting.
This blade type is designed to provide optimal results when working with larger lumber like a 6×6. The ultra-thin kerf ensures minimal material waste, while the carbide-tipped teeth offer exceptional durability and longevity.
The high tooth count allows for smoother and cleaner cuts, reducing the need for additional sanding or finishing. Furthermore, the ATAF tooth design enhances precision by minimizing blade vibration and reducing the chance of tear-out.
Can a 10-inch miter saw cut a 6X6?

A 10-inch miter saw can handle cutting a 6X6 piece of lumber. However, it cannot do so with just one single pass. The blade diameter of a 10-inch saw is quite small for a piece of wood of this size, requiring some additional effort.
To cut a 6X6 with a 10-inch miter saw, you must make multiple passes, gradually cutting deeper into the wood with each pass. This will ensure a clean and accurate cut. Using a sharp and appropriate blade for cutting through such thick material is also important.
Master the Art of Cutting 6×6 Timbers with Your 12-Inch Miter Saw
Now we know that a 12-inch miter saw can more than cut a 6×6 timber accurately and efficiently, provided you follow the necessary guidelines. The 12-inch miter saw can handle thicker materials like 6×6 timber more efficiently with its larger blade size.
The key is to properly set up your miter saw, measure and mark your timber accurately, adjust the miter and bevel angle of the saw, and make a clean and precise straight or bevel cut using a consistent motion.
By following these steps, you can overcome any doubts or uncertainties about cutting 6×6 timbers with a 12-inch miter saw and achieve excellent results. So, when tackling your next woodworking project, remember your miter saw’s capabilities to ensure successful cuts.