Can You Cut Hardie Board With a Miter Saw: 6 Steps to Take
When you decide to work on a home renovation project, one material that’s likely to cross your path is the Hardie board.
This fiber cement material is known for its durability and resistance to water, fire, and pests, making it a popular choice for homes in areas with harsh weather conditions. But how can you cut a Hardie board with a miter saw to get the precision for the task?
You can indeed cut the Hardie board with a miter saw, but there are important considerations and steps to follow. To ensure a successful cut, you must choose the right blade type, such as a diamond or carbide-tip blade.
The cutting process involves marking the desired cut line, ensuring the saw is at full speed before making contact with the board, and then pushing the saw blade gradually through the material.
We will walk you through the step-by-step process of cutting Hardie board with a miter saw. So, if you’re ready to take on this task and cut the Hardie board precisely with a miter saw, keep reading for our detailed guide.
Can You Cut Hardie Board With a Miter Saw: Step-by-Step Guide

To successfully cut a Hardie board with a miter saw, you need to follow a step-by-step process.
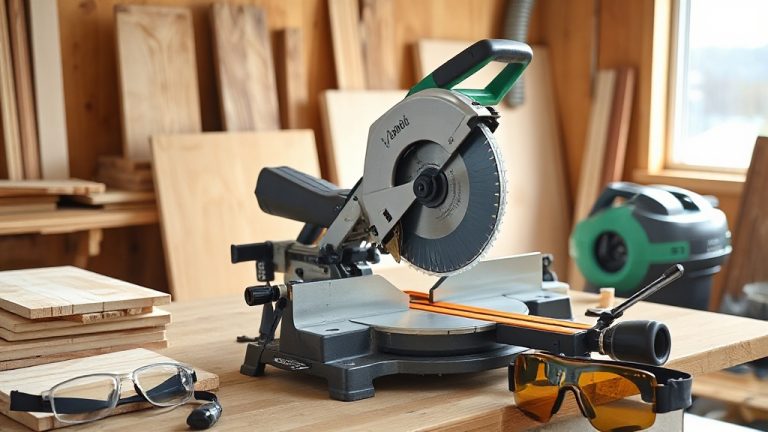
Step 1: Gather your materials and safety gear
Step 2: Set up your work area
Step 3: Mark your cutting line
Step 4: Prepare the miter saw
Step 5: Position and secure the Hardie board
Step 6: Turn on the miter saw and make the cut
Let’s examine each step in detail, so you can cut the Hardie board efficiently with a miter saw.
Step 1: Gather Your Materials and Safety Gear
Ensure you’ve gathered all the necessary materials and safety gear before starting. To cut the Hardie board with a miter saw, you’ll need a miter saw with a diamond or carbide-tip blade, a Hardie board, measuring tools, a straight edge or square, safety glasses, a dust mask, and hearing protection.
Once you have collected all the materials and safety gear, you are prepared to begin cutting the Hardie board.
Step 2: Set Up Your Work Area
Choose a well-ventilated and properly lit work area, preferably outdoors, to set up for cutting the Hardie board. It is crucial to have adequate ventilation to minimize the inhalation of dust particles. Make sure the area is well-lit to ensure accurate and precise cuts.
If you are working indoors, isolate the work area and set up a dust collection system or use a fan to blow the dust away from you.
Hardie board cutting generates a significant amount of dust, so it is essential to have a functioning dust collection system or fan to prevent the dust from settling on you or your work area. Remember to wear a dust mask to protect your respiratory system from harmful dust particles.
Step 3: Mark Your Cutting Line
After setting up your work area, the next step is marking a straight and accurate line on the Hardie board where you plan to make the cut. This line will serve as your guide to ensure precise and clean cuts. Here are five steps to help you mark your cutting line effectively:
- Use a straight edge, such as a level or a ruler, as a guide for your line.
- Measure the desired length on the Hardie board and mark it with a pencil.
- Position the straight edge along the marked line, ensuring it is securely in place.
- Trace the line along the straight edge using a pencil or a scoring tool.
- Double-check the line for accuracy and make any necessary adjustments before proceeding with the cut.
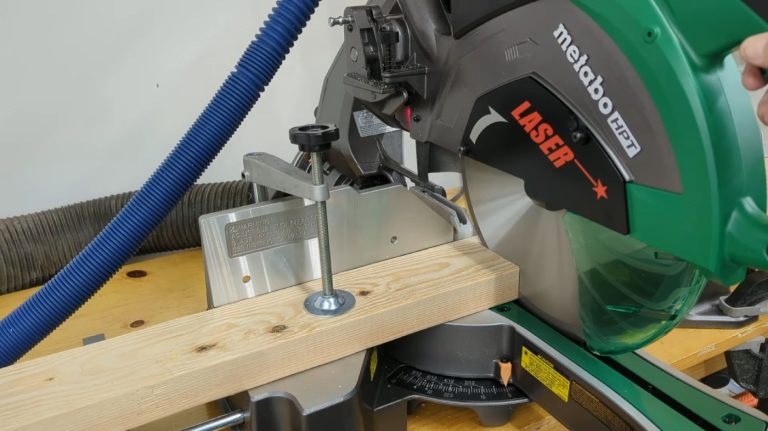
Step 4: Prepare the Miter Saw
To get started with the next step, make sure to securely fasten the selected blade onto your miter saw and adjust it properly for accurate cuts.
When cutting a Hardie board, using a diamond cutting blade or a carbide-tip blade specifically designed for fiber cement materials is crucial. These blades are designed to minimize dust and heat buildup, ensuring cleaner cuts and a longer blade life.
Install the chosen blade onto your miter saw, making sure the saw is securely fastened. Adjust the saw to a 90-degree angle for straight cuts.
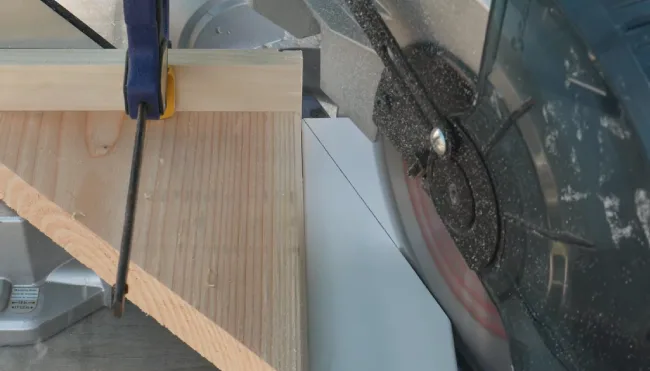
Step 5: Position and Secure the Hardie Board
Now that you have prepared your miter saw, it is time to position and secure the Hardie board for cutting. Follow these steps to ensure a precise and safe cutting process:
- Place the Hardie board flat on the saw’s work surface, ensuring it is properly supported and won’t move during cutting.
- Align the marked cutting line on the Hardie board with the miter saw’s blade.
- Use clamps or other securing devices to firmly hold the Hardie board in place, preventing any movement or shifting.
- Double-check the alignment of the cutting line with the blade to ensure accuracy.
- Ensure that your hands and any loose clothing are kept away from the blade, and other moving parts of the miter saw.
Step 6: Turn on the Miter Saw and Make the Cut
Turn on the miter saw so that the Hardie board can be cut. Once the miter saw is turned on, let it reach full speed before contacting the Hardie board to ensure a smooth and precise cut.
The miter saw’s adjustable speed settings can be used to minimize heat buildup during the cutting process. Choosing a lower speed can effectively reduce the risk of damaging the Hardie board.
When making the cut, following the marked cutting line and applying steady and even pressure is important. Avoid forcing the blade through the material; let the saw do the work instead.
This technique will help prevent any potential damage to the Hardie board and ensure a clean and professional-looking cut.
What Should You Do After Cutting Hardie Board With a Miter Saw?
After cutting the Hardie board with a miter saw, you should take several important steps to ensure a clean and safe work area.
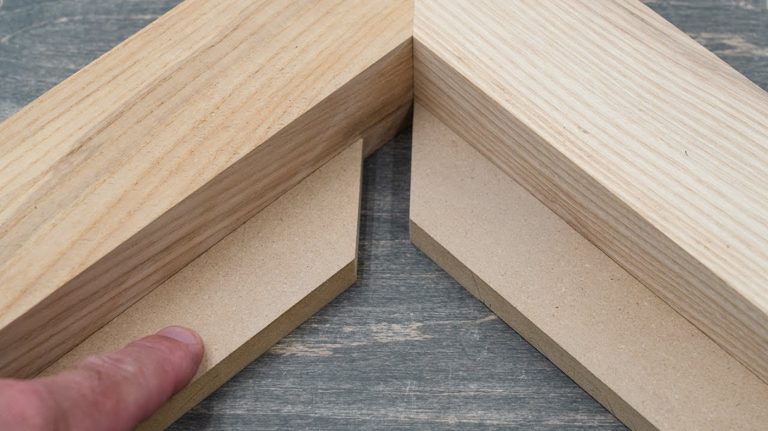
1. Inspect the Cut Edge
Check out the cut edge of the Hardie board after you finish cutting it, making sure it’s clean and accurate. This step is crucial to achieving a professional-looking finish. Take a moment to inspect the cut edge for any imperfections.
Here are some things to look for:
- Smoothness: Run your fingers along the cut edge to feel for any rough spots or jagged edges. The edge should be smooth and even.
- Straightness: Use a straightedge or a level to check if the cut edge is perfectly straight. Any deviations can affect the overall appearance and fit of the Hardie board.
- Cleanliness: Ensure that there are no leftover debris or burrs on the cut edge. Use a brush or a cloth to wipe away any dust or particles.
- Accuracy: Measure the cut edge to verify that it matches the desired dimensions. Precision is key when working with the Hardie board.
- Consistency: Compare the cut edge to other edges on the Hardie board to ensure uniformity. Consistent cut edges contribute to a cohesive and polished look.
2. Clean up the Dust
Cutting the Hardie board releases substantial dust particles into the air, which can settle on your work surface and tools. Removing this dust promptly and effectively is crucial to prevent it from becoming a hazard or contaminating other materials.
A shop vacuum is an excellent tool for sucking up the dust particles, ensuring a thorough clean-up. Alternatively, a broom or dustpan can be used to sweep and dispose of the dust properly.
3. Clean the Miter Saw
Ensure the blade guard, table, and other parts of your miter saw are clean and dust-free. Dust accumulation can hinder your saw’s performance and affect your cuts’ accuracy.
To properly clean your miter saw, follow these steps:
- Use a brush to remove loose dust and debris from the blade guard, table, and other surfaces.
- Use compressed air to blow away any remaining dust particles from hard-to-reach areas.
- If there are stubborn stains or residues, use a damp cloth to wipe them away gently.
- Pay attention to the corners and crevices where dust can accumulate unnoticed.
4. Dispose of Dust Properly
When disposing of dust, it’s important to follow local regulations and guidelines to ensure proper handling. Dust from construction debris, especially if it contains hazardous materials, should be disposed of correctly to prevent harm to yourself and the environment.
Begin by checking your local regulations and guidelines for specific instructions on properly disposing of dust. This may involve using designated disposal containers or taking it to a specialized facility for proper handling.
It’s crucial to avoid simply throwing the dust in the trash or pouring it down the drain, as this can lead to contamination and negative impacts on the ecosystem.
5. Store Your Tools Safely
Keep your tools organized and protected by storing them in a secure location when you’re not using them. This ensures that they remain in optimal condition and ready for future use.
Here are some essential tips for safely storing your tools:
- Use a sturdy toolbox or cabinet to keep your tools organized and protected from moisture, dust, and accidental damage.
- Clean your tools thoroughly before storing them to remove any debris or residue that could cause corrosion.
- Apply a light coat of oil to metal parts to prevent rust and keep them lubricated.
- Store sharp tools such as saw blades and chisels in protective cases or sheaths to prevent accidents and maintain their sharpness.
- Keep your tools dry and well-ventilated to prevent moisture buildup, which can lead to rust and deterioration.
Can you cut curves or angles in the Hardie board with a miter saw?
While a miter saw is primarily designed for making straight-line cuts, it’s not the ideal tool for cutting curves or complex angles in Hardie board.
Due to the rigid and abrasive nature of the Hardie board, attempting to cut curves or intricate angles with a miter saw could result in chipping, splintering, or damaging the material.
Can you cut a Hardie board with a masonry blade?
You can cut Hardie board with a masonry blade, specifically one designed for stone, tile, or masonry cutting with a diamond “turbo” rim.
This type of blade is suitable for working with fiber-cement products like Hardie board due to its abrasive nature. However, it’s essential to note that using a masonry blade will generate a significant amount of dust during the cutting process. While it’s effective for cutting Hardie board, this type of blade is not appropriate for cutting wood or wood paneling as it’s designed for harder materials.
Always prioritize safety by wearing appropriate protective gear and working in a well-ventilated area when cutting Hardie board with a masonry blade.
What type of miter saw is best for cutting a Hardie board?
The best type of miter saw for cutting a Hardie board depends on the nature of your cutting needs. For straightforward straight cuts, a standard miter saw with a fixed arm can be sufficient.
But, if your project requires making bevel cuts or angled cuts, using a sliding compound miter saw is recommended.
This versatile tool allows you to tilt the blade for bevel cuts and can slide the blade forward and backward, enabling you to tackle a wider range of cutting angles with precision and efficiency.
Therefore, a sliding compound miter saw offers greater flexibility and is often the preferred choice for more complex cutting tasks involving the Hardie board.
Cut the Hardie Board Like a Pro Using a Miter Saw and Enjoy the Benefits
As you embark on your home renovation journey, remember that cutting a Hardie board with a miter saw is possible and achievable with the right approach.
Following the steps outlined in this guide and selecting the appropriate tools and safety gear, you can confidently create precise cuts in this durable fiber cement material.
Whether you’re working on straight cuts or considering more intricate angles, the miter saw can be your ally in achieving professional results. Just ensure to prioritize safety, accurate measurements, and proper tool maintenance.
Considering these considerations, you’ll be well-equipped to tackle your project and enjoy the benefits of working with Hardie board for your home improvement needs.