Miter Saw Brake Not Working: 7 Reasons with Solutions
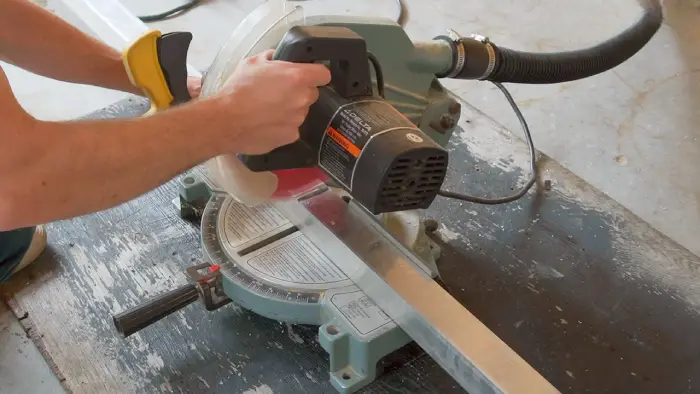
The functionality and reliability of a miter saw’s brake system are paramount for both efficiency and safety in woodworking and construction projects. A well-operating brake ensures that the saw’s blade stops rapidly, reducing the risk of accidents and injuries.
However, miter saw brakes can encounter issues over time, like any mechanical component. A faulty switch can disrupt the brake’s engagement. Carbon buildup on the commutator or motor brushes can hinder its effectiveness. Also, issues such as a loose arbor screw or a failing armature can contribute to brake malfunctions.
Here, we’ll explain why your miter saw brake may not function properly and provide expert advice on how to fix it.
Reasons Why Miter Saw Brake Not Working and Their Solutions

If your wood-cutting miter saw brake is not working, there could be various reasons behind it. Here are some possible causes:
- Faulty switch
- Carbon build-up on commutator or motor brushes
- Loose arbor screw
- Failing armature
- Worn motor brushes
- Broken brake assembly
- Disconnected brake wires
Let’s look at some solutions to fix your miter saw brake:
No 01: Faulty Switch
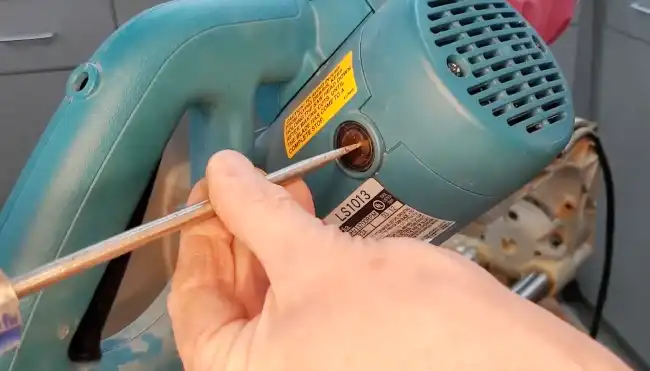
To address the issue of a faulty switch in your wood-cutting miter saw, you should first test it for continuity using a multimeter. This is an essential step in troubleshooting the problem.
The first step to ensuring your safety is to disconnect the power source. Once the power is off, access the switch and use the multimeter to check for continuity. If the switch does not show continuity when it is supposed to, it is indeed faulty and must be replaced.
Purchase a compatible replacement switch and proceed with caution. Disassemble the saw, remove the old switch, and carefully disconnect the wires, making sure to take a picture for reference. Install the new switch, reconnect the wires per your reference, and securely reassemble the saw.
No 02: Carbon Build-up on Commutator or Motor Brushes
When cleaning the commutator of your wood cutting miter saw, be sure to use 600-grit aluminum oxide sandpaper. This type of sandpaper is ideal for removing carbon build-up without damaging the commutator’s surface.
To begin, make sure the saw is powered off and unplugged. Gently sand the commutator in a circular motion, careful not to apply too much pressure. This will help remove any carbon deposits that may be causing the brake to malfunction.
After cleaning the commutator, inspect the motor brushes. If they are worn down, replacing them with new ones is recommended.
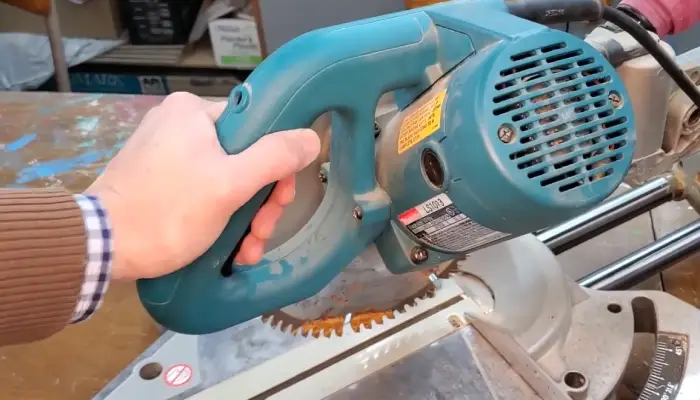
No 03: Loose Arbor Screw
Ensure the saw is turned off and unplugged before tightening the arbor screw securely to address the issue of a loose arbor screw.
This common problem can occur over time due to regular use and vibrations. When the arbor screw becomes loose, it can cause wobbling or instability in the blade, leading to the wood-cutting miter saw brake not working properly.
To fix this issue, you will need the appropriate tools to tighten the screw securely. Ensure the screw is tightened enough to eliminate movement but not too tight to avoid damaging the saw.
Once the arbor screw is properly tightened, the brake’s functionality should be restored, allowing for safe and efficient wood-cutting operations.
No 04: Failing Armature
Inspect the armature for any visible damage to determine if it’s failing. The armature is a crucial component in operating the wood-cutting miter saw brake. Any visible damage, such as cracks or breaks, can indicate a failing armature.
If you notice significant damage or if the armature’s commutator is beyond cleaning, it may be necessary to replace the armature. As mentioned earlier, cleaning the armature’s commutator is essential to address brake-related problems. However, if the armature is failing, cleaning alone may not be sufficient.
Replacing the armature should help resolve any issues with the miter saw brake. When dealing with a failing armature, it’s crucial to have the necessary knowledge and experience to handle the replacement process effectively.
No 05: Worn Motor Brushes
- To address the issue of worn motor brushes, you’ll need to disassemble the saw and replace them with new ones.
- Begin by carefully removing the necessary components, such as the belt cover, screws, and any other parts that may be obstructing access to the brushes.
- Take your time and ensure each step is executed precisely to avoid any damage to the saw or its components.
- Once you have successfully accessed the brushes, carefully remove the worn ones and replace them with new ones.
- Make sure the new brushes are securely in place before reassembling the saw.
- Once the saw is fully reassembled, test the brake to ensure it functions properly.
This solution will help restore the brake’s functionality and ensure the smooth operation of your wood-cutting miter saw.
No 06: Broken Brake Assembly
If the brake assembly is damaged or broken, you must gather the necessary tools and a replacement assembly. Start by disconnecting the power source and disassembling the wood-cutting saw.
This will allow you to access the brake assembly and remove the broken one. Take your time and be careful not to damage any other components. Once the broken assembly is removed, install the new one. Make sure it is securely fastened and aligned correctly.
After completing the replacement, reassemble the saw and test the brake to confirm it is working correctly. It’s important to follow these steps precisely to ensure the safety and effectiveness of your wood-cutting miter saw.
No 07: Disconnected Brake Wires
When addressing the issue of disconnected brake wires, you can start by visually checking for any loose or disconnected wires. Inspect the wiring carefully, looking for any signs of damage or disconnection. If you find any loose wires, it is important to reconnect and secure them properly.
Ensure that the connections are tight and secure and that there are no exposed wires. Ensuring the connections are properly insulated to prevent potential electrical hazards is also crucial.
Once you have reconnected and secured the wires, test the brake’s functionality to verify that it works as intended. This will help ensure your wood-cutting miter saw’s safe and efficient operation.
How does a miter saw brake work?
The miter saw brake is essential for a safe and efficient woodcutting experience. It reverses the flow of electricity, generating resistance that quickly stops the blade when cutting wood.
Upon releasing the trigger or turning off the power switch, the brake mechanism comes into action. Inside the miter saw, there is an electric brake module connected to the saw’s circuitry.
As soon as the trigger is released, the brake module sends a reverse voltage to the motor, causing it to generate a strong electromagnetic field in the opposite direction. This sudden reversal creates resistance to the blade’s rotation, rapidly slowing it down.
Due to this electromagnetic resistance, the blade comes to a stop much more quickly, enhancing safety by reducing the risk of accidental contact.
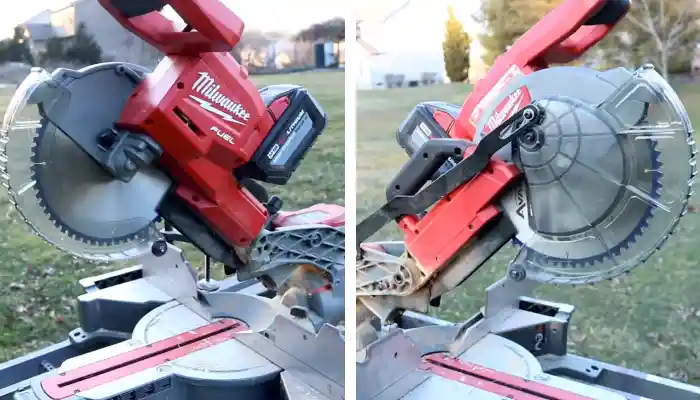
Do cordless miter saws have brakes?
Many cordless miter saws are equipped with electric brakes like their corded counterparts. These electric brakes serve the same purpose. To rapidly stop the rotation of the saw’s blade when you release the trigger or turn off the power switch.
Having an electric brake in a cordless miter saw is crucial for safety, as it reduces the time it takes for the blade to come to a complete stop. This feature helps to prevent accidents or injuries by minimizing the risk of the blade accidentally spinning after the power is cut off.
Can using an extension cord affect the miter saw’s brake system?
Using an undersized or damaged extension cord can negatively impact the performance of your miter saw’s brake system. When you use an extension cord that is not the right size or in poor condition, voltage drops can occur.
These voltage drops can decrease the power supplied to the miter saw’s brake system, affecting its performance.
The brake may not engage or disengage properly, compromising your safety and the accuracy of your cuts. To avoid this issue, it is crucial to use the correct type and length of extension cord as the manufacturer recommends.
Properly Maintain a Miter Saw Brake
Now you know that it’s important to understand why a wood-cutting miter saw brake may not work and the solutions to address the issue. By knowing how a miter saw brake works and being aware of the potential impact of using an extension cord, you can effectively troubleshoot and resolve any problems.Always prioritize safety when working with power tools and consult the manufacturer’s instructions for proper maintenance and care. With the right knowledge and attention to detail, you can ensure the proper functioning of your miter saw brake.