How to Use Miter Gauge on Table Saw? A Beginner’s Guide
To use a miter gauge on your table saw, first, insert the gauge bar into the miter slot, ensuring a snug fit for smooth sliding. Adjust the gauge to your desired angle and lock it in place.
Before cutting, verify the blade’s alignment with the miter gauge for accuracy. Make steady cuts while feeding the wood through the blade.
For better stability, consider adding accessories. Keep going to discover more tips and techniques for precise woodworking.
Key Takeaways
- Position the miter gauge snugly in the table saw’s miter slot for smooth sliding and accurate cuts.
- Adjust the miter gauge to your desired angle and securely lock it in place to prevent movement.
- Calibrate angle stops for precision, and check alignment with the blade using an adjustable square.
- Perform test cuts on scrap wood to verify that the angles are correct before making final cuts.
- Maintain a clean workspace, and always wear safety gear while operating the table saw to ensure safety.
Setting Up Your Miter Gauge
Setting up your miter gauge correctly is essential for achieving accurate cuts. Begin by positioning the miter gauge bar into the slots on your table saw, ensuring it fits snugly but slides easily.
A sturdy aluminum headstock is recommended for durability. If your gauge has plastic expanding rings, use them to adjust the fit. Next, calibrate the angle stops; preset stops are often inaccurate.
Place the gauge upside down against the rip fence rail to align it with 90°. For other angles, use a plastic protractor for precision.
After adjustments, consider adding stop blocks and an auxiliary fence for improved support and accuracy. The miter gauge is primarily used for cross cuts across the grain, so always prioritize safety by keeping hands away from the blade during cuts.
Additionally, ensure that blade compatibility is considered when using different types of saws to maintain cutting efficiency.
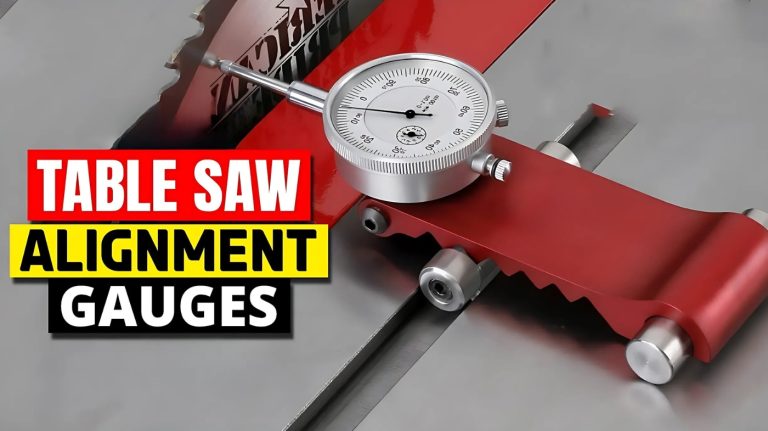
Aligning the Miter Gauge With the Table Saw Blade
When aligning the miter gauge with the table saw blade, it’s crucial to guarantee precision for safe and effective cutting. Start by measuring the distance from the miter slot to a single tooth on the blade using an adjustable square.
If there’s a gap, use a feeler gauge to pinpoint misalignments. For tilted blades, check alignment at both the front and rear. Loosen the table mounting bolts to adjust the position, tapping gently with a dead blow hammer if needed.
For contractor saws, add or remove shims for fine-tuning. After making adjustments, tighten all bolts securely, then recheck alignment to confirm everything’s parallel.
Proper alignment is essential as it ensures optimal cutting performance and enhances safety during operation. Additionally, maintaining a clutter-free workspace helps to prevent accidents and distractions while making adjustments.
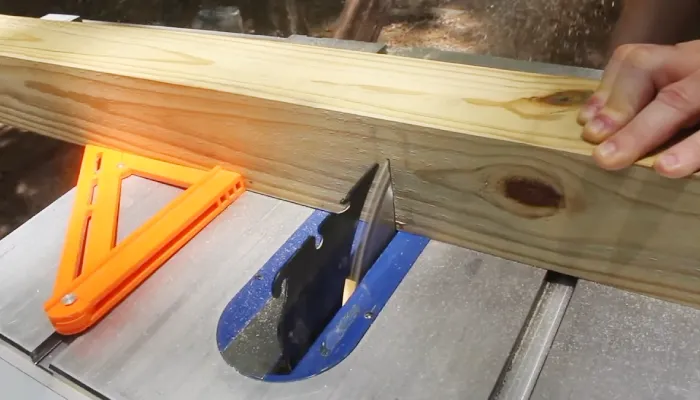
Making Accurate Angled Cuts
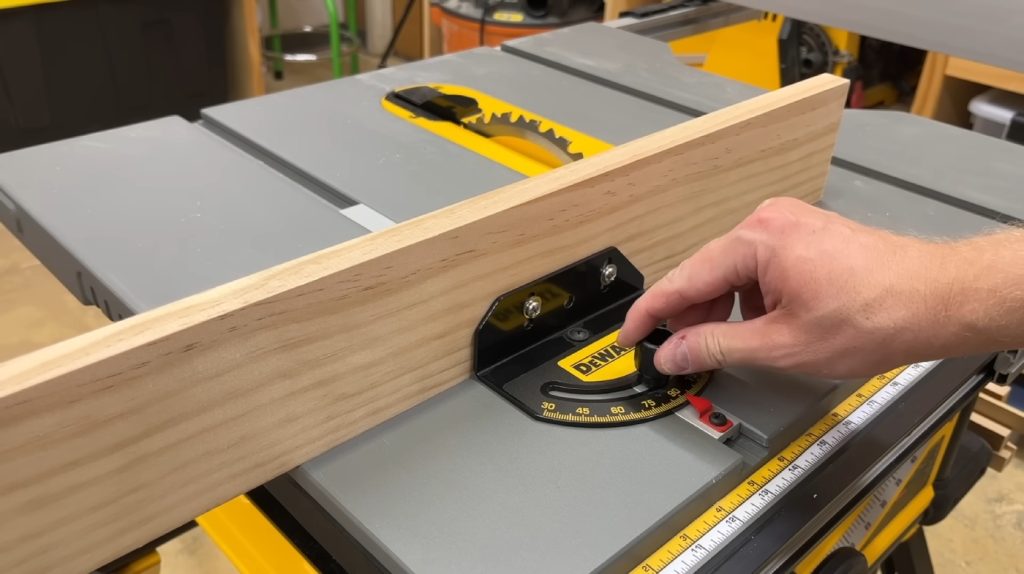
Achieving accurate angled cuts with a miter gauge requires careful setup and attention to detail. Start by adjusting the gauge to the desired angle, verifying it aligns perfectly with the saw blade.
Utilize the adjustment mechanism, often a knob or cam, to lock the angle securely. Positive stops can streamline the process, especially for common angles.
Ensuring that the miter gauge is locked in place will prevent any unwanted movement during the cutting process. Proper alignment is crucial, as even small discrepancies can lead to inaccurate cuts.
| Angle (Degrees) | Method | Result |
|---|---|---|
| 0 | Set gauge at 90 degrees | Square cross-cut |
| 45 | Adjust gauge to 45 degrees | Miter cut |
| Compound Angle | Adjust both gauge and blade | Compound cut |
Don’t forget to calibrate your miter gauge for maximum precision, especially when making multiple cuts. Proper setup verifies consistent accuracy.
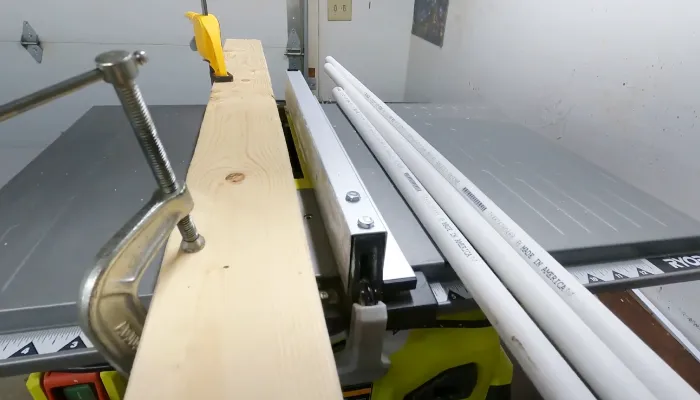
Enhancing Stability With Accessories
Enhancing the stability of your miter gauge can greatly improve the accuracy and safety of your cuts. To achieve this, consider using high-quality miter bars made of steel or aluminum, ensuring they fit snugly in your table saw’s standard 3/8″ x 3/4″ miter slots.
Incorporate accessories like an auxiliary fence to support your workpiece and stop blocks to maintain consistent cut lengths. Featherboards and hold-downs can provide additional control, preventing movement during cuts, as they help reduce kickback risk and stabilize the workpiece.
When selecting accessories, prioritize those with adjustable features for a custom fit and those made from durable materials.
Proper installation of these components will enhance overall stability, allowing you to make precise and safe cuts with your miter gauge. Miter bars can significantly reduce side play, further contributing to accuracy in your cuts.
Safety Tips for Using a Miter Gauge
Using a miter gauge safely is essential for preventing accidents and ensuring accurate cuts. Start by ensuring your blade is clean and sharp to avoid binding.
Check that the insert is flush with the tabletop and the fence is parallel to the blade. Keep your work area clear and well-lit, and always wear safety glasses and hearing protection.
During operation, stand to the side of the blade and feed wood steadily through it—never freehand cuts. Ripping applies to solid lumber and avoid reaching over the blade; remember to push the wood past the blade without backing it up.
After use, power off the saw before making adjustments, clear debris, and inspect your equipment regularly for any wear or damage.
Troubleshooting Common Miter Gauge Issues
Miter gauges can present several common issues that affect your cutting accuracy and efficiency.
Here’s how to troubleshoot these problems:
- Slop and Play: Apply tape to one side of the miter gauge to reduce slop. Duct or electrician’s tape works well for minor adjustments, especially if you are experiencing excessive wiggle in your miter gauge.
- Inaccurate Angles: Mark common angles on the table saw with a protractor. Check and recalibrate frequently to maintain precision.
- Inconsistent Miter Slot Sizes: Use lapping compound or fine-grit sandpaper to smooth out uneven surfaces in the miter slot. Verify the miter bar fits snugly across the entire slot length.
Frequently Asked Questions
Can I Use a Miter Gauge With Any Table Saw?
Absolutely, you can use a miter gauge with most table saws, as long as they fit the standard 3/8″ x 3/4″ miter slots.
Think of it like a key fitting into a lock—adjustable miter bars and features like sprung ball grub screws guarantee a snug fit.
Just check for compatibility with your specific model, and you’ll be set to make precise angled cuts with ease and confidence.
What Materials Are Best Suited for Miter Gauge Cuts?
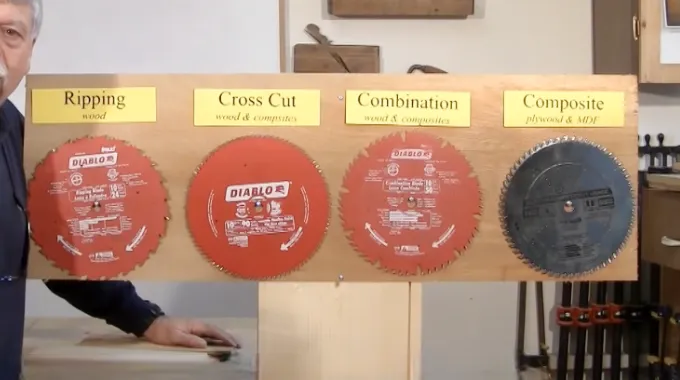
When you’re selecting materials for miter gauge cuts, wood is your go-to choice, including both hardwoods and softwoods.
Plywood and MDF are excellent too, as they offer stability and reduce tear-out. For plastics like PVC, make certain you use specialized blades to achieve clean cuts.
While composites may require specific settings to avoid delamination, metals generally aren’t suitable for miter gauge cuts. Always prioritize materials that enhance accuracy and minimize waste.
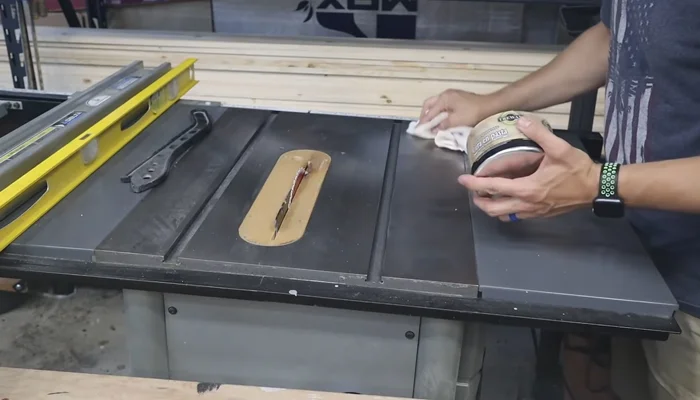
How Do I Clean and Maintain My Miter Gauge?
To clean and maintain your miter gauge, start by using compressed air to blow out dust from the slots and components. Wipe surfaces with a soft cloth to remove debris.
Apply a dry lubricant to moving parts for smooth operation. Check for rust, especially in humid environments, and use a rust-inhibiting coating as needed.
Regularly inspect alignment and guarantee the gauge’s fence is straight. Clean after each use and perform deeper maintenance monthly.
Can I Use a Miter Gauge for Rip Cuts?
Imagine a ship steering through calm waters, where precision is key. When it comes to rip cuts, using a miter gauge isn’t your best choice. It’s like trying to sail with a broken compass.
Miter gauges excel at cross-cuts and angled cuts, guiding wood with finesse along a miter slot. For long, straight rip cuts, stick to a rip fence for stability and safety. Combining both can lead to dangerous kickbacks, so proceed with caution.
What Are Common Mistakes When Using a Miter Gauge?
When using a miter gauge, common mistakes include not aligning it correctly with the miter slots, which can lead to inaccurate cuts.
You might also forget to secure the board properly, increasing the risk of kickback. Rushing through cuts and forcing the material can create issues as well.
Additionally, ignoring safety features and proper maintenance can compromise both your accuracy and safety, so always prioritize careful setup and adherence to protocols.
Practice Using Your Miter Gauge Accurately for Perfect Cuts Every Time
Using a miter gauge on your table saw is like having a compass on a road trip; it keeps you on the right path for precise cuts. By mastering its setup and maintenance, you ensure your woodworking projects are executed with accuracy and confidence.
Just as a well-calibrated compass guides you through unfamiliar terrain, a properly aligned miter gauge leads you to flawless angles and clean edges, transforming your woodworking journey into a seamless experience.