Can You Use a Mitre Saw as a Table Saw: 9 Easy DIY Steps
Do you want a single, multipurpose tool for crosscuts and rip cuts? Are you curious if a mitre saw can replace a table saw? If you aim to streamline your work area or avoid purchasing multiple tools, you’ll be pleased to know that a mitre saw can do both.
However, before you dive in, some important things must be considered. A mitre saw is designed to make precise angled cuts, whereas a table saw makes long, straight cuts. While a miter saw can handle smaller workpieces, it cannot handle larger pieces like a table saw can.
Today, we’ll guide you through the process of using a mitre saw like a table saw. We will also discuss the differences between the two tools and whether you need both in your workshop.
How to Use a Mitre Saw Like a Table Saw?
A mitre saw will not give you the same level of power as a dedicated table saw. Table saws are equipped with powerful motors specifically designed to handle the demands of cutting through thick and dense materials. In contrast, a mitre saw is not built for such heavy-duty work.
But if there is no option left for you, you will have to use a miter saw as a table saw in the following ways:
- Step 1: Prepare the Work Area
- Step 2: Check the Miter Saw
- Step 3: Set the Blade Height
- Step 4: Install an Appropriate Blade
- Step 5: Set up a Straight-Edge Guide
- Step 6: Adjust the Miter Saw Angle
- Step 7: Align the Workpiece
- Step 8: Make the Cut
- Step 9: Repeat as Necessary
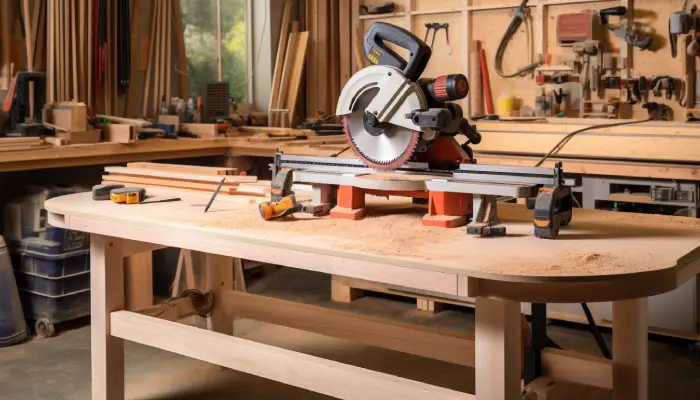
Step 1: Prepare the Work Area
Before starting your project, prepare your work area for safety and efficiency. Clear away any clutter or debris to create a clean and unobstructed workspace. This includes tools, materials, or other objects that could pose a hazard or distraction.
Choose a sturdy work surface that can accommodate the length and width of your workpieces. Once you’ve found a suitable surface, give it a quick sweep or vacuum to remove any dust or debris. This will make sure your cuts are accurate.
Step 2: Check the Miter Saw
Now it’s time to ensure your miter saw is in good condition before using it as a table saw. Check for any damages or blade dullness. If there’s damage to the blade, replace it immediately to avoid inaccurate cuts and injury.
The saw is mounted securely to the work surface and leveled to ensure safety. A wobbly saw can lead to dangerous and inaccurate cuts. Use a level to check and adjust as necessary.
Aside from that, inspect the saw’s fence and ensure it’s properly aligned to avoid binding or kickback during cuts. Correctly using your miter saw as a table saw relies heavily on these inspections.
Step 3: Set the Blade Height
To start using your miter saw as a table saw, you’ll need to adjust the height of your blade to the desired depth. You can usually do this with your saw’s adjustment lever or knob. Make sure to consider the thickness of your workpiece and adjust the blade height accordingly.
The blade should protrude slightly above the thickness of your workpiece for accurate cuts. Be precise and accurate when adjusting the blade height. Take your time and ensure the blade is at the height you need. This will ensure that your cuts are clean and smooth.
Step 4: Install an Appropriate Blade
Once you’ve adjusted the blade height, it’s time to select a suitable blade for the material you’ll be cutting. A general-purpose crosscutting blade or a fine-toothed blade will work well for wood.
But ensure the blade is appropriate for the specific material you’ll be cutting. For example, if you’re cutting through metal, you’ll need a blade specifically designed for that purpose.
After selecting the appropriate blade, ensure it’s properly installed and tightened according to the manufacturer’s instructions. This is crucial for both safety and performance reasons.
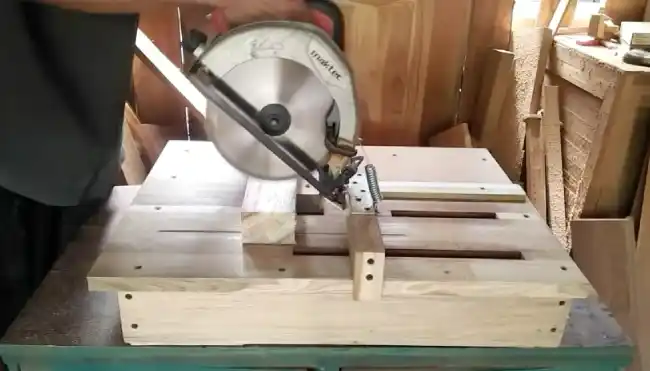
Step 5: Set up a Straight-Edge Guide
Your workpiece needs to be secure before you set up your straight-edge guide. This will guarantee accurate cuts. Once your workpiece is secure, grab a straight piece of wood or metal to guide your saw.
Position your guide parallel to your cut line and ensure it’s securely clamped. This is essential to prevent the guide from moving during cutting, which could cause imprecise cuts.
A straight-edge guide ensures your cuts are straight and precise, producing professional-looking finished products. So, take your time to set it up correctly.
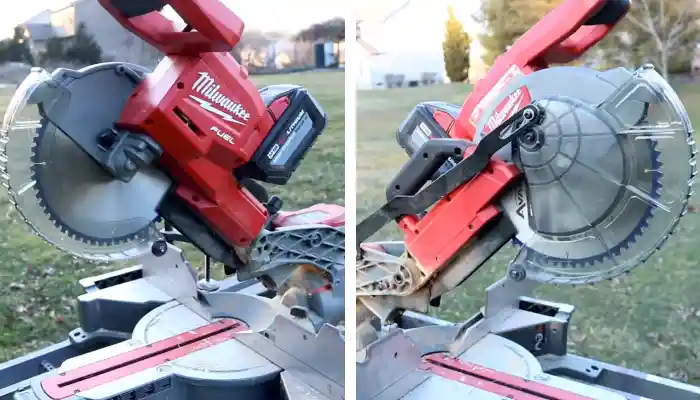
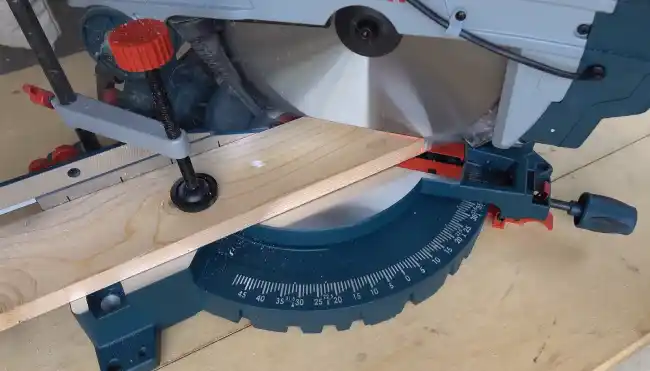
Step 6: Adjust the Miter Saw Angle
Get ready to achieve perfect cuts with the miter saw by adjusting the angle using the bevel or miter adjusting controls on the saw. This step is crucial to ensure that your cuts are accurate and precise. Miter saw blades should be set at 90 degrees for rip cuts and 45 degrees for cross cuts.
To adjust the miter saw angle, start by loosening the bevel or miter setting knobs on the saw. Then, gently move the saw blade to the desired angle, ensuring it’s aligned with the cut line. Once you’ve achieved the desired angle, lock the bevel or miter adjustment controls back into place.
Step 7: Align the Workpiece
To achieve accurate cuts on your miter saw, align the workpiece properly. Get it snug against the blade and straightedge guide while keeping your hands away from the blade area.
Make sure to position the workpiece firmly so it doesn’t move during the cut, which could lead to an unsafe and imprecise cut. Ensure the workpiece’s edge aligns with the straight-edge guide and the blade to get straight and accurate cuts.
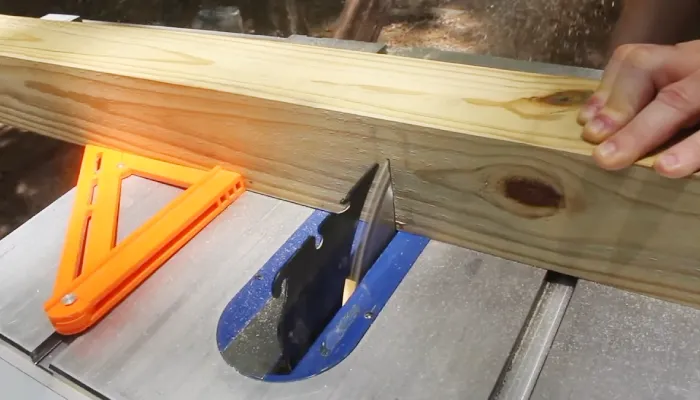
Step 8: Make the Cut
Now, smoothly guide the woodworkpiece through the blade steadily on your miter saw to make a precise and clean cut. Before starting the cut, wait for the blade to reach full speed by turning on the saw. Otherwise, you risk damaging the blade or making an inaccurate cut.
As you cut, apply steady pressure and gently guide the workpiece through the blade while maintaining control. Don’t force the workpiece, as this can lead to kickback, causing injury or damage to the saw. Let the blade do the work for you.
Step 9: Repeat as Necessary
Once the first cut is complete, assess the result and make any necessary adjustments before repeating steps 6 to 8 as needed for each subsequent cut. Maintain consistency and accuracy in each cut to ensure precise results and avoid potential safety hazards.
This means checking the blade’s alignment, the cut’s angle, and the material’s position before each cut. If additional cuts are necessary, repeat steps 6 to 8 for each cut. Take care to double-check each measurement and alignment before proceeding with the cut.
What Are the Differences Between a Miter Saw and a Table Saw?
There are a few key differences between miter saws and table saws:
#1 Cutting Capability:
To fully utilize miter saw cutting capability, remember that it isn’t designed to make rip cuts as a table saw. While miter saws excel at precise angled cuts, they are limited in handling larger and thicker pieces of wood. A miter saw has a smaller cutting surface and cuts less than a table saw.
Regarding cutting capability, a table saw works best for thicker and larger pieces of wood. Table saws have a larger cutting surface and can easily handle longer and wider pieces of wood. They’re designed to make rip cuts along the length of the workpiece and can also make crosscuts, bevel cuts, dados, grooves, and rabbets.
#2 Portability:
The lightweight and compact design of a miter saw makes it easy to move from one job site to another. A table saw’s larger size and weight make it more challenging to move around.
#3 Precision:
When considering precision, both saws have their strengths and weaknesses. A miter saw is known for its accuracy in making precise angle cuts. It often comes with built-in angle stops and bevel adjustments, allowing consistent and repeatable cuts.
Table saws have precise measurement guides, alignment tools, and adjustable fences for accurate and repeatable cuts. But, they may require more careful setup and alignment to achieve the desired precision.
#4 Workpiece Size:
Generally, miter saws are better suited for smaller or medium-sized workpieces due to the blade’s width determining the maximum width of the cut. If you try to cut a larger workpiece, the blade will not be long enough to complete the cut, making it impossible to use a miter saw for such a job.
In contrast, table saws can handle longer, wider, and thicker pieces of wood, making them suitable for larger projects. With table saws, you can also make rip cuts, which is essential for cutting big plywood sheets.
#5 Versatility:
While a miter saw can make precise crosscuts and bevel cuts, its capabilities are limited compared to the table saw. With a table saw, you can do more complicated cuts like dados and grooves and rip cuts, crosscuts, and bevels.
#6 Safety Considerations:
When using a miter saw as a table saw, remember the inherent differences in the safety features of each tool. While a miter saw generally has a lower risk of kickback, it’s still essential to use proper techniques and precautions to avoid accidents.
However, the potential for a kickback is a major concern when using a table saw. To ensure safety when using a table saw, use safety features such as splitters and anti-kickback pawls.
Do I need a miter saw if I have a table saw?
If you have a table saw, you may not need a miter saw as it can make the same cuts with less precision. While a miter saw is specifically designed for angled and beveled cuts, a table saw can do the job with some extra setup.
Using the right blade, a table saw can make various cuts, such as cross-cuts, rip-cuts, beveled, and angled cuts. But it takes more time to set up than a miter saw since you need a sled or jig to make angled cuts and to measure and mark the wood.
Can table saw replace miter saw?

A table saw can be a great alternative to a miter saw for versatile woodworking projects. A miter gauge or table saw sled can make degree miter cuts and angled cuts on large workpieces.
But you must properly adjust the blade and use proper techniques for accuracy. A sled offers more support and stability than a miter gauge for larger workpieces.
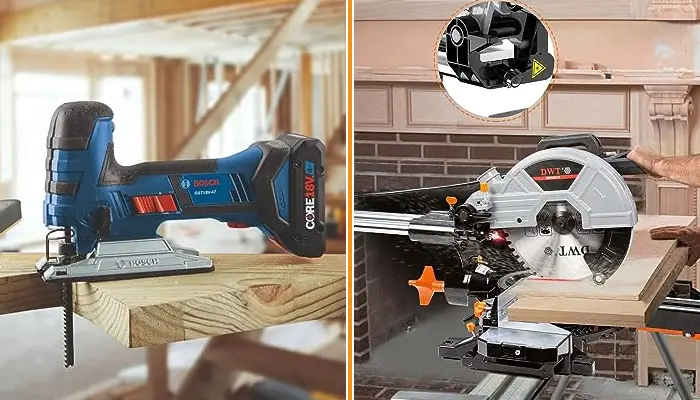
It is better to use a miter saw if you need to cut aluminum, vinyl or other non-wood materials. Table saws aren’t designed for very thin aluminum sheeting or for small angle cuts.
A miter saw is the best choice if you need to make precise angled cuts and moldings. It will also be easier to use with very small workpieces since its shorter blade length makes it more maneuverable.
Is a miter saw good for woodworking?
A miter saw is an excellent tool for precise and intricate cuts in woodworking projects. Its ability to rotate left and/or right makes it versatile, allowing easy cutting at different angles and creating complex shapes and designs. It is a great choice for fine woodworking that requires attention to detail.
Using a miter saw is straightforward with its controls and design, making it an excellent tool for seasoned woodworkers and beginners. It is powerful and precise enough to tackle challenging projects and is a tool that should be on every woodworker’s workbench.
Consider the Limits and Risks When Using a Mitre Saw Like a Table Saw
Using a miter saw as a table saw is possible but has limitations and risks of accidents. If you use a mitre saw in place of a table saw, always use a clamp to hold the material securely. However, a miter saw isn’t a replacement for a table saw as it can’t make rip cuts.
The miter saw delivers perfect crosscuts and miter cuts, while the table saw excels at ripping and making precise cuts. These essential pieces of equipment will elevate your workshop to the next level.
Each tool has its purpose, giving you more flexibility and efficiency in your projects. Both tools are essential for any woodworker and shouldn’t be replaced by each other.