How to Stain Wood Black: Avoid Common Staining Mistakes
To stain wood black effectively, start by sanding smooth to 220 grit and cleaning the surface thoroughly.
Use a pre-stain conditioner for soft woods to avoid blotches.
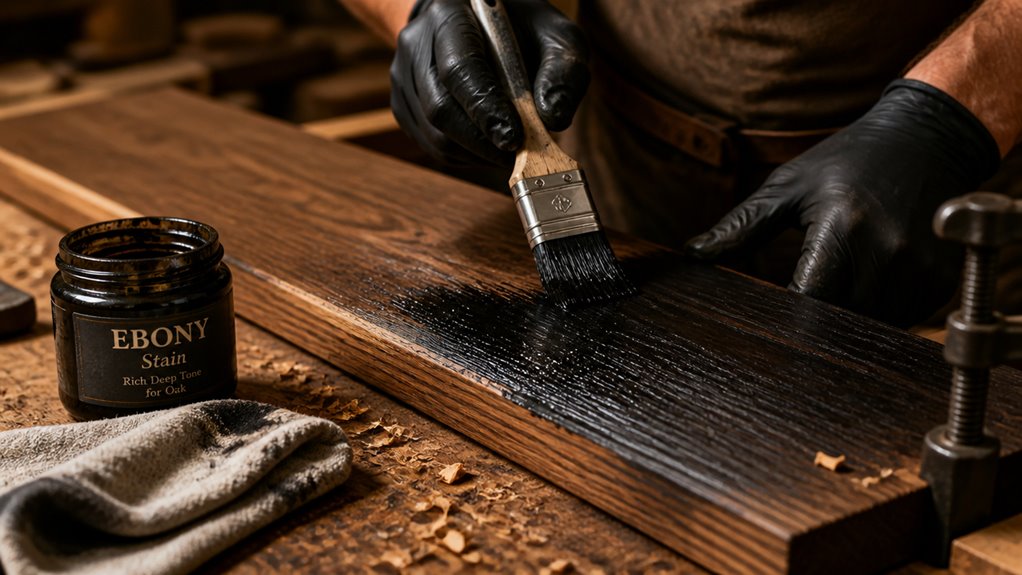
Apply a thinned initial coat with a lint-free cloth or foam brush along the grain.
Wipe off excess within minutes to prevent streaks.
Build depth with layered black stain or dyes, sanding lightly between coats.
Allow full drying before sealing with a protective finish.
Keep going to master advanced techniques and recipes for richer color and durability.
Key Takeaways
- Prepare wood by sanding to 220 grit, cleaning dust, and applying pre-stain conditioner on soft woods to ensure even stain absorption.
- Use a lint-free cloth or foam brush to apply thin, even coats of black stain along the wood grain for smooth, streak-free coverage.
- Apply a thinned first coat for better pore penetration, then follow with full-strength black stain layers, sanding lightly between coats.
- Wipe off excess stain within 5–30 minutes depending on stain type, using a clean cloth and firm pressure to avoid blotches.
- Let stain dry fully (about 24 hours) before sealing with compatible protective finishes like waterborne polyurethane or shellac.
Prepare Wood Properly for Black Stain
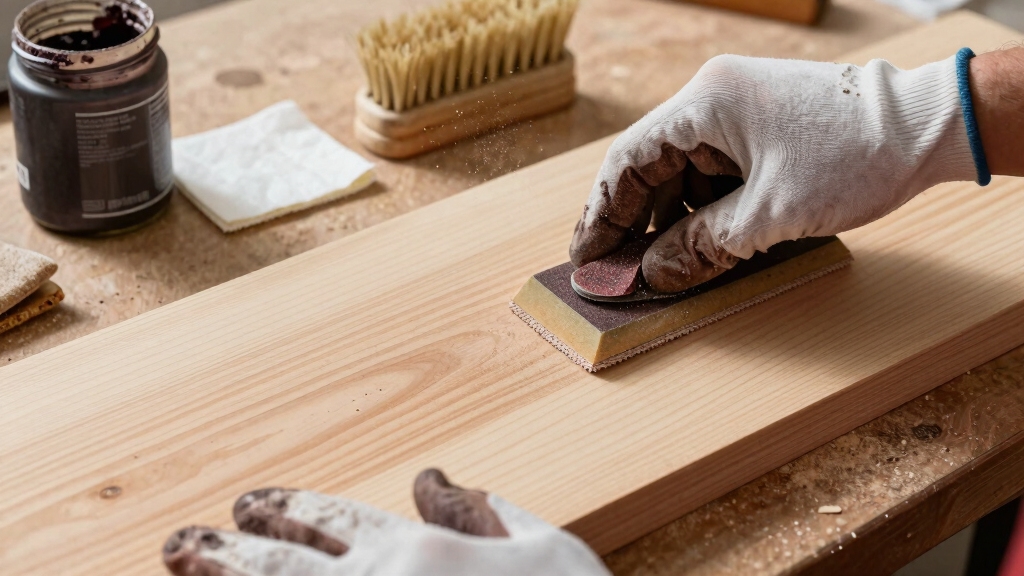
Start by sanding your wood thoroughly to 220 grit to remove any surface imperfections and open up the pores for better stain absorption.
After sanding, clean the surface with a damp cloth to remove dust and debris that could interfere with staining.
Next, use a tack cloth to pick up any remaining sanding dust, ensuring a perfectly clean base.
Apply a pre-stain wood conditioner, especially on porous or soft woods, to promote even stain absorption and prevent blotching.
Before you commit to staining the entire piece, test the stain on a hidden area like the underside to check color intensity and wood reaction.
Proper preparation guarantees a smooth, uniform black stain finish and maximizes the wood’s natural beauty.
For best results, avoid excessive wetting during surface preparation to prevent dilution of the stain’s concentration and intensity.
Pick the Best Tools for Smooth Black Stain Application
Choose your tools carefully to guarantee a smooth, even black stain application that highlights the wood’s grain without blotches or streaks.
Careful tool selection ensures a smooth, even black stain that beautifully accentuates the wood grain.
Using the right applicator prevents uneven absorption and minimizes mess. Opt for tools that deliver control and consistency, allowing you to work efficiently along the wood’s surface.
Here are four essential tools to pick for smooth black stain application:
- Lint-free cloths: Fold them to apply small amounts, reducing drips and blotches.
- Foam brushes: Provide smooth, streak-free coverage and conform to contours.
- Firm-bristle brushes: Help spread stain evenly along the grain without excessive paint marks.
- Tack cloth: Remove dust before staining to maintain a clean base for flawless results.
Selecting these tools guarantees a professional finish with minimal effort. Proper surface preparation, including removing dust thoroughly, is essential to achieve the best staining results.
How to Apply Black Stain Evenly Along the Grain?
With the right tools in hand, you can focus on applying the black stain evenly along the wood grain to avoid blotches and streaks.
Use a folded lint-free cloth or foam brush to apply a small amount of stain, working in manageable sections. Always spread the stain parallel to the grain, maintaining consistent pressure and smooth strokes to guarantee uniform coverage.
Avoid overloading your applicator to prevent pooling or drips. Move methodically along the grain, blending each section seamlessly into the last.
By controlling your application speed and amount, you’ll achieve a smooth, even finish that enhances the wood’s natural pattern.
Precision here lays the foundation for a deep, consistent black tone without uneven spots.
For best results, ensure the wood surface is properly prepared with sanding and dust removal before staining to promote uniform absorption.
How to Wipe Off Excess Black Stain at the Right Time?
You really want to wipe off that excess black stain at the right moment. For most woods, aim to do this within about 5 minutes. If you’re using oil-based stains, you can stretch that time to around 20 to 30 minutes.
When you’re ready to wipe, grab a clean, folded cloth. Make sure to apply firm pressure and work along the grain of the wood. This way, you’ll remove the surplus without smearing it everywhere.
Oh, and don’t forget to flip the cloth often! That’ll help you avoid putting any of that removed stain back onto the surface. Happy staining!
For best results, consider applying a clear coat after staining to protect the wood and enhance its appearance.
Timing For Wiping
Although timing varies depending on the type of stain, wiping off excess black stain at the right moment is crucial to preserving the wood’s grain and preventing blotches.
You want to catch the stain before it dries but after it soaks in enough to enhance the wood.
For most oil-based stains, wait 20–30 minutes to avoid a sticky residue but never longer than 30 minutes.
Dark stains often require quicker wiping to maintain grain visibility.
Keep these tips in mind:
- Wipe excess with a clean cloth section to avoid reapplying stain.
- Use firm pressure to push stain out of pores evenly.
- Flip cloth frequently to maintain cleanliness.
- Adjust wiping time based on stain type and wood porosity for best results.
Regular maintenance with food-grade mineral oil can help preserve the wood’s natural beauty and prevent drying after staining.
Techniques To Remove
Timing your stain removal sets the stage, but how you wipe off the excess black stain determines the final look and prevents uneven patches.
Use a clean, lint-free cloth, applying firm, even pressure to push off surplus stain without smearing. Flip the cloth frequently to avoid spreading removed stain back onto the surface.
For oil-based stains, wait 20–30 minutes before wiping to avoid a sticky residue. For water-based stains, wipe sooner to preserve grain detail.
Proper surface preparation, including sanding progressively, ensures better stain adhesion and a more even finish.
| Step | Action |
|---|---|
| Choose Cloth | Use lint-free, clean fabric |
| Pressure | Apply firm, consistent pressure |
| Timing | Oil-based: 20–30 min; water-based: 5 min |
| Cloth Maintenance | Flip often for clean wiping areas |
How to Achieve a Deep, Rich Black Color With Black Stain?
To achieve a deep, rich black, you’ll want to start with a thinned coat of black stain. This initial layer helps with better pore penetration.
After that, go ahead and apply a full-strength black stain. Trust me, it makes a difference!
Now, if you really want to enhance the depth of that black color, think about applying a blue or salmon base stain underneath. It sounds a bit unconventional, but it can really bring out the richness.
And here’s a little tip: using a combination of ink and dye stains can also intensify the black. Plus, it won’t hide the beautiful wood grain, which is a big win!
For the best finish, consider using a high-precision sander to prepare the surface evenly before staining.
Layering Stain Coats
Achieving a deep, rich black color with wood stain often requires layering multiple coats to build intensity and guarantee even coverage.
Start by applying a thinned first coat to penetrate pores deeply, then wait for it to dry fully. Follow with one or two full-strength coats, allowing each layer to dry completely before the next. This gradual buildup prevents blotching and uneven color.
To layer effectively:
Apply each coat evenly along the grain with a lint-free cloth or foam brush. Wipe excess stain promptly to avoid streaks or sticky spots. Sand lightly between coats with fine grit (320) for smoothness. Test color depth on a scrap piece before final layering.
Layering ensures a uniform, saturated black finish that enhances wood’s natural beauty. Additionally, maintaining a clean workspace helps prevent contaminants from affecting the finish, which is crucial for a smooth professional finish.
Enhancing With Base Colors
Enhance your black stain’s depth and richness by applying a base color underneath. Start with a blue or salmon Azure stain as your base; these hues intensify the black’s darkness and add complexity without overpowering the wood grain.
Apply the base color evenly with a foam brush or lint-free cloth, following the grain, then let it dry completely. This layer primes the wood, allowing the black stain to penetrate deeper and produce a more vibrant, layered effect.
Avoid thick application to prevent blotches. After drying, apply your black stain coat, which will interact with the base, creating a richer, more dimensional finish. This method guarantees your black stain won’t appear flat or dull but will achieve a deep, lustrous appearance.
For finishing, consider using a water-based polyurethane to preserve the wood’s natural tones and prevent yellowing over time.
Choosing Dye And Ink
Building on the effect of base colors, selecting the right dye and ink can markedly deepen the richness of your black stain. You want to combine ink with dye stains to achieve a truly deep, intense black that penetrates wood pores without obscuring grain detail.
Opt for water-based dyes like General Finishes for a jet-black finish that remains transparent and vibrant. Mixing a thinned coat with full-strength dye allows better pore penetration and color layering. Use black ink first for maximum depth, then apply two dye coats for intensity.
Apply black ink before dye for enhanced saturation. Use water-based dyes to preserve wood grain visibility. Thin the first coat with denatured alcohol for deeper absorption. Layer multiple dye coats to build up rich, even color.
For optimal results in finish work, using tools designed for precision such as a cordless pin nailer can help avoid surface damage while allowing for detailed assembly before staining.
DIY Black Stain Recipes: Natural Alternatives You Can Make
Try making your own black stain using simple, natural ingredients like white vinegar and steel wool.
Soak a piece of steel wool in white vinegar for 24 to 48 hours until the solution darkens. This reaction creates iron acetate, which reacts with the tannins in wood to produce a blackened effect.
Strain the mixture to remove steel wool particles before use. Apply the stain evenly with a cloth or brush, working along the wood grain.
Let it penetrate for 5 to 10 minutes, then wipe off excess to avoid blotches. Test the stain on scrap wood first, as color intensity varies with wood type.
This DIY approach is eco-friendly, cost-effective, and avoids harsh chemicals, giving you a natural, deep black finish with minimal effort.
Drying and Protecting Your Black-Stained Wood
After applying your black stain, whether homemade or commercial, you need to let it dry completely. This usually takes about 24 hours. This step is vital to ensure the stain fully penetrates and sets, preventing smudging or an uneven finish when you apply a protective topcoat.
Allow your black stain to dry fully, typically 24 hours, to ensure a smooth, smudge-free finish before sealing.
During drying, keep the wood in a well-ventilated, dust-free area at moderate temperature. This helps avoid surface tackiness or dust embedding.
To protect your black-stained wood, follow these key steps:
Use a compatible finish like waterborne polyurethane, shellac, or lacquer for durable sealing.
Apply finish in thin, even coats, allowing full drying between layers to avoid bubbles.
Avoid handling the wood until the finish cures for maximum protection.
Follow manufacturer instructions closely for drying times and product compatibility.
How to Adjust Black Stain Darkness and Finishing?
While achieving a deep black stain often involves layering, you can fine-tune the darkness by adjusting how much stain you apply and the number of coats you use.
Start with a thinned coat (mix stain 1:1 with denatured alcohol) to penetrate pores, then add full-strength layers for depth.
Apply stain evenly with a lint-free cloth or foam brush, following the grain.
More stain or additional coats darken the wood; fewer coats lighten it.
Always test on a scrap piece first.
When finishing, wait 24 hours for stain to dry completely before sealing.
Use waterborne polyurethane or lacquer for protection, applying multiple thin coats and allowing each to dry fully.
This approach guarantees consistent darkness and durable, smooth finishing.
Frequently Asked Questions
Can Black Stain Be Applied Over Previously Stained Wood?
Yes, you can apply black stain over previously stained wood, but you need to prep the surface first.
Lightly sand the wood to remove any finish sheen and open the pores for better absorption. Clean away all dust thoroughly.
If the existing stain is oil-based, make sure it’s fully cured before applying new stain. Test a small hidden area to check adhesion and color consistency before staining the entire surface.
How Do Temperature and Humidity Affect Black Stain Drying Times?
Imagine you’re back in the age of steam engines.
Temperature and humidity still govern your stain’s drying like clockwork. Higher temperatures speed up drying by evaporating solvents faster, while cooler temps slow it down.
High humidity traps moisture, making drying sluggish and risking tacky finishes. You’ll want to stain in moderate, dry conditions for best results.
Adjust drying times accordingly. Allow extra patience in damp or cold environments to avoid uneven curing or defects.
What Safety Precautions Should I Take When Using Black Stain?
You should always work in a well-ventilated area to avoid inhaling fumes.
Wear gloves to protect your skin from stains and chemicals.
Use safety goggles to prevent splashes from reaching your eyes.
Keep rags soaked with stain away from heat sources, as they can spontaneously combust.
Dispose of waste properly, following local regulations.
Avoid eating or drinking nearby, and wash your hands thoroughly after staining to reduce exposure risks.
Can Black Stain Be Used on Outdoor Wood Surfaces?
About 90% of wood finishes fail outdoors due to UV and moisture damage. You can use black stain on outdoor wood, but it must have UV inhibitors and water resistance.
Choose oil-based or specially formulated exterior stains to protect against weathering. After staining, apply a durable, weatherproof topcoat like exterior polyurethane or spar varnish.
Regular maintenance and reapplication every few years will keep the wood protected and looking sharp outdoors.
How Do I Remove Black Stain Mistakes Without Damaging the Wood?
You can remove black stain mistakes by gently sanding the affected area with fine-grit sandpaper (220 grit) to avoid damaging the wood.
Use a tack cloth to clear dust afterward. For stubborn spots, apply a wood stain remover or mineral spirits with a cloth, then wipe clean.
Always test removers on a small hidden area first.
Work carefully and avoid over-sanding to maintain the wood’s integrity and smooth surface.
Create a Rich, Timeless Black Wood Finish
Now that you’ve mastered the art of black staining, your wood will wear its new look like a sleek, timeless coat—subtle yet striking.
By preparing carefully, applying with finesse, and protecting thoughtfully, you’ll avoid any “colorful surprises” and achieve a finish that whispers sophistication.
Remember, adjusting darkness lets you tailor the mood perfectly.
With these steps, your project won’t just look good; it’ll quietly command attention and stand the test of time.