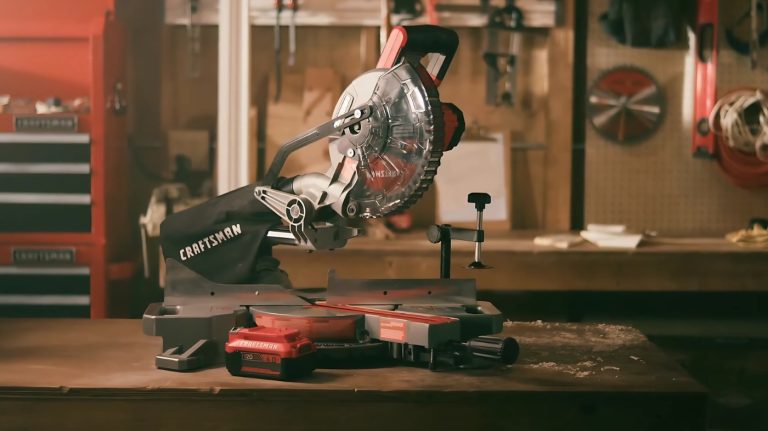
How to Change a Craftsman Miter Saw Blade: Hassle-Free Swap
To change your Craftsman miter saw blade, first unplug the saw and wear protective gear. Lock the blade in place using the arbor lock. Remove the blade guard with an Allen wrench and Phillips screwdriver.
Unscrew the arbor bolt counterclockwise and remove the old blade. Install the new blade, ensuring the teeth face down and align the rotation arrow.
Tighten the bolt securely, reattach the blade guard, and test for smooth operation. Continue to learn more about optimizing your saw’s performance.
Key Takeaways
- Disconnect the power source and wear protective gear before beginning the blade change process.
- Remove the blade guard using an Allen wrench and Phillips screwdriver for access to the blade.
- Engage the arbor lock to secure the blade and prevent movement during removal.
- Unscrew the arbor bolt counterclockwise, removing any necessary washers before replacing the blade.
- Reassemble the blade guard and perform test cuts to ensure smooth operation before use.
Consider about Safety Precautions
Before you change a miter saw blade, it’s crucial to prioritize safety to prevent accidents. First, disconnect the power source by unplugging the saw.
Prioritize safety by unplugging your miter saw before changing the blade to prevent accidents.
Wear protective gear, including safety glasses, gloves, and a dust mask. Verify your workspace is well-lit and free from clutter to avoid tripping hazards.
Additionally, always disconnect the miter saw from the outlet before beginning any maintenance or blade replacement. Wearing gloves may increase the risk of serious injuries when handling power tools, so it’s essential to ensure proper safety measures are in place.
Secure the blade using the built-in blade lock to prevent rotation during replacement. Consult the user manual for specific safety guidelines for your Craftsman model.
Use the correct half-inch or Allen wrench, avoiding over-tightening the bolt to prevent damage. Always keep your fingers clear of blade edges and make sure children and pets stay at a safe distance while you work.
Removing the Blade Guard
To remove the blade guard, you’ll need specific tools like an Allen wrench and Phillips screwdriver. Always prioritize safety by wearing protective gear and ensuring the saw is unplugged before starting the process.
Blade specifications must be confirmed to ensure compatibility when changing the blade, so be sure to check those details.
Regular maintenance, including blade sharpening, is essential for optimal cutting performance, so take the time to keep your equipment in top shape. Follow a step-by-step approach to properly release and adjust the guard for effective maintenance.
Tools Required for Removal
When you’re ready to remove the blade guard from your miter saw, you’ll need specific tools to guarantee a smooth process. Here’s what you’ll need:
- A specialized wrench (usually stored in the saw’s base)
- A Phillips screwdriver for loosening screws
- An Allen wrench or half-inch wrench, depending on your model
Make sure you have these tools handy to avoid interruptions. Additionally, ensure the saw is inactive before starting to prevent any accidents during the blade change.
First, turn off the power and disconnect the cord. Next, release the mechanism securing the blade guard, then use the screwdriver to loosen any screws holding it in place.
Finally, move the guard away from the blade area, ensuring it doesn’t obstruct any access to the blade bolts. This preparation sets you up for a successful blade change, as you will need to engage the stop mechanism for safety during the blade installation process.
Safety Considerations
Guaranteeing safety is essential during the removal of the blade guard on your miter saw, especially since improper handling can lead to serious injuries. Always disconnect the power cord before starting, and make sure your workspace is clean and stable.
Regularly changing your blade is crucial for maintaining optimal performance and safety. Proper safety gear is essential during all equipment operations to further enhance your protection.
Here’s a quick safety checklist:
| Safety Tip | Action Required | Notes |
|---|---|---|
| Power Disconnection | Disconnect the power cord | Prevents accidental start |
| Hands Away | Keep hands clear of the path | Avoid injuries |
| Protective Gear | Wear gloves and safety glasses | Protects against debris |
Review the manufacturer’s manual for specific safety instructions. Alert others nearby, and guarantee the area is clear of debris before proceeding.
Step-by-Step Process
Before you start removing the blade guard, make certain the saw is powered off and the workspace is clear. Loosen the small Phillips screw holding the guard, but don’t remove it entirely. This allows you to slide the guard back and expose the blade area.
– Make sure the saw arm is in an upright position for better access. Use an Allen wrench if needed for your specific model. Pull the blade guard away gently to reveal the bolt securing the blade. Ensure the blade guard is pushed back to stay out of the way during this process.
Once the guard is out of the way, you can proceed to remove the blade safely. Always remember to replace and secure the guard after replacing the blade to maintain safety during operation.
Locking the Blade
To lock the blade, start by locating the arbor lock button on your miter saw. Press the button to secure the blade in place, preventing any movement during removal. This step is essential for ensuring safety and stability while you change the blade.
Always remember that the lock mechanism is a crucial safety feature that helps prevent accidental operation during blade changes. Additionally, proper identification of the locking mechanism is vital to ensure effective operation and safety.
Locate Arbor Lock Button
The arbor lock button is a crucial component for safely changing the blade on your miter saw.
You’ll find it typically located below the motor lower cover, close to the blade. This button locks the saw’s arbor, preventing the blade from rotating during removal or installation.
To engage it, simply press down on the button, confirming the blade stops moving.
- Always unplug the saw before engaging the lock.
- Confirm the lock is engaged when holding the blade stationary.
- Release the lock for free blade rotation during operation. Additionally, ensuring that all safety features are functional will enhance your overall safety during blade changes.
Secure Blade During Removal
Secure the blade during removal by engaging the spindle lock, which is essential for preventing any accidental rotation. To do this, press the spindle lock button, usually located on the saw housing, until it fully engages.
Make sure the blade is completely stopped before proceeding. It’s imperative to disconnect the saw from the power source before starting this process.
If your miter saw has a brake, confirm it’s engaged to stabilize the blade further. During this process, ensure the blade is secure by verifying that the spindle lock is properly engaged.
Additionally, be mindful that improper techniques during blade changes can lead to safety compromises, which are crucial to avoid for a safe working environment.
Verify that the lock is secure by feeling or hearing it click into place. This step is critical to avoid unauthorized blade movement, guaranteeing a safe environment as you prepare for blade removal.
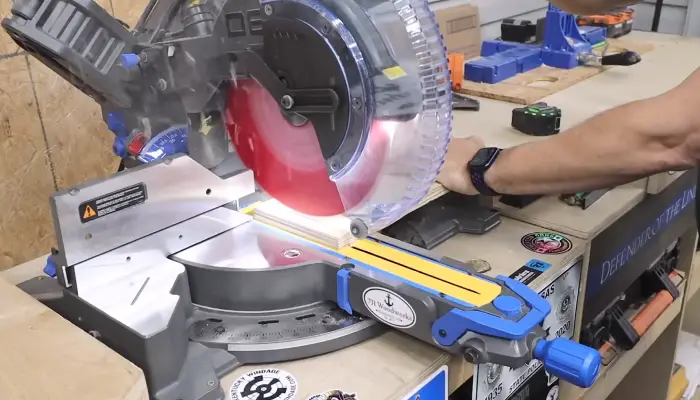
Removing the Old Blade
Before you start removing the old blade from your miter saw, verify that the saw is unplugged and positioned upright for ideal access.
Begin by raising the lower blade guard to expose the arbor bolt. If necessary, loosen the cover plate to guarantee full visibility. Use the arbor lock to prevent blade rotation while you locate the bolt.
- Make sure you have the correct tools, like a Phillips screwdriver or wrench.
- Identify the direction to turn the bolt for removal; it may be counterclockwise.
- Remove any washers that secure the blade before taking it off.
Once everything’s clear, you can proceed to unscrew and remove the old blade safely. Using the correct saw blade specifications is crucial for ensuring optimal performance.
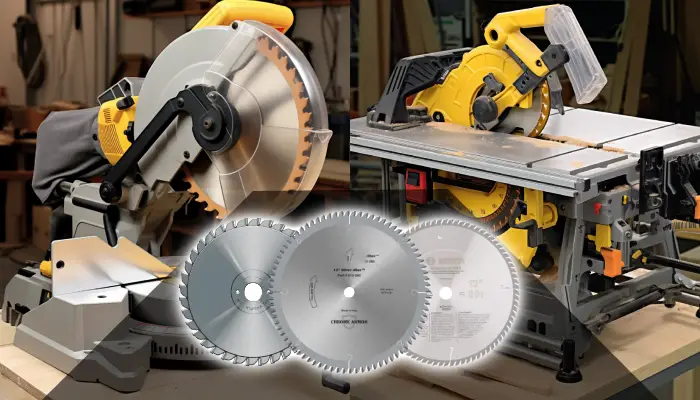
Installing the New Blade
Start by selecting the right blade for your miter saw to guarantee peak performance. Confirm the new blade matches your saw’s required diameter, typically 7-1/4 inches, and verify the arbor size, usually 5/8 inch.
Make sure the blade suits your intended use, such as wood cutting, and select a tooth count based on your cutting needs. Additionally, ensure that the blade’s hook angle is appropriate for a smooth cutting experience.
Next, disconnect the power and lock the saw’s mechanism. Align the blade’s rotation arrow with the upper guard, placing the teeth facing down.
Use the arbor lock to secure the blade, tightening the arbor bolt in the correct direction—counterclockwise for some models. Double-check all parts are seated properly, confirming no loose components before proceeding.
Reassembly and Testing
Once you’ve installed the new blade, it’s crucial to reassemble the miter saw properly to guarantee safe and effective operation. Start by repositioning the blade guard and tightening any screws. Verify it’s aligned and moves smoothly.
Next, reinstall the blade bolt, placing the washer first, and tighten it securely without overtightening. Don’t forget to engage the arbor lock while tightening.
Before testing, remember to:
- Unplug the saw for safety.
- Inspect the blade for damage.
- Verify the blade guard functions smoothly.
Once everything is in place, plug in the saw and perform a few test cuts without material. Check for smooth operation and confirm there’s no wobbling or vibration during use.
Additionally, ensure the saw is securely bolted down to enhance safety and precision during operation.
Frequently Asked Questions
What Type of Blade Should I Use for My Craftsman Miter Saw?
Choosing the right blade for your Craftsman miter saw is like picking the right sword for battle. If you’re tackling rough lumber, a framing blade with 24-40 teeth is your ally.
For fine woodworking, opt for a fine finish blade with 60 teeth. Consider the material too—specialty blades shine with specific tasks.
How Often Should I Change the Miter Saw Blade?
You should change your miter saw blade based on usage frequency, material type, and signs of wear. If you use your saw daily, inspect the blade regularly and replace it more often.
For occasional use, check for dullness or damage. Hardwoods and metals wear blades out faster than softwoods.
Look for signs like burn marks, increased cutting force, or unusual sounds to determine when it’s time for a change.
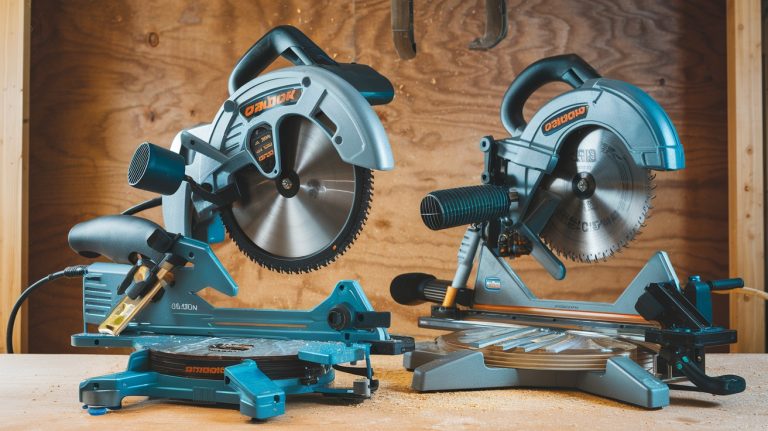
Can I Use a Non-Craftsman Blade on My Saw?
Yes, you can use a non-Craftsman blade on your saw, but make sure it meets specific compatibility requirements.
Check the blade diameter, arbor size, and tooth configuration to match your saw’s specifications. Also, verify that the blade’s rotation direction aligns with your miter saw.
What Are Signs That My Blade Needs Replacement?
You’ll know your blade needs replacement if you notice significant rust, missing or broken teeth, or visible damage like cracks.
Pay attention to performance indicators such as burn marks, rough cuts, or unusual vibrations during operation. If you hear screeching noises, that’s a warning sign too.
Regularly inspect for these issues and consider the blade’s usage frequency and storage conditions to guarantee peak performance and safety.
Is It Safe to Change the Blade Without Help?
“Better safe than sorry” definitely applies here. Yes, you can change the blade without help, but it’s essential to follow safety protocols meticulously.
Disconnect the power, wear protective gear, and familiarize yourself with the miter saw’s manual. Confirm your workspace is clear, and check the locking mechanism to secure the blade.
Take your time, stay focused, and pay attention to bolt orientation to avoid mishaps. Always handle the blade with caution.
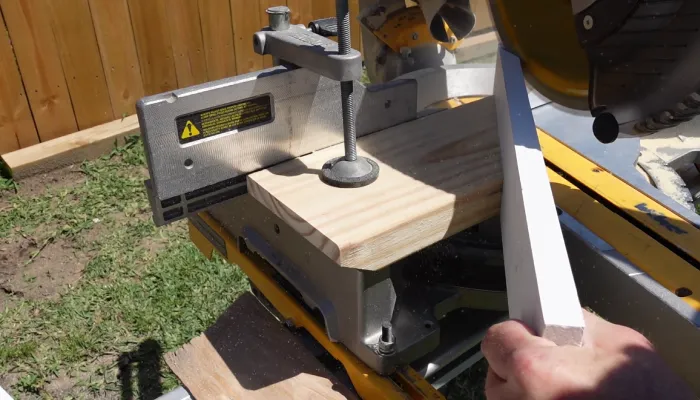
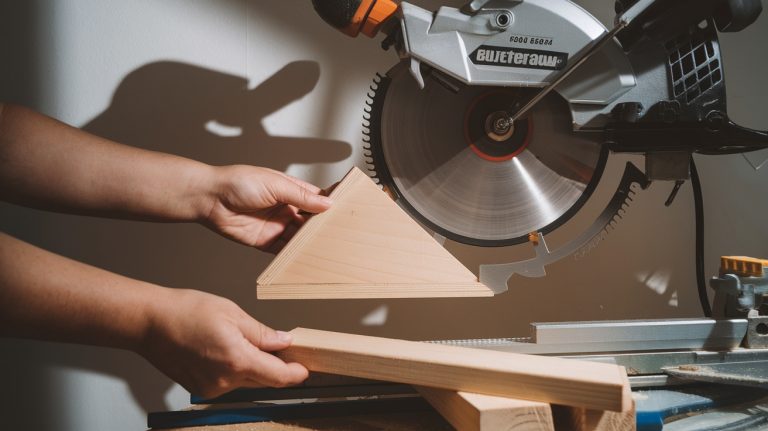
Back to Work: Let Your Sharp Blade Lead the Way
Now that you’ve changed your Craftsman miter saw blade, you’re ready to get back to work. Remember, a sharp blade is key to making clean cuts and enhancing your projects. Don’t let safety take a backseat; always wear your protective gear and double-check your setup before starting.
With everything back in place, you can cut through your tasks like a hot knife through butter. Happy woodworking, and may your cuts be precise and your projects successful.