DIY Smart Saw Review: Smart Features for Precise Cutting
You’ll get precise, CNC-guided cuts down to 0.001-inch resolution with the DIY Smart Saw, combining digital design input and touchscreen controls for easy, accurate operation.
Assembly is straightforward with detailed visual guides, and its control system supports complex 3D cuts across various materials. It boosts productivity by automating repetitive tasks while remaining budget-friendly.
If you want a practical, user-friendly tool that enhances your workflow and accuracy, this saw is worth considering—plus, there’s more to discover about its features.
Key Takeaways
- The DIY Smart Saw offers 0.001-inch cutting precision using CNC technology for highly accurate and consistent results on various materials.
- It features a user-friendly touchscreen interface with digital design input and CAD compatibility for easy operation and complex project handling.
- Assembly is straightforward, guided by detailed instructions, videos, and diagrams, allowing completion within an afternoon.
- The saw’s automated control system supports multi-axis CNC positioning, dual-laser alignment, and adjustable cutting bits for versatile applications.
- It offers excellent cost efficiency, enhanced productivity through automation, and comprehensive support with tutorials and user-friendly guidance.
Overview and Key Features
The DIY Smart Saw delivers precision cuts with a target resolution of 0.001 inches, leveraging CNC technology to guarantee consistent and repeatable results.
You’ll appreciate its ability to handle intricate designs requiring tight tolerances, ideal for woodworking and light materials. For optimal results with wood materials like plywood, pairing the saw with a high tooth count blade ensures smoother and cleaner cuts.
Digital design input lets you control cut dimensions and paths precisely, minimizing manual errors. It integrates seamlessly with common design software, allowing easy upload of custom templates and plans for tailored projects.
The intuitive touchscreen interface simplifies operation, supported by built-in diagnostics to prevent setup errors and material waste. Its versatility extends to cutting wood, plastic, and soft metals, broadening your project possibilities.
The machine’s mechanical assembly includes components such as Nema 34 stepper motors and linear bearings to ensure smooth and accurate motion.
While setup and calibration demand patience, extensive guides and tutorials help you master the saw efficiently, enhancing your CNC skills.
Assembly Process and Required Components
You’ll start by gathering all components listed in the thorough sourcing guide to guarantee nothing is missing before assembly.
Follow the detailed step-by-step instructions supported by clear illustrations and video tutorials to build the Smart Saw accurately. Visual aids simplify each mechanical and electronic installation stage, reducing errors and assembly time.
The assembly is broken into four distinct phases, each accompanied by detailed imagery and blueprints designed for easy assembly. Proper setup also involves blade tension adjustment to ensure smooth operation and cutting precision.
Component Sourcing Guide
Assembling a DIY Smart Saw requires carefully sourcing a range of precise electronic, mechanical, and power components to guarantee reliable performance.
Begin by acquiring a microcontroller or CNC controller board compatible with your motors—stepper or servo—and the necessary motor drivers. These components form the core of your Computer Numeric Control system.
Include limit switches for homing and safety. For the frame, select wood or metal materials, linear guides, and a robust drive mechanism like lead screws or belts. Considering the vertical cutting capacity can enhance your saw’s versatility for larger workpieces.
Ensure your saw blade assembly includes guards and adjustment parts. Choose a stable power supply with proper wiring harnesses, connectors, and protective fuses.
Don’t forget cooling solutions for electronics. Finally, gather CNC-compatible software, firmware tools, and a computer interface for control. Optional accessories like dust extraction and safety gear improve usability and operator protection.
Step-by-Step Assembly
Before starting the assembly, confirm that all components sourced—from the microcontroller and motors to mechanical parts and wiring—are organized and ready.
Begin by securing the Smart Saw Base on a flat surface, aligning the saw plate properly and fastening it using screws through pre-drilled holes. Assemble the structural frame with precision, attaching linear rails and guideways to ensure smooth CNC movement.
Firmly mount stepper motors aligned with rails, then install belts or lead screws for axis control, tightening fasteners to specified torque. Integrate the electrical system by mounting the control board, connecting motor wires, power supply, and limit switches following wiring diagrams.
Finally, attach the cutting tool, connect the USB interface, and proceed with calibration and dry runs to verify accuracy and safety before operation. Ensure that the saw blade used matches the diameter specifications of the Smart Saw for optimal performance and safety.
Visual Assembly Support
A thorough set of visual aids greatly enhances your ability to assemble the Smart Saw accurately and efficiently. High-resolution images and detailed diagrams guide you through component placement, wiring routes, and mechanical connections.
The program’s emphasis on step-by-step instructions ensures that even beginners can follow along without previous experience. Including visuals that highlight the adjustable bevel settings can help users understand angle adjustments better.
Step-by-step video tutorials provide real-time assembly clarity, while 3D interactive viewers help you visualize the completed saw. A labeled parts list with close-ups prevents confusion over similar screws, bolts, and motors.
Color-coded wiring diagrams reduce electrical errors, and annotated images specify tolerances for critical components. Workspace setup illustrations optimize your environment and safety measures.
Tool usage guides ensure precise handling, and wiring harness layouts clarify signal and power connections. These visual supports streamline the assembly process, reduce mistakes, and ensure proper integration of all mechanical and electronic components.
User Interface and Control System
You’ll find the touchscreen interface straightforward to navigate, letting you input designs and control commands directly with responsive touch controls.
Precision is built into the system, allowing you to customize cut depth, speed, and patterns through detailed software settings. This setup streamlines operation without relying on physical buttons, giving you exact control over every cut. The machine also features a Precision Laser Guide System that ensures each cut is highly accurate and consistent.
Touchscreen Navigation Ease
Although smart saw technology can seem complex, the Diy Smart Saw’s intuitive touchscreen interface simplifies navigation and control for users at any skill level.
You’ll find the Surface Acoustic Wave touchscreen highly responsive and accurate, recognizing inputs from fingers or non-conductive objects without lag or interference. The interface design also emphasizes safety precautions by reminding users to wear protective gear during operation.
The clean, logically structured layout presents large, clearly labeled buttons and step-by-step graphical guides, reducing operational errors and easing project setup.
Integrated digital tutorials and troubleshooting resources are accessible directly on the screen, supporting quick learning and problem resolution. This user-friendly design is complemented by an interactive viewer that enhances understanding through detailed visual aids and videos.
Additionally, the interface streamlines uploading and previewing digital design files, facilitating smooth progression from design to cutting. Overall, this touchscreen navigation system enhances usability and efficiency in workshop environments, making complex operations straightforward and accessible.
Precision Control Features
Building on the touchscreen’s user-friendly navigation, the Diy Smart Saw’s precision control system offers exact manipulation of the cutting process through its CNC axis control and integrated design software.
You control movements along X, Y, and Z axes—either manually or via imported CAD templates—ensuring precise alignment with zero positioning. The machine’s exploded views provide clear guidance on assembling and understanding each component’s role in the control system.
Additionally, the system incorporates a dual-laser marking system to accelerate alignment and enhance cutting accuracy.
The interface supports direct data entry for speed, tool specs, and pathways, while interactive 3D previews streamline setup accuracy. Real-time feedback monitors cutting path adherence, allowing you to adjust tool positioning and feed rates on the fly to accommodate material variances.
Vacuum stabilization secures your workpiece, preventing drift. Safety features like emergency stop and startup vacuum activation protect you during operation.
Precision and Cutting Capabilities
When you operate the DIY Smart Saw, you benefit from precision cutting controlled by CNC technology that achieves resolution down to 0.001 inches. This accuracy reduces material waste and guarantees exact replication of digital designs.
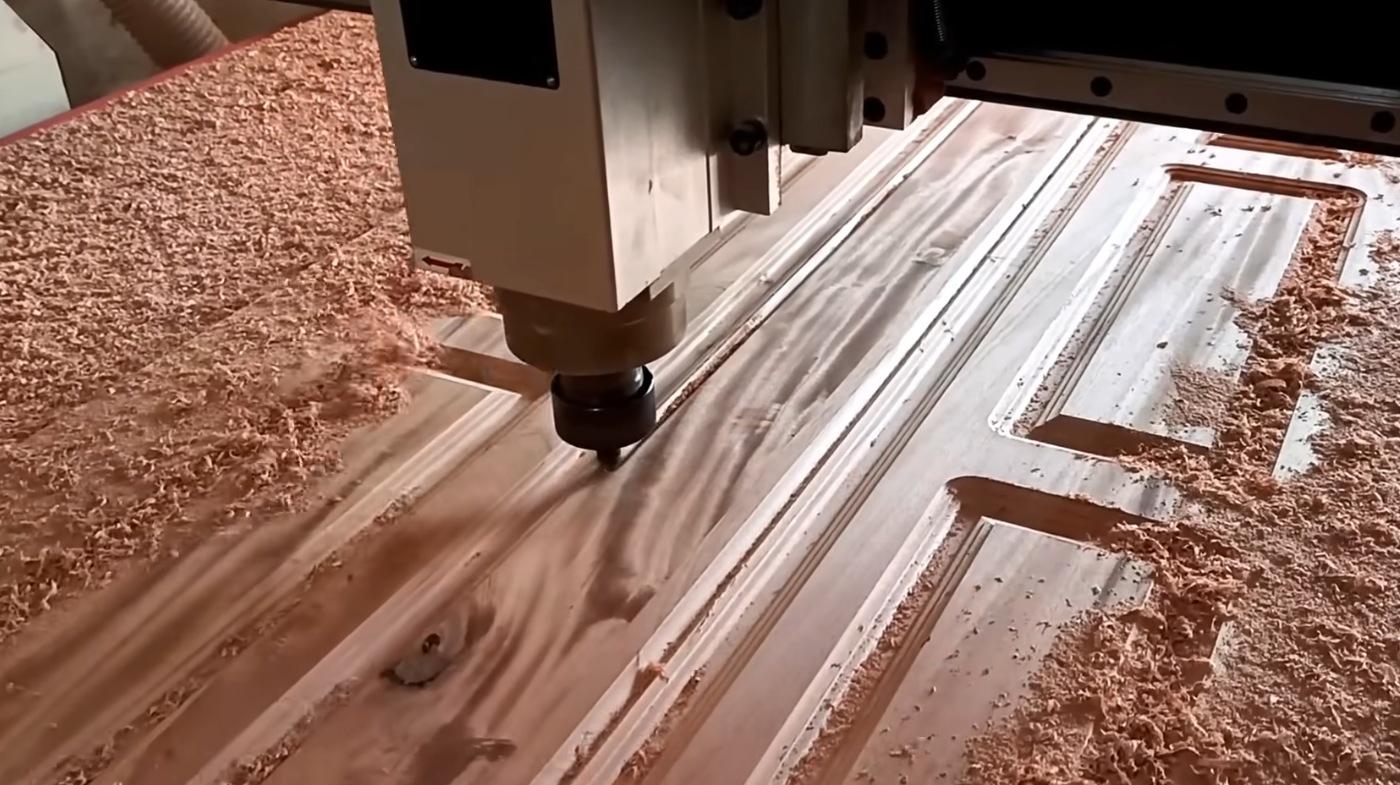
The saw’s multi-axis control allows complex 3D cuts and intricate shapes across wood, plastics, and softer metals.
Key precision and cutting capabilities include:
- CNC-guided positioning on X, Y, and Z axes for exact tool paths
- Adjustable cutting bits tailored to material and cut type
- Compatibility with CAD software for direct design uploads
- Requirement for careful calibration and setup to maintain accuracy
This combination of features ensures you achieve highly detailed, repeatable cuts with minimal manual error. Additionally, incorporating advanced fence systems like the Hi-Low Rack & Pinion Fence can further enhance cutting precision and safety.
Productivity Benefits for Woodworkers
The precise control offered by the DIY Smart Saw directly enhances productivity by streamlining woodworking workflows. You save significant time as CNC automation eliminates manual measurement and marking, accelerating repetitive cuts and reducing setup for complex joinery.
Its digital control minimizes trial-and-error, shrinking project durations, while quick material reloads cut downtime between jobs. However, integrating advanced safety features like SawStop requires careful consideration due to the complex structural modifications involved.
The self-correcting mechanism ensures uniform cuts with high repeatability, reducing waste and post-cut adjustments. This precision boosts output quality consistently across identical parts.
Additionally, the design allows for easy size expansion, enabling woodworkers to customize the machine to their project needs without significant redesign.
Cost-wise, the DIY approach lets you access CNC benefits at a fraction of commercial prices, lowering production costs and boosting revenue potential. Flexibility in programming intricate designs and 3D previews further cuts errors.
Altogether, the Smart Saw optimizes your workflow, enabling more efficient, higher-quality woodworking projects.
Learning Curve and User Support
How quickly can you master the DIY Smart Saw? The design guarantees even beginners can assemble it in an afternoon, thanks to a clear, step-by-step manual paired with detailed video tutorials. The instructions use straightforward language and visual aids, reducing technical barriers.
Software setup is integrated seamlessly with hardware assembly, allowing you to start cutting designs immediately.
Key points to accelerate your learning and support experience include:
- Complete stepwise assembly guides with exploded views and tips
- Video tutorials that minimize rewinding by demonstrating each step clearly
- USB connectivity with detailed software configuration instructions
- A risk-free trial that builds user confidence by offering reassurance and a stress-free way to evaluate the product.
This self-paced model emphasizes proactive guidance, minimizing errors and streamlining your path to proficiency.
Additionally, ergonomic handle design and ergonomics contribute to a more comfortable experience, which helps reduce fatigue during extended use.
Cost Efficiency and Value Proposition
Mastering assembly and operation sets the stage for evaluating cost efficiency and overall value. The DIY Smart Saw offers an accessible entry point compared to costly commercial CNC machines.
Its low initial cost, paired with a hassle-free trial experience, helps minimize financial risk and supports easy adoption. Additionally, the program includes step-by-step video tutorials and written manuals with illustrations, ensuring a simple, jargon-free learning experience.
Operationally, it reduces material waste through precise cuts and supports multiple materials, maximizing utility while lowering energy consumption relative to industrial routers. The simplified design cuts spare parts and maintenance expenses.
Customization capabilities enable you to produce professional-quality, intricate designs at home, saving outsourcing costs. While setup and software learning require time, no advanced technical skills or professional installation are needed.
This investment in skill development enhances long-term efficiency and project quality, making the DIY Smart Saw a practical, budget-friendly precision tool.
Ideal User Profile and Applications
While the DIY Smart Saw suits a wide range of users, it particularly benefits those with minimal to moderate DIY experience who are enthusiastic to learn CNC woodworking. You’ll find it ideal if you’re tech-savvy and comfortable operating CNC machines via computer interfaces.
This tool appeals both to hobbyists aiming for custom woodworking projects and professionals seeking cost-effective CNC solutions. The guide’s emphasis on using low-cost components makes CNC technology more accessible to hobbyists on a budget.
Key user and application points include:
- Age range: young adults to seniors, with accessible guides for beginners.
- Use cases: furniture making, home décor, and detailed craftwork.
- Learning: hands-on CNC mechanics, CAD/CAM exposure, and skill development.
- Environment: home workshops or small commercial spaces with basic tool access.
This makes the DIY Smart Saw practical for skill growth and precise, customizable production.
Frequently Asked Questions
Can the DIY Smart Saw Be Used for Materials Other Than Wood?
Yes, you can use the DIY Smart Saw for materials beyond wood, like soft metals, plastics, and composites. You’ll need to install appropriate blades and drill bits designed for each material type.
The CNC control lets you precisely adjust cutting speed, depth, and feed rate, which is essential for harder or layered materials. Just remember to manage cooling and lubrication when cutting metals to safeguard tools and guarantee clean, accurate cuts.
What Safety Precautions Are Recommended When Operating the Smart Saw?
When operating your smart saw, always secure materials firmly using clamps to prevent shifting. Wear safety glasses, hearing protection, and avoid loose clothing or jewelry.
Keep your workspace clean, well-lit, and free of trip hazards. Stand to the side of the blade, use push sticks for small pieces, and never reach near a moving blade.
Unplug the saw before maintenance, avoid wet conditions, and inspect it regularly for damage or loose parts to guarantee safe operation.
How Loud Is the Smart Saw During Operation?
You should expect moderate noise levels from the smart saw during operation, louder than scroll saws but quieter than circular saws. The exact decibel output varies with motor power, blade type, and material density.
To minimize noise, guarantee the saw is well-maintained, use sharp blades, and consider enclosure or vibration isolation. Always wear hearing protection during extended use, and measure noise levels in your workspace for accurate assessment and safety.
Can the Software Be Updated or Customized by Users?
Imagine your machine as a living organism, ready to evolve. You can update the software manually through a connected PC, using CNC applications that allow straightforward installations.
Customization is in your hands, you can adjust cutting speeds, tool paths, and even implement custom scripts to optimize tasks.
While updates require some technical know-how and caution, extensive community resources and documentation guide you through safe, practical enhancements.
Sharpen Your Skills and Workflow with the DIY Smart Saw
Building your DIY smart saw is like assembling a precision instrument tailored to your workshop. With its intuitive controls and accurate cutting capabilities, you’ll enhance productivity while maintaining cost efficiency. Though there’s a learning curve, the user support eases your path.
This tool fits perfectly if you’re a woodworker seeking customization and precision without breaking the bank. Ultimately, it’s a practical investment that sharpens both your skills and output.


