Can You Cut Brick With a Miter Saw: 7 DIY Steps
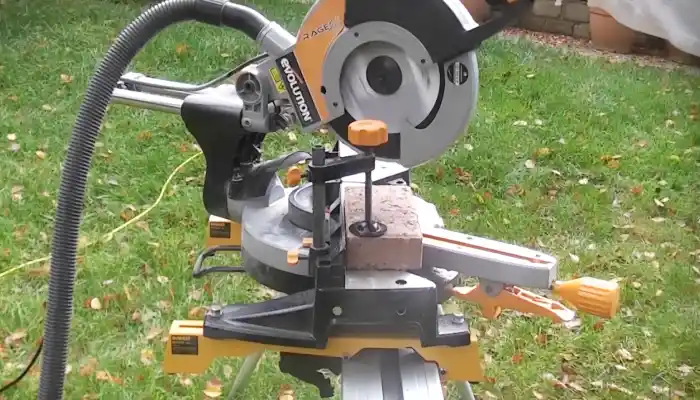
Have you ever wondered if cutting bricks with a miter saw is possible? It might seem like an unusual idea, but yes, You can totally slice through bricks like a hot knife through butter with a miter saw. Using a miter saw to cut bricks can save time and effort compared to traditional methods.
To cut brick with a miter saw, you’ll first need to gather the necessary tools and safety equipment. Once you have everything, set up the miter saw in a stable location and measure & mark the brick for the cut. After marking the brick, put on your safety gear and start the cutting process.
Today we will provide a step-by-step guide on how to cut bricks successfully with a miter saw. We will also discuss some common mistakes to avoid and the best type of blade to use for this task. So, keep reading.
How to Cut Brick With a Miter Saw: A Step-by-Step Guide
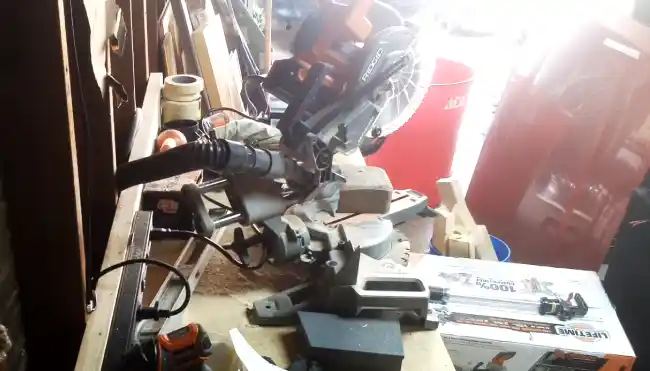
A miter saw, commonly used for cutting wood, can also easily handle the task of cutting bricks. With its powerful motor and sharp blade, this versatile tool can make precise and clean cuts through brick material. But you need the proper tools and safety gear before cutting the brick with a miter saw.
- Step 1: Gather the necessary tools and safety equipment
- Step 2: Set up the miter saw
- Step 3: Measure and mark the brick
- Step 4: Put on safety gear
- Step 5: Position the brick
- Step 6: Cutting the brick
- Step 7: Inspect the cut
Let’s discuss these steps in detail:
Step 1: Gather the Necessary Tools and Safety Equipment
First, ensure you have all the necessary tools and safety equipment ready before attempting to cut brick with a miter saw. To effectively cut brick with a miter saw, you will need a miter saw with a diamond blade specifically designed for cutting brick or masonry.
Also, you should wear safety goggles to protect your eyes from dust and debris. A dust mask or respirator should also be worn to prevent inhalation of dust. While it is optional, wearing ear protection can help reduce noise if your miter saw is particularly loud.
As a final precaution, gloves are essential to protect your hands while handling bricks. By gathering and using these tools and safety equipment, you can ensure a safe and successful brick-cutting experience.
Step 2: Set Up the Miter Saw
Ensure your work surface is stable and level because the last thing you don’t want is a wobbly miter saw ruining your brick-cutting masterpiece.
Place the miter saw on a solid and even work surface to ensure accurate and safe cutting. To get started, ensure the miter saw is unplugged or the power switch is off. Safety should always come first.
Now adjust the cutting depth of the miter saw. Set it to be slightly greater than the thickness of the brick paver you’ll be cutting. This will prevent accidental damage to your work surface and avoid blade binding.
Step 3: Measure and Mark the Brick
Before diving into the cutting process, measure and mark your brick to ensure precise results. Measure the brick using a ruler and mark the cutting line with chalk or pen. Double-check the measurements and markings to ensure accuracy.
To emphasize the importance of this step, here is a table illustrating the measurement process:
| Measurement | Tool Used | Purpose |
| Length | Ruler | Determine the size of the brick |
| Width | Ruler | Determine the width of the brick |
| Cutting Line | Chalk/Pen | Mark the precise area to be cut |
Step 4: Put on Safety Gear
As you progress in cutting bricks with a miter saw, you must ensure your safety by donning the appropriate protective gear. Safety goggles and a dust mask are vital in safeguarding our eyes and respiratory system from potential hazards.
The safety goggles provide a barrier against flying debris, preventing any potential eye injuries. Likewise, the dust mask protects our lungs from inhaling fine particles that may be released during cutting.
By putting on these safety gears, we minimize the risks associated with brick cutting. The miter saw generates a considerable amount of dust and debris, which can be harmful if inhaled or if it comes into contact with our eyes.
Step 5: Position the Brick
As you approach the miter saw, place the brick securely on the cutting surface. It may seem obvious, but you’d be surprised how many people skip this step. Next, double-check the positioning before proceeding. This may take an extra few seconds, but trust us, it’s time well spent.
Step 6: Cutting the Brick
Cutting the brick can be daunting, but with the power of the miter saw, it becomes almost empowering. As you prepare to mark the brick, remember to keep your hands clear of the cutting area and any moving parts of the saw.
Once you’ve turned on the miter saw and it reaches full speed, you’re ready to begin cutting. Slowly and gently lower the saw blade onto the marked cutting line on the brick and start pushing forward. The saw will effortlessly cut through the brick, leaving you with a perfectly shaped piece.
The feeling of a smooth and controlled motion is almost bursty as if you’ve conquered the brick and come out on top. With this tool at your fingertips, achieving clean and accurate cuts to meet your project needs is easy.
Step 7: Inspect the Cut
Inspecting the cut is a crucial part of any project, but it can also be perplexing. You watch the blade slowly come to a stop, almost holding your breath as you prepare to examine the final product.
Bursting with excitement and apprehension, you take a moment to look carefully at the surface of the cut, checking for any rough edges or imperfections. Gently smoothing any roughness with sandpaper or a file, your hands ensure the edges are perfectly aligned.
Paying close attention to the corners of the cut, you confirm that they are sharp and well-defined. Using a tape measure or ruler, you verify the cut’s length, width, and depth, ensuring the angles are accurate and aligned with the intended design.
Some Common Mistakes to Avoid When Cutting Bricks Using a Miter Saw
Rushing the Cutting Process
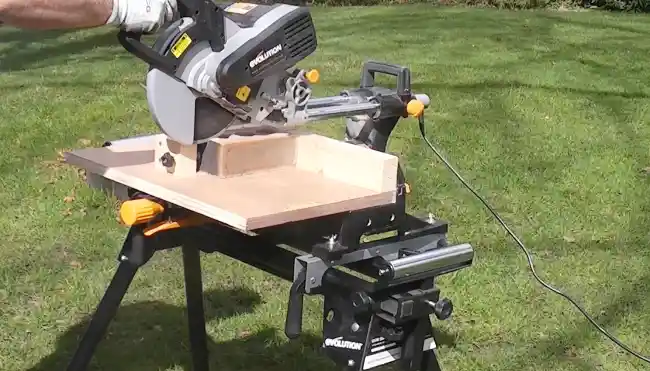
When cutting bricks with a miter saw, avoid rushing the process. Taking time will ensure you achieve clean and precise cuts without jagged or uneven edges.
Using the Wrong Blade
Using the wrong blade is another mistake to avoid. Make sure to use a diamond-tipped blade specifically designed for cutting bricks. Using a blade designed for wood or metal can give you poor results and be dangerous.
Improper Brick Placement
Properly securing the bricks before cutting is also crucial. Failing to do so can cause the bricks to shift during the cutting process, resulting in inaccurate cuts. Take the time to ensure that the bricks are securely positioned before making any cuts.
Forget to Wear Appropriate Safety Gear
Remember to wear appropriate safety gear. Safety goggles and gloves are essential to protect yourself from potential risks by wood particles. Always prioritize your safety when working with a miter saw.
What type of blade is best for cutting brick with a miter saw?
When cutting brick with a miter saw, a special Diamond saw blade is crucial for achieving effective results. This type of blade is specifically designed to handle the hardness and density of brick pavers, ensuring clean and precise cuts.
The Diamond blade features a sharp edge embedded with diamond particles, allowing it to slice through the tough material effortlessly. Its durable construction and ability to withstand high temperatures make it ideal for brick-cutting applications.
How to prepare the miter saw for brick cutting?
It’s important to prepare your bricks properly before cutting & one crucial step to take is to drown your bricks in water for at least two minutes. This may seem perplexing initially, but it has a practical purpose. It will reduce the amount of hazardous and messy dust generated during cutting.
Keep an eye on the bubbles while you soak the bricks, as once they’ve all disappeared, you’ll know they’re ready to be cut. With your bricks properly prepped, your miter saw will be ready to handle anything you throw easily and efficiently.
Are more blade teeth better for cutting brick with a miter saw?
Using a miter saw with a higher number of blade teeth significantly improves the quality of the cut and finishing when cutting brick. The more teeth on the blade, the smoother and cleaner the cut will be, resulting in a more professional-looking finish.
There are four main reasons why more blade teeth are better for cutting firebrick with a miter saw.
- A higher tooth count allows for more precise and accurate cuts, ensuring the brick pieces fit together seamlessly. This improved precision is essential for achieving a clean and professional result.
- More teeth on the blade help minimize chipping and breakage, resulting in cleaner edges and fewer imperfections. This reduction in chipping is crucial for achieving a smooth and flawless finish.
- Blades with more teeth are often designed with better dust collection mechanisms. These mechanisms efficiently collect dust, reducing the amount that can accumulate during cutting. This helps maintain a clean work area and improves visibility while cutting.
- Blades with more teeth tend to have a longer lifespan. The workload is distributed among a greater number of cutting edges, reducing the wear and tear on each tooth. This longer lifespan saves money on blade replacements and ensures consistent cutting performance.
Cutting Brick with a Miter Saw: Carefully Follow the Steps to Precise Cuts
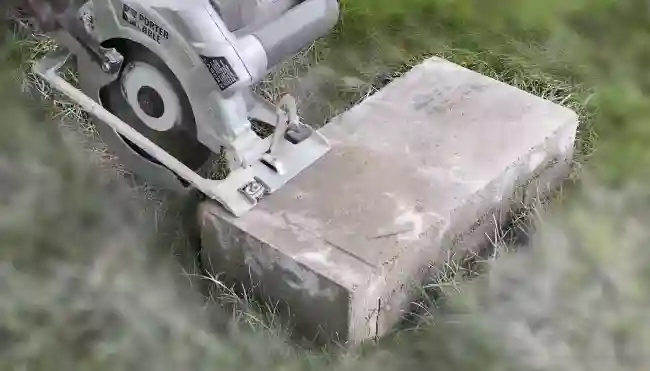
Now you know that cutting brick with a miter saw is possible and a breeze. By following the step-by-step guide and avoiding common mistakes, you can effortlessly achieve precise and clean cuts.
Remember to use a diamond-tipped blade for the best results and prepare your miter saw accordingly. And don’t worry about the number of blade teeth, as more is better when cutting brick. So grab your miter saw and conquer those bricks like a pro.

