How to Quarter Saw a Log With a Bandsaw: 6 Steps to Follow
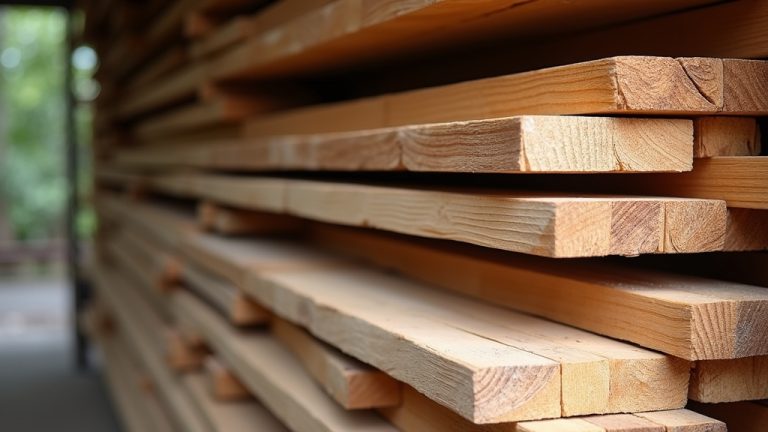
Quarter-sawn wood is highly desirable in the woodworking industry for its unique grain pattern and stable structure. With a bandsaw, you can quarter saw logs to produce boards displaying the unique pattern.
I researched this wood-cutting technique and figured out all the steps to guide you on how to quarter-saw a log with a bandsaw.
Based on my research, to start quarter-sawing a log, you need to mark the center line and quarters on the log using a measuring tape and straight edge for accuracy.
The next procedure involves setting up the bandsaw and making the initial cuts along the quarter lines that open up the log for further processing.
I will demonstrate how to quarter-saw a log with a bandsaw to achieve the highly desired quarter-sawn wood for your woodworking projects.
How to Quarter Saw a Log With a Bandsaw: Step-By-Step Guide

To successfully quarter-saw a log, you have to follow these 6 simple steps:
- Step 1: Mark the log’s center line and quarters
- Step 2: Set up the bandsaw
- Step 3: Make the first cut
- Step 4: Rotate the log and repeat the cutting
- Step 5: Cut the quartered log into boards
- Step 6: Plane and finish the boards
Step 1: Mark the Log’s Center Line and Quarters
Before you begin quarter-sawing a log with a bandsaw, the first step is to mark the log’s center line and quarters accurately to guide your cuts and achieve the desired quarter-sawn grain pattern.
Start by selecting a suitable straight and evenly sized log with minimal defects. To find the center line, use a measuring tape and a straight edge, and mark this line along the length of the log.
Then, mark the quarters perpendicular to the center line. You can use a framing square or a straight edge to ensure accuracy.
Step 2: Set up the Bandsaw
After marking the log’s center line and quarters, you have to set up your bandsaw. A sharp blade is necessary for clean and accurate cuts, while proper tension ensures the blade stays in place during operation. Also, measure the bandsaw blade width, as it plays a crucial role in determining the precision of your cuts.
Adjust the blade guide and height to match the size of your log. This will help maintain stability and prevent unwanted movement during cutting.
Safety should always be a priority, so make sure to wear safety goggles and hearing protection.
Step 3: Make the First Cut
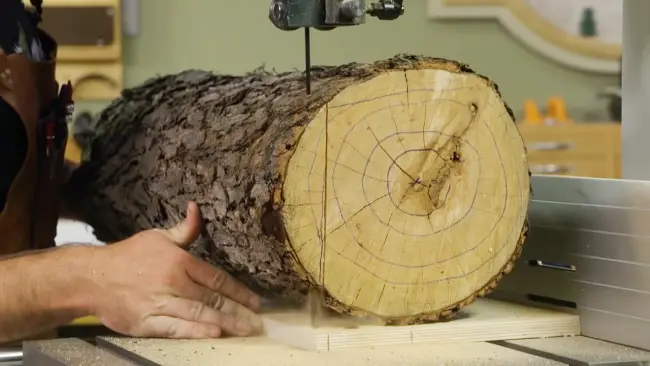
Now, place the log on the bandsaw table, ensuring that the marked center line aligns with the blade. Once everything is properly aligned, start the bandsaw and begin to feed the log slowly into the blade, following the center line.
Maintaining a steady feed rate and applying consistent pressure ensure a straight and uniform cut. The first cut should be made along one of the quarter lines.
As you continue to feed the log into the blade, you’ll notice that one side of the log will have a flat surface, while the other side will still have the rough bark. This first cut will result in a slab with one flat side and a rough side with the bark.
Step 4: Rotate the Log and Repeat the Cutting
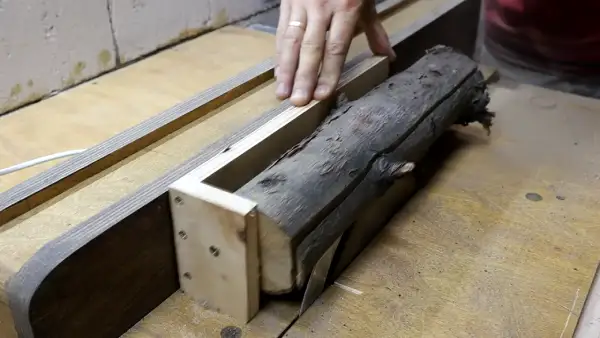
With the first cut made and one rough-sawn slab in hand, it’s time to rotate the log and continue the quarter sawing process with the bandsaw.
Start by placing the flat side of the log down and rotating it 90 degrees so that the next quarter line aligns with the blade. Ensure that the log is securely positioned on the bandsaw table to prevent any movement during cutting.
Once the log is in position, repeat the cutting process for the second quarter, following the marked line. Take your time and make precise cuts to maintain the desired thickness and grain pattern.
After completing the second cut, rotate the log again, aligning the next quarter line with the blade, and continue with the cutting process.
Repeat this rotation and cutting sequence until you have completed all four quarters of the log. By the end, you’ll have four rough-sawn slabs with distinct grain patterns ready for further processing and woodworking projects.
Step 5: Cut the Quartered Log Into Boards
Now that you have successfully quartered the log, the next step involves transforming these quarters into individual boards using the bandsaw.
Adjust the bandsaw fence to the desired thickness for your boards, ensuring precision to determine the final dimensions of your lumber.
Make sure that the bandsaw blade is aligned with the marked quarters and that the fence provides adequate support for the log sections.
Position the first quartered log section against the fence, aligning it with the bandsaw blade. Carefully guide the log through the blade, maintaining a steady and controlled feed. The bandsaw will smoothly cut through the wood, creating the first board.
Pay attention to the alignment and maintain a consistent feed rate for a uniform thickness. Repeat the process for the remaining quarters, adjusting the bandsaw fence as needed. Rotate the log sections so that the desired face is against the fence to maintain the desired grain pattern of quarter-sawn lumber.
Step 6: Plane and Finish the Boards
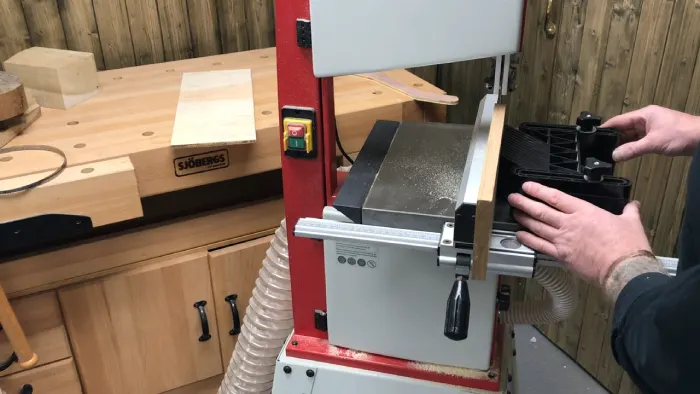
To achieve a smooth and uniform thickness for all the boards, the next step in quarter sawing a log with a bandsaw is to use a thickness planer. Once you have the individual boards, they may have a rough surface from the bandsaw cuts.
By running the boards through a thickness planer, you can remove any unevenness and create a consistent thickness across all the boards.
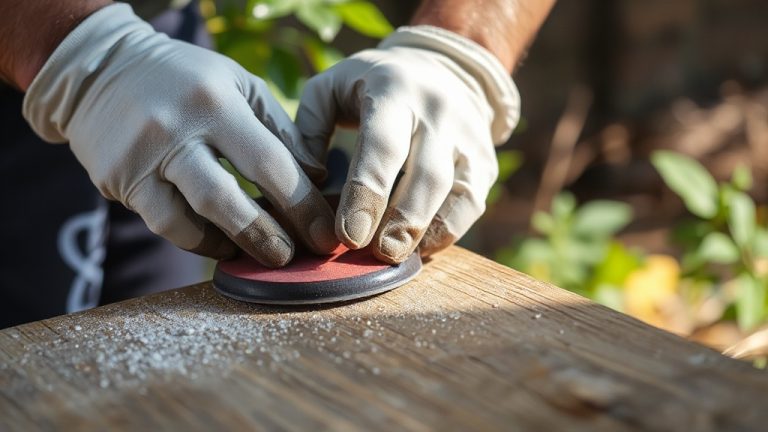
After planing, you may notice some remaining roughness on the boards. To finish them off, sand the boards using progressively finer grits of sandpaper until they achieve a smooth and polished surface.
What wood species are ideal for quarter sawing with a bandsaw?
I’ve found hardwood species like oak, maple, and walnut work particularly well with a bandsaw because of their unique grain patterns and medullary rays. These species offer a unique and visually appealing look to the lumber when quarter-sawn.
The distinct grain patterns, such as the rays and flecks, create a beautiful and eye-catching effect. Additionally, quarter-sawn hardwoods are known for their increased stability, making them ideal for various woodworking projects.
The tight and straight grain structure of these woods results in less movement and warping, ensuring the longevity and durability of the finished product.
While oak, maple, and walnut are common choices, other hardwood species with desirable characteristics can also be effectively quarter-sawn using a bandsaw.
Can you quarter-saw a log with a portable bandsaw?
When using a portable bandsaw, you may encounter some challenges, but it’s indeed possible to quarter-saw a log with this tool.
However, it’s important to be aware of the limitations and size of the portable bandsaw. Achieving precise and consistent cuts may be more demanding compared to using a larger, stationary bandsaw.
To effectively quarter saw smaller logs with a portable bandsaw, there are a few key considerations. Choose a high-quality bandsaw, ensuring that the blade is sharp and properly tensioned, as this will greatly impact the quality of the cuts.
Also, carefully adjust the tool to achieve accurate cuts. While quarter sawing with a portable bandsaw is feasible, it may require more attention to detail and skill.
Accurately Quarter-Saw a Log With a Bandsaw
Quarter-sawing a log with a bandsaw is a rewarding process that yields unique and visually stunning lumber for your woodworking projects. Following the detailed six-step guide that I’ve shared with you empowers you to unlock the beauty of quarter-sawn wood with its distinctive grain patterns and enhanced stability.
Mark your logs, set up the bandsaw meticulously, and execute precise cuts to reveal the intricate beauty within each board. Whether you’re working with oak, maple, walnut, or other hardwoods, the quarter-sawing technique adds character and durability to your creations.
Embrace the artistry of woodworking and let your projects showcase the timeless elegance of quarter-sawn lumber.


