How to Stop Bandsaw Drift: 8 Things You Need to Check
Achieving flawless cuts on a bandsaw demands more than basic adjustments, and the bandsaw blade drift poses an obstacle to woodworking precision. However, with the right knowledge and adjustments, you can conquer this challenge and achieve the straight, accurate cuts you desire.
To stop the bandsaw blade drift, I’ve found several adjustments you need to check, but one of the first is to ensure the blade tension is set properly.
Pay attention to blade selection and installation, ensuring it’s aligned and securely tightened. Aside from that, you need to check the alignment of the fence using proven techniques.
Also, there are several things you need to check, and today I will discuss those things with you. So, if you’re ready to unlock the secrets, keep reading to discover what will revolutionize your woodworking experience.
How to Stop Bandsaw Drift: Things You Need to Check
To effectively stop bandsaw drift, check the factors I have listed below:
- Monitor the blade tension
- Blade selection and installation
- Fence alignment techniques
- Table orientation
- Blade tracking adjustment
- Advanced feed rate control
- Blade speed optimization
- Gullet size dynamics
1. Monitor the Blade Tension
Ensure your bandsaw blade is properly tensioned to minimize drift and achieve accurate cuts. Blade tension is crucial in preventing excessive wobbling and maintaining straight cuts.
Start by checking if your blade is sufficiently tight. To achieve perfect tension, I recommend ensuring that the tension is between 15,000 and 25,000 pounds per square inch. Regularly monitor and adjust the tension to maintain optimal performance.
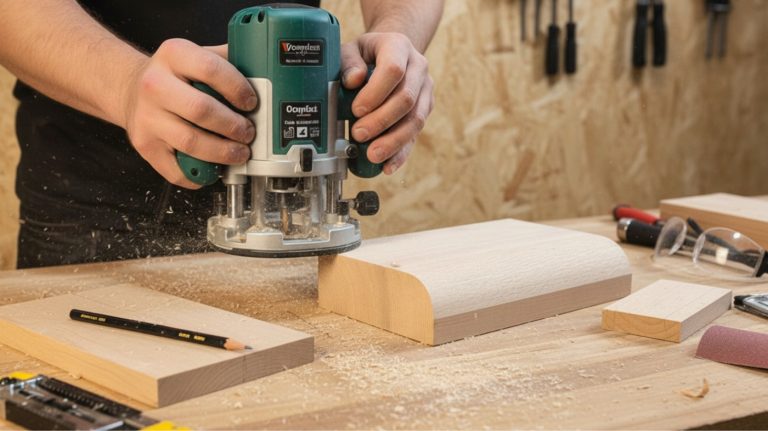
2. Blade Selection and Installation
Proper blade selection and installation are essential to prevent bandsaw drift and ensure accurate cuts. Select the right blade for the specific cut you’re making. Different blades have different characteristics, so in my opinion, choose carbon steel-toothed blades for cutting purposes.
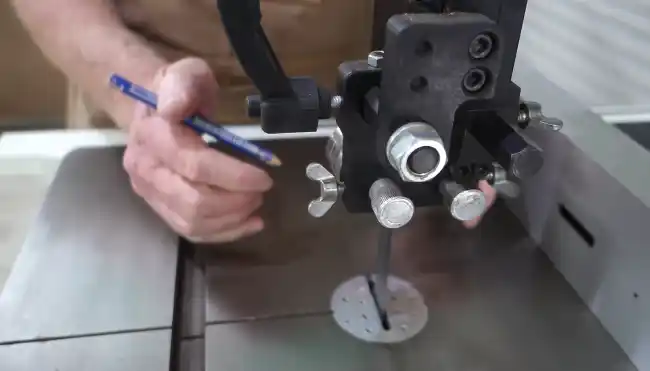
When installing the blade, follow the recommended setup method of centering it on the upper wheel along the centerline. Proper installation techniques are crucial for minimizing drift. I recommend ripping thickness using a three-quarter inch, three teeth per inch (TPI) blade.
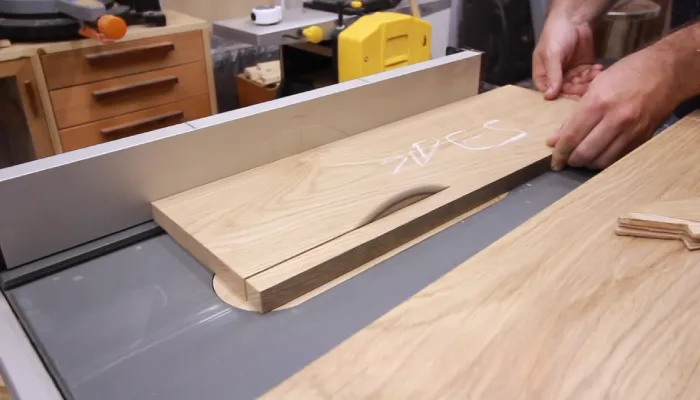
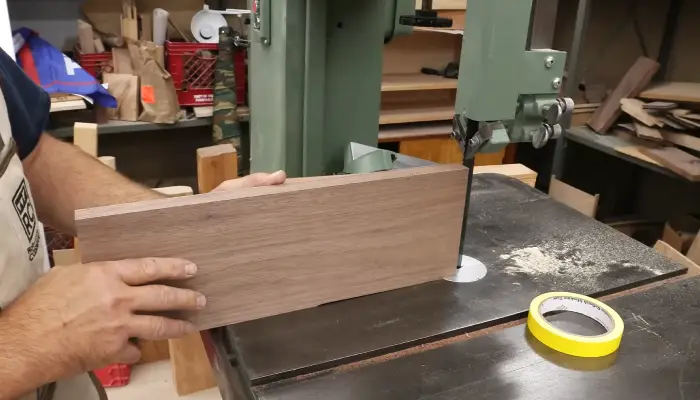
3. Fence Alignment Techniques
Aligning the fence accurately is crucial for achieving drift-free cuts and enhancing your overall cutting experience on the bandsaw. A well-aligned fence ensures that your cuts are straight and consistent, eliminating any deviation caused by drift.
To align the fence, loosen the bolts and secure it to the table. Place a straight reference edge, such as a machinist’s square or a straight piece of wood, against the fence and adjust it until it is parallel to the blade. Make sure to check the alignment at both the front and back of the blade.
Once you have achieved the desired alignment, tighten the bolts to secure the fence. Remember, misaligning the fence leads to drift and can render the miter slot useless, so take the time to align it properly for optimal cutting results.
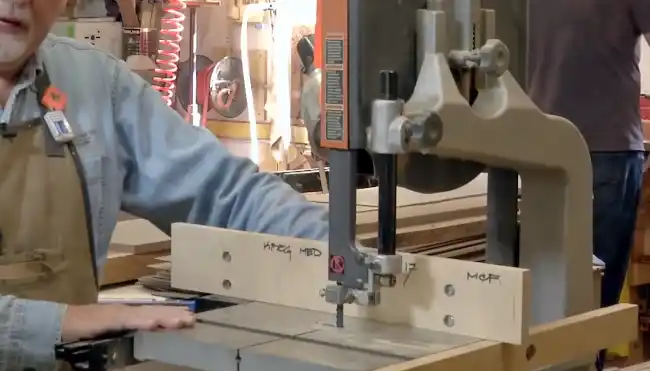
4. Table Orientation
To address the issue of bandsaw drift, another important aspect to consider is the table’s orientation. Misalignments in table orientation can contribute to bandsaw drift, affecting the accuracy of your cuts.
Detect and adjust any misalignment under the table to maintain precision. To do this, you can reposition the six bolts under the table for proper alignment. Fine-tuning may be necessary to ensure the table doesn’t rub on either side of the blade, which can lead to inconsistent and non-parallel cuts.
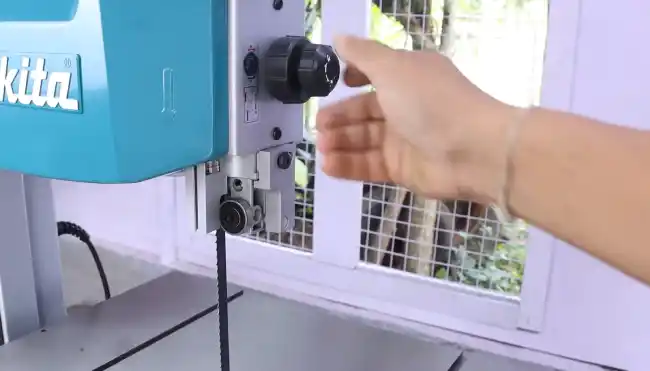
5. Blade Tracking Adjustment
Use the tracking adjustment on the upper bandsaw wheel to align the blade effectively and prevent bandsaw drift. This adjustment is crucial in maintaining proper blade alignment, especially when changing blades.
By adjusting the tracking, you can ensure the blade stays on the intended cutting path, reducing the chances of it veering off course. To adjust, locate the tracking adjustment knob or screw on the bandsaw.
Turn it clockwise to move the blade towards the center of the wheel or counterclockwise to move it away from the center. Make small adjustments and test the blade’s alignment until it tracks properly.
6. Advanced Feed Rate Control
Fine-tuning your feed rate is crucial for impeccable cuts. It involves balancing between pushing too hard and not pushing enough.
When working on intricate designs or dense materials, consider the feed rate. Pushing too hard can cause the blade to buckle and drift off course. Conversely, not applying enough pressure can result in slower cutting speeds and potential blade wandering.
Take the time to experiment with different feed rates. You’ll develop a feel for the optimal feed rate for each cutting task with practice.
7. Blade Speed Optimization
Optimize your blade speed to combat bandsaw drift and execute precise cuts effectively. The interplay between blade speed and sharpness is crucial in reducing drift and improving bandsaw performance.
By unlocking the potential of high blade speed and ensuring a sharp blade, you can minimize the sideways movement of the blade during the cutting process.
This combination allows for cleaner and more accurate cuts. A higher blade speed ensures that the teeth of the blade engage with the material efficiently, reducing the chances of drift.
8. Gullet Size Dynamics
To effectively combat bandsaw drift, consider the dynamics of gullet size. The gullet is the space between the teeth of the bandsaw blade, and its size plays a crucial role in waste removal during cuts.
When the gullet is too small, it can result in clogging the blade and inefficient cutting, as well as safety concerns. Additionally, if the gullet size is too large, the blade may not have enough support, resulting in a lack of control and potential blade damage.
Understanding the relationship between tooth count and gullet size is essential. Blades with more teeth require smaller gullets for effective waste removal. Fine-tuning your blade selection based on these dynamics will help you achieve cleaner and more precise results in your bandsaw cuts.
What Does Band Saw Blade Drift Mean?
Band saw blade drift, a frustrating phenomenon encountered during cutting, causes the blade to deviate from its intended path. You expect the blade to cut straight lines using a band saw, but blade drift disrupts this expectation.
It refers to the tendency of the blade to change directions while making cuts, often veering to the left or right. This isn’t ideal for metalworking because it affects the precision of cuts.
When blade drift occurs, achieving precise and straight cuts becomes challenging. Instead, the blade may veer off course, resulting in uneven and inaccurate cuts. This can be frustrating, especially when working on projects that require precision and accuracy.
Conquer Bandsaw Drift and Achieve Precise Cuts: Master the Key Aspects of Operation
By addressing these crucial aspects of bandsaw operation, you can significantly reduce or eliminate drift, paving the way for precise and consistent cuts.
Remember, mastering bandsaw precision is an ongoing process that involves regular maintenance and adjustments. Just like a skilled conductor directs an orchestra, you can now take control of your bandsaw and guide it smoothly through your woodworking projects.
Regularly check the tension, blade alignment, and guides to ensure optimal performance. These tips allow you to conquer bandsaw drift and create beautiful, accurate cuts easily.