How to Build a Door Using 2×4: Step-by-Step DIY Guide
To build a door using 2x4s, start by framing a rough opening with an added 2.5 inches width and 5 inches height for clearance.
Construct a strong header by laminating two 2x8s around plywood and support it with jack studs.
Assemble a torsion-box door frame using flat 2x4s and plywood sheathing for rigidity.
Attach siding flush with the frame, then install and hang the door plumb with shims and secure hinges.
For detailed techniques, keep exploring the process.
Key Takeaways
- Measure and add 2.5 inches to door width and 5 inches to height for the rough opening frame.
- Assemble the door frame flat using 2x4s with evenly spaced horizontal crossbeams for strength.
- Glue and screw 1/2-inch plywood sheathing to the frame front to create a rigid torsion box.
- Attach siding panels flush to plywood, nailing every 6 to 8 inches for a clean, finished surface.
- Hang the door plumb with shims, fastening every 16 inches and aligning hinges on the king-stud side.
Measure and Frame the Rough Opening for Your 2×4 Door

Start by accurately measuring the rough opening for your 2×4 door, adding 2.5 inches to the door’s width and 5 inches to its height to allow for proper shimming and fitting.
Mark the sole plate precisely with a plumb bob, then secure it firmly to the floor joists using screws.
Cut king studs to length and position them vertically at the edges of the opening, fastening at a 45-degree angle or with metal connectors for stability.
Place jack studs inside the king studs to support the future header but avoid assembling the header now to keep this step focused.
Make sure your measurements are exact and studs are plumb to create a square, stable frame that will accommodate the door without binding or gaps.
Using a carpenter’s square to check angles helps ensure square corners for a sturdy frame.
Build a Strong Header for Your 2×4 Door Opening
When you build the header for your 2×4 door opening, assemble two 2×8 lumber pieces around a 1/2-inch plywood sandwich to create a strong, load-bearing beam. This laminated header distributes weight evenly and resists sagging.
Nail the plywood securely between the 2x8s with construction adhesive for added stiffness. Position jack studs inside king studs to support the header properly.
| Component | Specification |
|---|---|
| Lumber | Two 2x8s |
| Core | 1/2-inch plywood |
| Fastening | Nails + construction adhesive |
| Supporting studs | Jack studs inside king studs |
Ensure precise cuts and tight nailing to maintain structural integrity. This header setup is critical for door stability and load transfer from above framing. For optimal accuracy during cutting, consider using a miter saw stand with adjustable support arms to hold long materials securely.
Assemble the 2×4 Door Frame With Plywood Sheathing
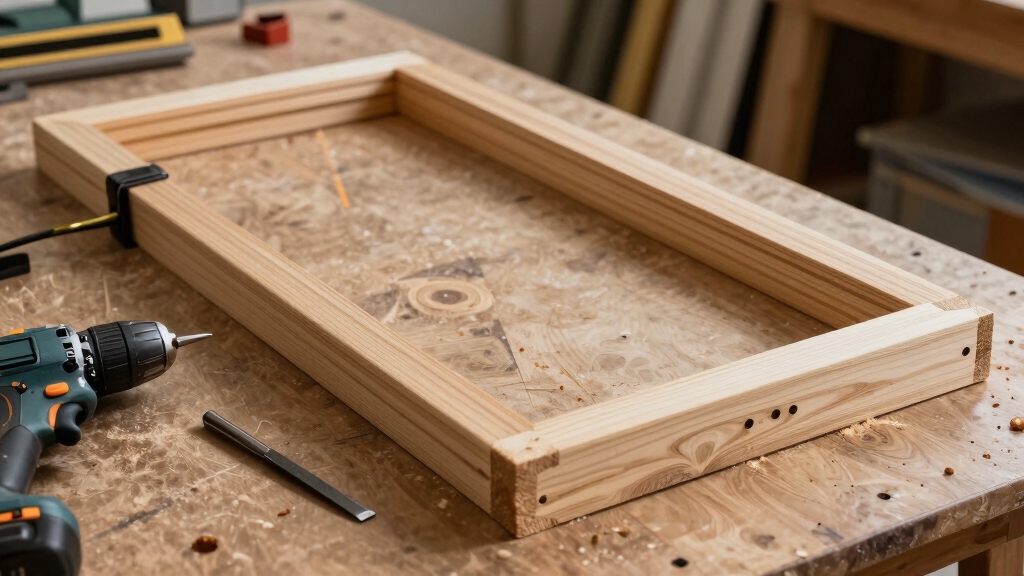
With the header firmly in place and supported by properly positioned jack studs, you can now assemble the 2×4 door frame.
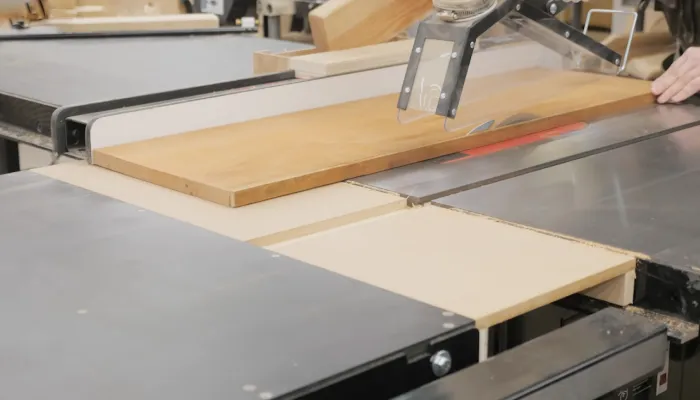
Lay your 2x4s flat to create an even surface. Then position horizontal crossbeams evenly spaced across the frame for rigidity.
Cut your siding panel to match the door opening dimensions precisely. Attach the siding to the 2×4 frame using 2-inch nails, ensuring secure fastening without warping.
Next, glue and screw ½-inch plywood sheathing to the frame’s front, forming a torsion box structure for strength and stability.
Make sure all joints are flush, using wood glue and dowels at the corners for clean, tight seams.
This approach results in a robust, straight door frame ready for hinge installation and finishing.
For best results, use a water-resistant wood glue to ensure strong, durable bonds that withstand changes in humidity and temperature.
Attach Siding and Finish the Door Surface
To achieve a durable and visually consistent door surface, you’ll need to carefully attach the siding material over the plywood sheathing. Start by positioning the siding, such as T1-11, flat against the door frame, ensuring the siding lip overlaps correctly for a seamless look.
Use 2-inch nails to secure the siding firmly through the sheathing into the 2×4 frame. Follow these steps:
- Align siding panels precisely, matching grain and pattern for uniformity.
- Nail siding every 6 to 8 inches along edges and studs, avoiding gaps.
- Trim excess siding flush with the door edges, clean cuts for a neat finish.
This process reinforces the door’s structural integrity and prepares the surface for painting or sealing. Using a heavy-duty portable workbench can provide a stable and ergonomic workspace to improve accuracy and ease during assembly.
Install and Hang Your 2×4 Door Correctly
Although careful preparation is essential, installing and hanging your 2×4 door accurately guarantees smooth operation and longevity.
Start by positioning the door plumb within the rough opening, using shims to secure a square fit.
Secure the door frame by nailing or screwing every 16 inches to adjacent studs or ceiling joists.
Attach hinges on the king stud side, aligning them properly to avoid binding.
Check that the door swings freely without scraping the frame or floor.
Install blocking between studs if needed to support trim attachment.
Finally, verify that the faces of the studs and header are co-planar to prevent gaps.
This precise installation minimizes warping and guarantees your 2×4 door functions reliably over time.
For added protection during any future moves or adjustments, consider using moving blankets to prevent damage to the door and frame.
Frequently Asked Questions
What Type of Wood Finish Is Best for Outdoor 2×4 Doors?
You’ll want to use a high-quality exterior wood finish designed to resist moisture, UV rays, and temperature changes.
A marine-grade spar varnish or a penetrating oil finish like teak oil works well for outdoor 2×4 doors, offering flexibility and water resistance.
Alternatively, a solid exterior-grade paint with a primer can provide superior protection and color options.
Always apply multiple coats and maintain the finish regularly to prolong your door’s lifespan.
How Do I Weatherproof a 2×4 Door Effectively?
Imagine a cabin door exposed to heavy rain. To weatherproof your 2×4 door effectively, start by sealing all edges with a high-quality exterior-grade polyurethane or spar varnish.
Next, install a door sweep and weatherstripping around the frame to block drafts and moisture. Apply a waterproof membrane beneath the siding or paint layers.
Make certain the door fits snugly with proper shims to prevent water infiltration. This layered approach keeps your door durable and dry.
Can I Use Alternative Materials Instead of Plywood for Door Sheathing?
Yes, you can use alternatives like oriented strand board (OSB), medium-density fiberboard (MDF), or even exterior-grade hardboard for door sheathing.
Just make certain the material is exterior-rated for moisture resistance and structural stability.
Avoid standard particleboard as it lacks durability.
Remember to seal edges properly and apply weatherproof coatings to protect the door.
Each alternative has different weight and rigidity, so choose one that suits your door design and local climate conditions.
What Tools Are Essential for Cutting and Assembling a 2×4 Door?
You’ll need a circular saw or miter saw for accurate 2×4 cuts. A jigsaw is essential for detailed cuts in plywood or siding.
A drill with screwdriver bits helps you drive screws efficiently. Use a tape measure and carpenter’s square to ensure precise measurements and right angles.
A hammer and finishing nails are useful for trim, while clamps hold pieces steady during assembly. Finally, a level guarantees your door frame stays perfectly plumb.
How to Repair a Warped 2×4 Door After Installation?
To repair a warped 2×4 door, first remove it from hinges and lay it flat.
Clamp the door with a straight board to counteract the warp.
Apply moisture to the concave side using a damp cloth.
Let it dry under pressure for 24-48 hours.
If needed, add a reinforcing crossbeam on the backside to stabilize.
Reinstall the door, checking for plumb and smooth operation before final adjustments.
Create a Strong and Reliable Door with Simple 2×4 Materials
Now that you’ve built your 2×4 door, you’ve tackled a project that saves an average homeowner over $300 compared to buying a pre-made door.
By accurately framing the rough opening, constructing a solid header, assembling the frame with plywood, and properly finishing and hanging the door, you guarantee durability and function.
With these precise steps, you’ve created a reliable door tailored to your space, combining cost-efficiency with skilled craftsmanship.