How to Square a Board With a Table Saw? Step-By-Step Guide
To square a board with a table saw, start by securely setting the rip fence parallel to the blade and adjusting the blade height just above the board thickness.
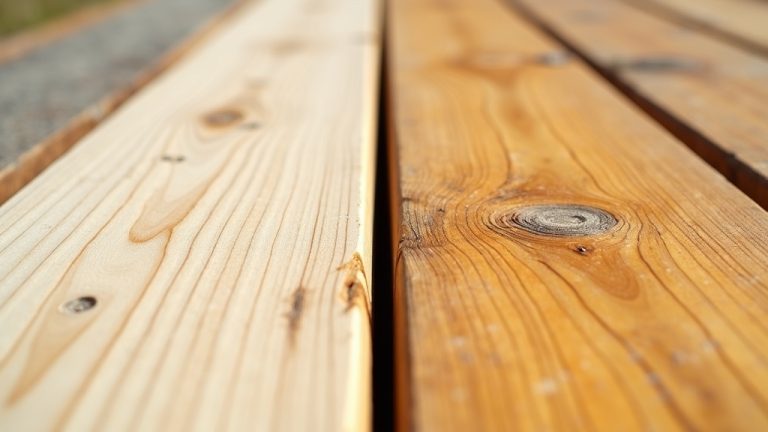
Place the board flat against the table and fence, then make a clean rip cut to straighten one edge. Flip the board and run the opposite edge against the fence for a perfectly square side.
Use a carpenter’s square to check the angles, and practice safe handling throughout. For finer details, you’ll find more techniques to guarantee precision and safety.
Key Takeaways
- Align the rip fence parallel to the blade to ensure straight, square cuts on the board edges.
- Set the blade height about 1/8 inch above the board surface for precise trimming.
- Use a push stick to safely feed the board flat against the fence and table.
- After cutting one edge, flip the board and rip the opposite edge to achieve parallel, square sides.
- Check squareness with a carpenter’s square and adjust fence or re-cut as needed for perfect 90-degree edges.
Preparing the Tools and Materials
To square a board accurately, you’ll first need to prepare the essential tools and materials. Start with a reliable table saw equipped with a sharp rip blade for straight, lengthwise cuts, and a crosscut blade if precise crosscuts are necessary.
Confirm the rip fence is properly aligned to maintain parallel edges. Ensuring the table saw is set at an ergonomic height can greatly reduce fatigue during extended cutting sessions.
Gather safety equipment like push sticks and safety glasses to protect yourself. Select a board free of major defects to avoid issues during cutting.
If your board is large or uneven, prepare a plywood sled secured with clamps, screws, or double-sided tape to stabilize the workpiece. Using plywood pieces as a stable surface during cutting can help achieve more accurate and square edges.
Keep scrap wood handy for sled adjustments. Organize your workspace to have easy access to tools and maintain a clean, well-lit area.
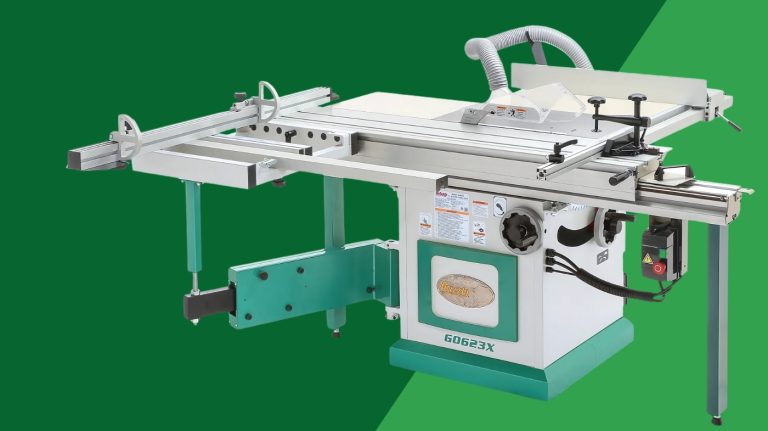
Setting Up the Table Saw
After gathering your tools and preparing your workspace, focus on setting up the table saw for accurate and safe cuts.
Start by installing the blade with teeth facing you to prevent kickback. Use a square or digital tool to guarantee the blade is perfectly square to the table at its highest point. It is also important to use a 50 tooth combination blade for general cuts to ensure clean and versatile results.
Adjust the blade height with the front crank to match your board’s thickness. Check that the fence runs parallel to the blade, leaving a slight tail-off to avoid pinch points.
Always engage the riving knife and consider using the blade guard for extra safety. Keep the table flat and free of debris, and secure the throat plate properly to minimize vibration. Make sure the riving knife is properly installed as it plays a critical role in preventing kickback.
Securing the Workpiece
When you secure the workpiece firmly against the fence and table, you reduce the risk of kickback and guarantee a straight, clean cut. Make certain the workpiece lies flat against the table and fence, locking the fence tightly to prevent any movement.
Use push sticks or blocks to maintain pressure and control, keeping your hands safely away from the blade. Avoid trapping the workpiece between the blade and fence, as this can cause dangerous kickback.
Proper edge alignment is crucial to minimize kickback hazards. Always maintain a safe distance from the blade using push tools to protect your hands during the cut.
| Aspect | Action | Benefit |
|---|---|---|
| Alignment | Flat against fence and table | Prevents binding |
| Fence Lock | Tight lock before cutting | Guarantees no movement |
| Push Tools | Use push stick/block | Maintains control safely |
Making the First Cut
Start by setting up your table saw carefully to secure accurate and safe cutting. Ascertain the blade is aligned with the miter slots and adjusted slightly above the board’s thickness. It is important to set blade height to approximately 1/8 inch above the board surface for optimal cutting.
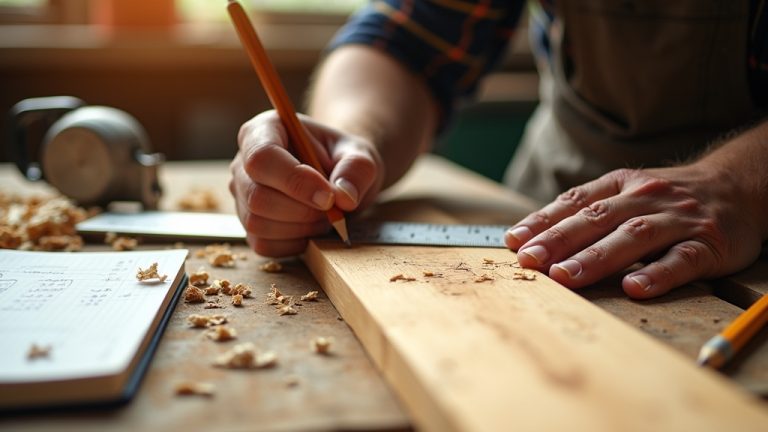
Set the rip fence to remove any curves, creating a straight edge. Mark your cut line precisely, accounting for the blade’s kerf, and align the blade’s outer edge with this mark. Use a push stick to keep your hands safe.
Maintain a steady, consistent feed rate as you push the board through, keeping it firmly supported to avoid shifting. Utilize a push stick or push block for added safety during the cut. Monitor the cut closely, ready to stop if needed.
After finishing, inspect the edge for straightness and any defects before proceeding. This precise first cut sets the foundation for squaring the board correctly.
Squaring the Second Edge
With the first edge straight and clean, you’ll use it as a reliable reference against the rip fence to square the second edge. This guarantees your board’s edges are parallel and accurate.
Before cutting, adjust the rip fence to the desired width and double-check its alignment. Use push blocks for safety and control during the cut. Choosing a sharp, high-quality blade compatible with your table saw’s specifications ensures cleaner cuts and reduces the risk of burn marks.
Keep these key points in mind:
- Align the board’s straight edge firmly against the rip fence
- Verify rip fence calibration for precise parallel cuts
- Use a sharp, high-quality blade to prevent burn marks
- Maintain consistent pressure with push blocks or featherboards
- Measure after cutting to confirm both edges are straight and parallel
- Employ safety measures such as using a push block to guide the lumber through the saw
Finalizing the Process
Before you finish, thoroughly inspect the board for squareness and surface quality to verify your cuts are accurate. The 5-Cut Method is a proven technique to ensure your table saw crosscut sled fence is perfectly square to the blade for precise cuts.
Handle the material carefully, using push sticks and proper supports to keep your hands safe during final adjustments.
Board Inspection Techniques
Thorough inspection techniques are essential to finalize the squaring process and ascertain your board meets exact standards.
Begin by visually checking for warping, loose knots, or embedded metal that can affect cuts or damage your blade. It is also important to ensure you have the appropriate blade for the job to maintain safety and accuracy.
Next, measure squareness using a carpenter’s square and verify diagonal lengths for consistency. Additionally, maintaining the table saw with regular lubrication helps ensure stable material movement and precise cuts.
Inspect the table saw setup to guarantee blade alignment, fence position, and blade sharpness are precise. After cutting, immediately check the edge with a square and re-measure diagonals to confirm accuracy.
Finally, make minor adjustments or re-cuts as needed to perfect the board’s squareness.
- Examine surface defects and thickness consistency
- Check angles and diagonals with precise tools
- Verify saw blade and fence alignment
- Inspect freshly cut edges for perpendicularity
- Adjust and re-cut to minimize cumulative errors
Safe Material Handling
To handle your board safely during the final cuts, start by setting the blade height so it barely extends about 3 mm (1/8 inch) above the material. Always verify the saw is off before cleanup, and use a brush or stick to clear sawdust—never your hands.
Wearing gloves while using a table saw increases the risk of accidents because the glove material can catch in the blade. Storing cut boards safely helps prevent hazards, and using a table saw equipped with SawStop technology can greatly reduce injury risk in case of accidental contact.
Store cut boards safely to prevent hazards. Regularly inspect and maintain your tools and workspace to keep everything running smoothly and safely.
| Action | Why It Matters |
|---|---|
| Set blade height low | Minimizes blade exposure |
| Turn saw off | Prevents accidental startups |
| Clean with brush | Avoids hand injuries |
| Store materials safely | Prevents tripping hazards |
| Maintain tools & area | Guarantees consistent, safe operation |
Tips for Maintaining Accuracy and Safety
Although squaring a board with a table saw demands precision, maintaining accuracy and safety is equally essential to achieve consistent results. You must keep the fence aligned using a straight reference board and double-check measurements frequently.
Always use push sticks to keep your hands clear of the blade and secure the workpiece to prevent kickback. Clean and calibrate your saw regularly to avoid accuracy drift. It is also beneficial to rip off equal amounts from both edges to create parallel sides before proceeding with further cuts.
- Align the fence with a straight edge before cutting
- Use push sticks or blocks for safety
- Secure the board to prevent movement
- Measure diagonals to verify squareness
- Clean and calibrate the saw routinely
Additionally, ensure the riving knife is properly installed and aligned to significantly reduce the risk of kickback during cutting.
Frequently Asked Questions
Can I Square a Board Without a Plywood Sled?
You can definitely square a board without a plywood sled. Use a straight board or guide instead, securing your warped board to it with hot glue if needed. Align the straight edge with your rip fence and make controlled cuts to straighten edges.
Just take extra care with alignment and safety, and remember to use push sticks to keep your hands safe. This method works well when you don’t have a sled handy.
What Blade Type Is Best for Squaring Rough Lumber?
Imagine your blade as the chisel sculpting raw stone into a masterpiece. For squaring rough lumber, you’ll want a ripping blade with 24 to 30 teeth. This blade cuts smoothly along the grain, giving you clean, straight edges.
If your saw’s power is modest, choose a thin kerf for less strain. Opt for carbide-tipped blades for durability and consistent performance as you tame that rough wood.
How Do Humidity Changes Affect Board Squaring Accuracy?
Humidity changes cause wood to expand or shrink, which affects your board’s dimensions and can throw off squaring accuracy. When moisture increases, the wood swells; when it drops, the wood shrinks, leading to uneven cuts.
To maintain precision, you need to acclimate the wood to your workshop’s humidity and monitor conditions closely. Controlling humidity helps keep your cuts consistent and your boards stable over time.
Is It Necessary to Wear Ear Protection During Cutting?
You might think a few quick cuts won’t hurt your ears, but table saws can reach noise levels above 110 dB, far beyond safe limits. You should always wear ear protection because even short exposure risks hearing damage.
Using earplugs or earmuffs is a simple step that keeps you safe without slowing you down. Protect your hearing now—it’s easier than dealing with loss later.
Can I Use a Handheld Circular Saw Instead of a Table Saw?
You can use a handheld circular saw instead of a table saw, especially if you need portability or work on-site. However, circular saws require more skill to make straight, precise cuts since they lack built-in fences. Using straightedge guides can help improve accuracy.
If your project demands repeatable, perfectly square cuts, a table saw is better. For flexibility and mobility, a circular saw works fine but expect a learning curve.
Square Boards Made Simple with a Table Saw
You might think squaring a board with a table saw is complicated, but it’s really about following clear steps and staying precise. By preparing your tools, setting up correctly, and securing your workpiece, you’ll get accurate results every time.
Remember, the key is making clean, careful cuts and double-checking your measurements. Stick to these basics, and you’ll save time while keeping your cuts square and safe—no guesswork needed.