How to Rip Laminate Flooring With a Circular Saw: 4 Steps
Embarking on a laminate flooring project can be rewarding, providing a sleek and durable finish to your living spaces. Installation involves many steps, but ripping laminate flooring to size is often challenging. I’ve found the perfect technique for efficiently ripping laminate flooring with a circular saw.
You need to measure and mark the planks to ensure accurate cuts. Set up the circular saw with the appropriate blade and adjust the cutting depth. Carefully rip the laminate planks along the marked lines, checking and adjusting the fit as needed.
Here, I’ll explain the step-by-step process for ripping laminate flooring with a circular saw, ensuring a seamless result.
How to Rip Laminate Flooring With a Circular Saw: Follow the Steps
According to my findings, ripping laminate flooring with a circular saw is as easy as crosscutting, just follow the steps for success.
- Measuring and marking
- Setting up the circular saw
- Ripping the laminate planks
- Safety precautions
- Prevent potential chipping
- Facing up for clean cuts
- Guiding the circular saw
- Precision and accuracy
- Post-cut inspection
- Checking and adjusting the fit
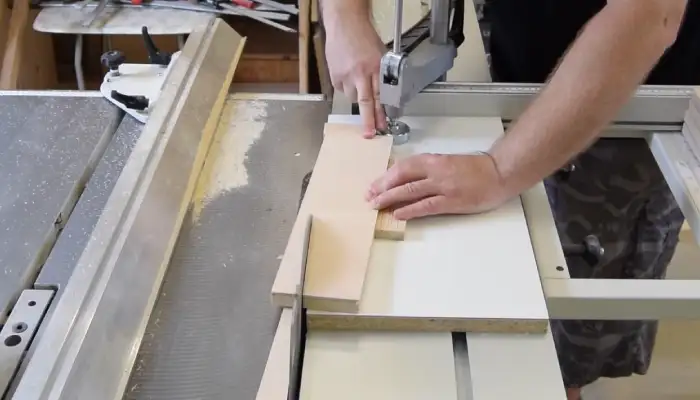
Step 01: Measuring and Marking
To begin ripping laminate flooring with a circular saw, I advise using a measuring tape to accurately measure the space between the last installed row and the wall, allowing for a quarter-inch expansion gap. This step is crucial to ensure the laminate planks fit properly and allow any potential expansion or contraction.
Once you have measured the space, mark the dimensions on the laminate planks using a pencil. This marking serves as a guide for the cutting process and will help you maintain accuracy.
To prepare the marked planks for cutting, place them on sawhorses, ensuring stability and safety during the subsequent steps. You can confidently proceed to the next step by measuring and marking accurately.
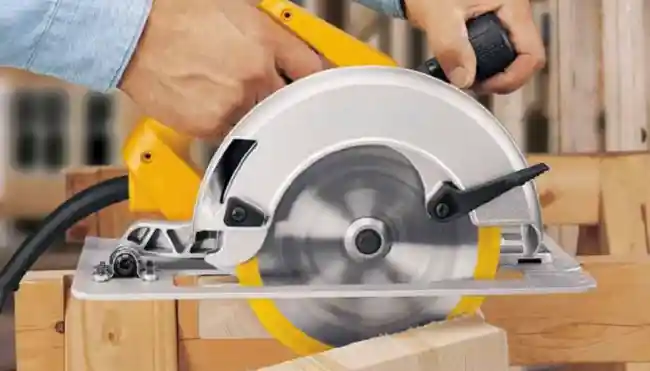
Step 02: Setting Up the Circular Saw
I recommend setting up your circular saw by attaching a fine-toothed blade suitable for laminate flooring. I prefer to select a circular saw blade for laminate flooring with a fine-toothed design, preferably with 80 or more TPI (teeth per inch). This blade type helps minimize the risk of chipping and provides cleaner cuts.
Before using the circular saw, ensure the blade is sharp and appropriate for the task. Additionally, ensure the saw is plugged in and properly adjusted for the thickness of the laminate flooring planks.
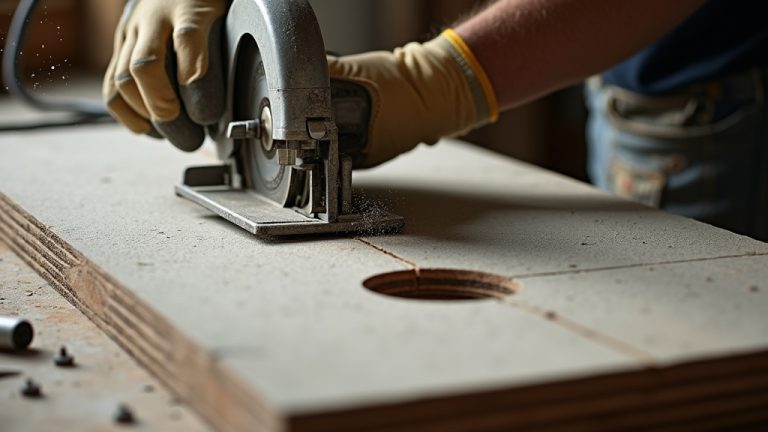
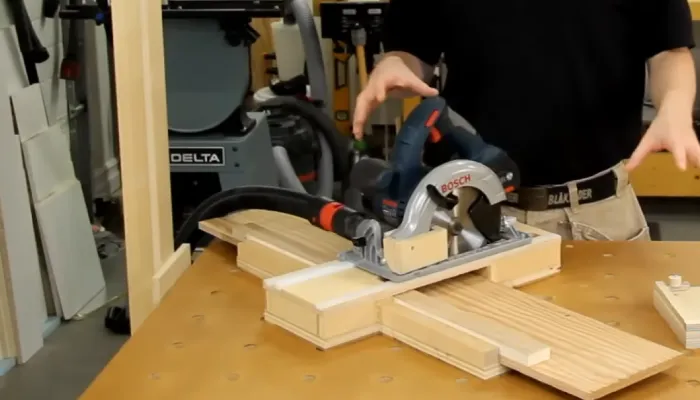
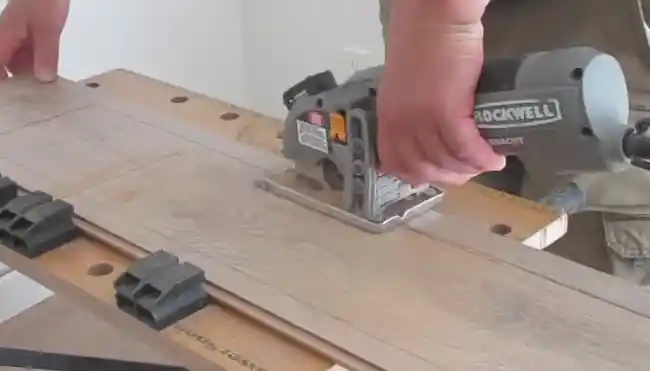
Step 03: Ripping the Laminate Planks
After all preparation is complete, it’s time to start cutting. Carefully position the circular saw blade to rip the laminate planks. It will ensure precise cuts and smooth edges. Now follow the cutting procedure:
i) Safety Precautions
- Before you begin cutting each plank, I strongly suggest double-checking the measurements.
- Wear safety glasses and ear protection before making any cuts.
- It’s important to have a well-lit workspace and good ventilation to minimize dust.
- You must also familiarize yourself with the circular saw’s safety features and controls to operate it confidently.
I believe following these safety precautions is crucial to prevent accidents and ensure a successful laminate flooring installation.
ii) Prevent Potential Chipping
To minimize potential chipping, I recommend using masking or painter’s tape along the cutting line when ripping laminate boards with a circular saw. This simple precautionary measure provides extra protection to the laminate surface, reducing the chances of splintering or rough edges.
iii) Facing Up for Clean Cuts
Place the planks face-up to prevent chipping and ensure a professional finish when ripping laminate planks with a circular saw.
With the finished side facing up, you minimize the risk of damage to the visible surface. The top layer of laminate is more prone to chipping, so this orientation helps preserve the flooring’s aesthetics.
iv) Guiding the Circular Saw
When ripping laminate planks, I advise using a steady, controlled movement to guide the circular saw and maintain a deep cut. This will ensure precise, clean cuts. Keep a firm grip on the saw and follow the marked measurements on the planks.
Cut slowly to enhance precision and reduce the likelihood of chipping is also advisable. Always refer to the manufacturer’s guidelines for operating the circular saw to ensure safety and optimal performance.
v) Precision and Accuracy
Maintain a focus on precision throughout the cutting process. Follow the marked measurements diligently, and if needed, pause periodically to assess the cut quality. Precision is key to achieving a tight fit during the installation phase, contributing to the overall professional appearance of the laminate flooring project.
vi) Post-Cut Inspection
After ripping the laminate planks with a circular saw, I recommend inspecting them thoroughly for imperfections or irregularities. Check for chipping, rough edges, or any issues affecting the fit during installation.
Address discrepancies promptly using the circular saw for additional trimming or employing an electric hand sander for finer adjustments.
This post-cut inspection ensures that the ripped laminate planks are in optimal condition for a seamless and precise installation.
Step 04: Checking and Adjusting the Fit
Now assess the fit of the ripped laminate flooring by placing the pieces in the designated space, ensuring they align seamlessly with the existing rows. This step is crucial to achieving a professional-looking finish and ensuring no gaps between the planks.
You can identify any areas that require adjustments by carefully examining the fit. If the pieces are too wide, you can trim off any excess material with the circular saw. An electric hand sander can smooth out any rough edges I mentioned above for finer adjustments.
What kind of saw blade to use on laminate flooring?
For cutting laminate flooring, I recommend using a thin kerf, 80 to 100-tooth, carbide-tipped blade. This blade type is specifically designed to cut through laminates smoothly and efficiently. The thin kerf ensures minimal waste and reduces the chances of chipping or splintering the laminate surface.
The high tooth count allows for clean and precise ripping and cross cuts, producing a professional-looking finish. Additionally, the carbide tips on the blade provide excellent durability and longevity. These blades can last for approximately 1000 square feet of cutting before needing to be re-sharpened.
Can I use a jigsaw instead of a circular saw to rip laminate flooring?
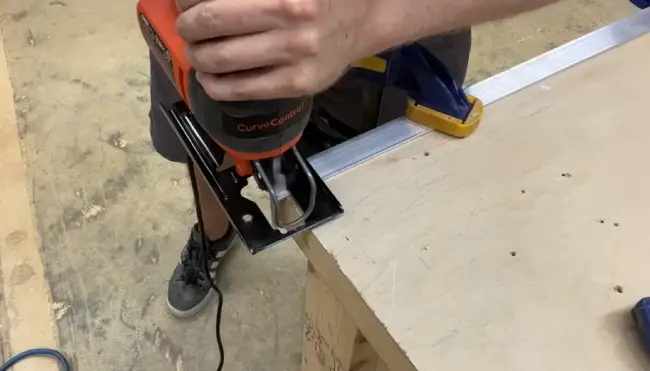
While a jigsaw can cut laminate flooring, it does not produce optimal results like a circular saw. I recommend using a circular saw for efficiency and smoothness when ripping laminate flooring.
The key advantage of using a circular saw is the accuracy of cuts. The blade is guided along a straight edge, which helps maintain perfect alignment and minimize any chances of inaccuracy in cutting. Additionally, the power from a circular saw allows for faster and smoother cuts than a jigsaw can provide.
Rip Your Laminate Flooring with Circular Saws
Ripping laminate flooring with a circular saw quickly and efficiently achieves clean and precise cuts. Using the right saw blade specifically designed for laminate flooring, you can easily glide through the material without causing any damage.
Each step I discussed above contributes to a polished result, from selecting the right blade to adopting safety precautions and achieving clean cuts. Also, it is important to prioritize precision, use the recommended tools, and address any potential challenges during the process.
While a jigsaw can also be used, a circular saw is recommended for its power and stability. So, grab your circular saw and prepare to rip your laminate flooring with ease and accuracy.