How to Cut a 45 Degree Angle With a Bandsaw: 7 Steps
The bandsaw is one of the most versatile tools in any woodworking workshop for mastering the art of precise 45-degree angle cuts for working with wood. But, based on my findings, you need to follow a few key steps to achieve perfect 45° cuts every time.
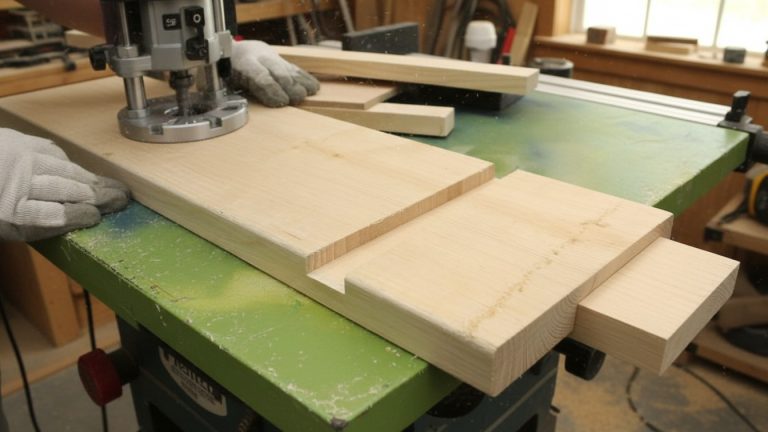
You need to set up the bandsaw and ensure it’s properly aligned. Mark the wood with the desired 45-degree angle using a protractor or angle finder. Adjust the bandsaw table to match the angle and install a fence for stability during cutting.
Here, I’ll explain to you the simple steps to achieve this precise angle using a bandsaw. With the right setup and technique, you can create clean and accurate 45° cuts every time.
How to Cut a 45 Degree Angle With a Bandsaw: Steps to Take
Woodworking is all about precision, and cutting a 45-degree angle can be a daunting task for beginners. In my research, the following steps will help you create perfect 45-degree cuts.
- Set up the bandsaw
- Mark the wood
- Adjust the bandsaw table
- Install the fence
- Wear safety gear
- Start to cut the wood
- Blade engagement
- Controlled feed
- Hands and tool placement
- Monitoring the cut
- Maintain stability
- Consistent pace
- Complete the cut
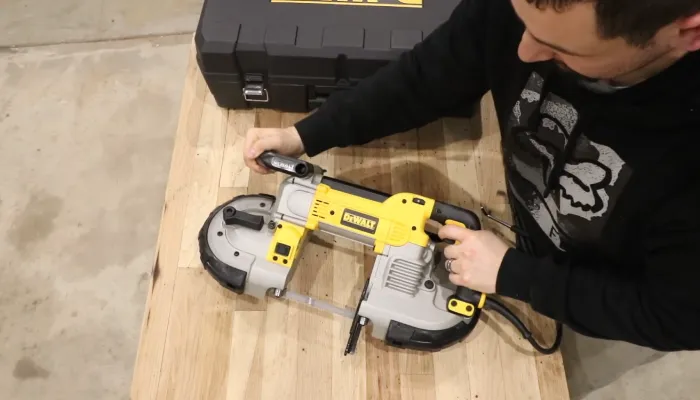
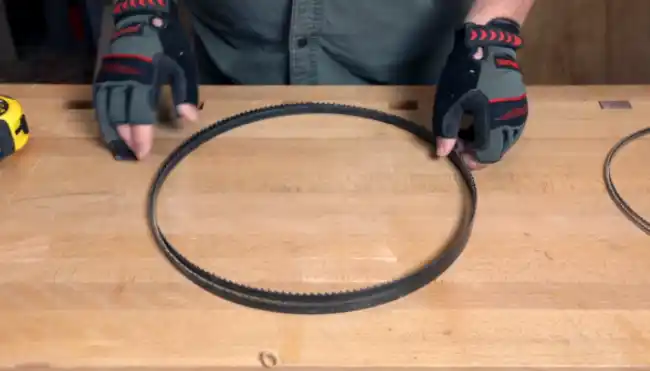
Step 01. Set Up the Bandsaw
First, I recommend choosing a bandsaw designed for resawing and then checking the work surface to ensure it is level and free of debris that could interfere with its stability. Resawing bandsaws are the perfect tool for making angled cuts and are ideal for creating precise 45-degree angles.
Position the bandsaw to be easily accessible and have enough space for the wood you cut. Ensure to tighten all the necessary bolts and screws to fasten the bandsaw in place securely. This step will ensure safety and accuracy during the cutting process.
Once the bandsaw is properly set up, you can adjust the blade tension and ensure the blade is sharp and in good condition for precise cuts.
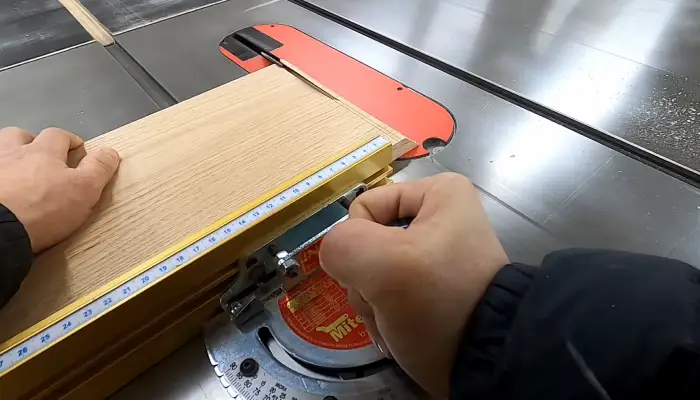
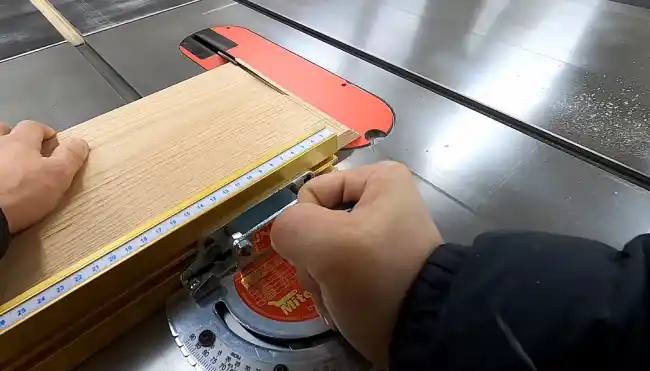
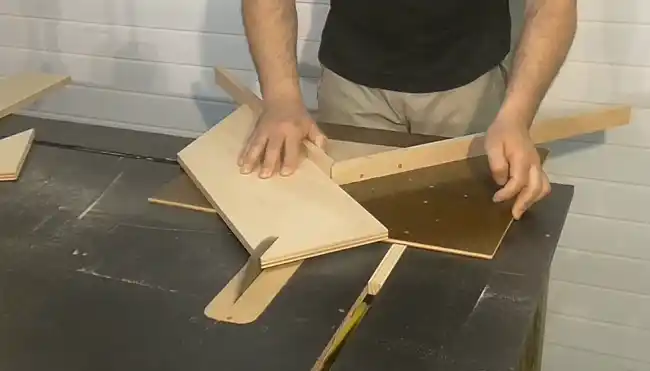
Step 02. Mark the Wood
After setting up the bandsaw, you can proceed to mark the wood for the 45-degree angle cut using a pencil or marking gauge.
Carefully position the marking tool at the starting point of the angle and draw a straight line across the wood surface. This line will guide the bandsaw cut, ensuring that the angle is cut at the desired location.
Using a square to ensure that the line is perfectly straight and perpendicular to the wood surface is important. Taking the time to mark the wood accurately will result in a clean and professional-looking 45-degree angle cut when using the bandsaw.
Step 03. Adjust the Bandsaw Table

Start by locating the tilting mechanism on your bandsaw, typically underneath the table. Loosen the locking knob or lever and adjust the table to a 45-degree angle.
Use a protractor or angle gauge to measure the angle accurately. Secure the table in place by tightening the locking knob or lever once it has been set to the correct angle. It’s crucial to keep the table locked securely to maintain accuracy during the cutting process.
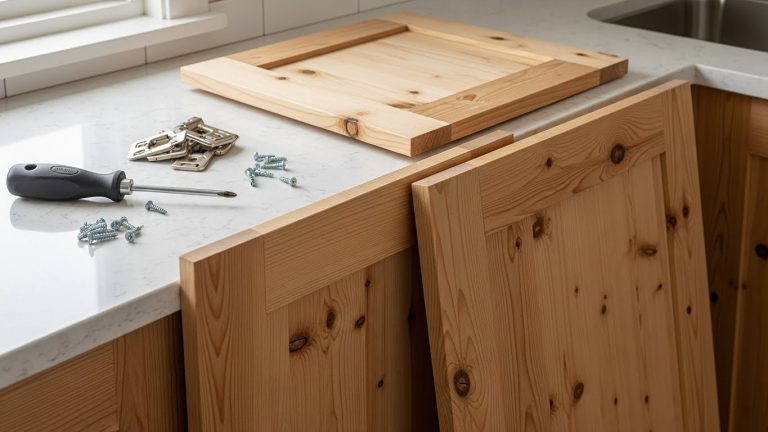
Step 04. Install the Fence
The fence is an essential component that guides the wood during the cut, ensuring accuracy and consistency. To install the fence, locate the fence mounting holes on the bandsaw table and align them with the corresponding holes on the fence. Insert the screws through the holes and tighten them securely to secure the fence in place.
Make sure the fence is parallel to the bandsaw blade and adjust it if necessary. Align the fence with the marked line on the wood, ensuring it remains in the correct position throughout the cutting process.
Step 05. Wear Safety Gear
I strongly suggest putting on safety gear before using the bandsaw to cut a 45-degree angle in wood, including safety glasses and hearing protection. Safety is paramount when using power tools; wearing the appropriate gear can help prevent accidents and injuries.
Safety glasses are essential to protect your eyes from flying wood chips or debris that may occur during cutting. The bandsaw can generate a lot of noise, so wearing hearing protection is crucial to prevent damage to your hearing.
Step 06. Start to Cut the Wood
Initiating the cutting process on a bandsaw requires careful attention to detail and a systematic approach. Here’s a breakdown of the steps involved:
6.1 Blade Engagement
Allow the blade to reach its maximum speed after starting the bandsaw. Ensure the blade is properly engaged, meaning it’s securely in place and ready to cut through the wood. Double-check that the blade is aligned with the marked cutting line to ensure an accurate and precise cut.
6.2 Controlled Feed
With a steady and even motion, you can carefully feed the wood into the bandsaw blade, ensuring that no sudden movements could compromise the cut’s precision.
Pay close attention to maintaining consistent pressure against the fence, which is crucial as this helps to guide the wood and ensure a clean and accurate cut.
6.3 Hands and Tool Placement
Carefully position your hands and tools as you begin cutting the wood with a bandsaw at a 45-degree angle. Keep your hands safe from the blade, using a push stick or push block to guide the wood through the cutting process.
This ensures that you minimize the risk of injury and maintain a smooth, controlled movement of the wood.
6.4 Monitoring the Cut
As you guide the wood through cutting, continuously monitor the cut to ensure the marked line remains aligned with the bandsaw blade. This requires careful attention and focus to detect deviations from the intended angle.
6.5 Maintain Stability
Ensure stability by firmly gripping the wood and maintaining a steady feed rate through the bandsaw. Position your hands on either side of the wood, applying sufficient pressure to keep it securely in place. By doing so, you can minimize any potential movement or vibration that could affect the accuracy of the cut.
6.6 Consistent Pace
Rushing the process can lead to mistakes, jagged edges, and an uneven angle. Maintaining a steady and controlled pace ensures that the blade cuts through the wood smoothly, resulting in a clean and precise 45-degree angle.
Step 07. Complete the Cut
Now you can complete the cut by turning off the bandsaw and waiting for the blade to come to a complete stop before removing the cut piece. Safety is paramount, and it’s important never to remove the cut piece until the blade stops moving.
Once the blade has stopped, carefully lift the piece off the table and inspect it for accuracy and smoothness. Check the angle to ensure it’s a perfect 45 degrees. If any adjustments are needed, take the necessary steps to correct the angle, whether adjusting the bandsaw or recutting the piece altogether.
What if my bandsaw doesn’t have a tilting table for 45-degree cuts?
As far as I know, a miter gauge or an adjustable jig is a solution if your bandsaw lacks a tilting table for 45-degree cuts.
To set up the miter gauge or jig, loosen the locking mechanism on the bandsaw’s table. Secure the miter gauge or jig by tightening the locking mechanism on the bandsaw table. Next, adjust the miter gauge or jig to the desired angle, in this case, 45 degrees. Make sure it’s firmly locked in place.
Now, position the wood against the miter gauge or jig, aligning it with the desired angle. Hold the wood securely and slowly guide it through the bandsaw blade, ensuring smooth and controlled movement.
Can I use any wood for 45-degree angle cuts on a bandsaw?
Different types of wood can be used for making 45-degree angle cuts on a bandsaw. I recommend using harder, thicker woods like teak, rosewood, and ebony, but blade tension and feed rate may need to be adjusted for clean and precise cuts. These woods are easier to cut through and may require less adjustment to the bandsaw settings.
The Art of 45-Degree Cuts on a Bandsaw
Cutting a 45-degree angle in wood with a bandsaw is possible even without a tilting table. You can achieve precise and accurate cuts by using a miter gauge or creating a jig. I recommend choosing the right type of wood for this task, ensuring it’s sturdy and suitable for the bandsaw.
With patience and practice, you can create beautiful angled cuts that add a touch of craftsmanship to your woodworking projects. Whether crafting furniture, creating intricate joinery, or pursuing artistic designs, mastering 45-degree cuts on a bandsaw elevates woodworking projects to new heights.
As you embark on your woodworking journey, may this guide serve as a valuable resource, enabling you to produce immaculate and visually stunning angled cuts.