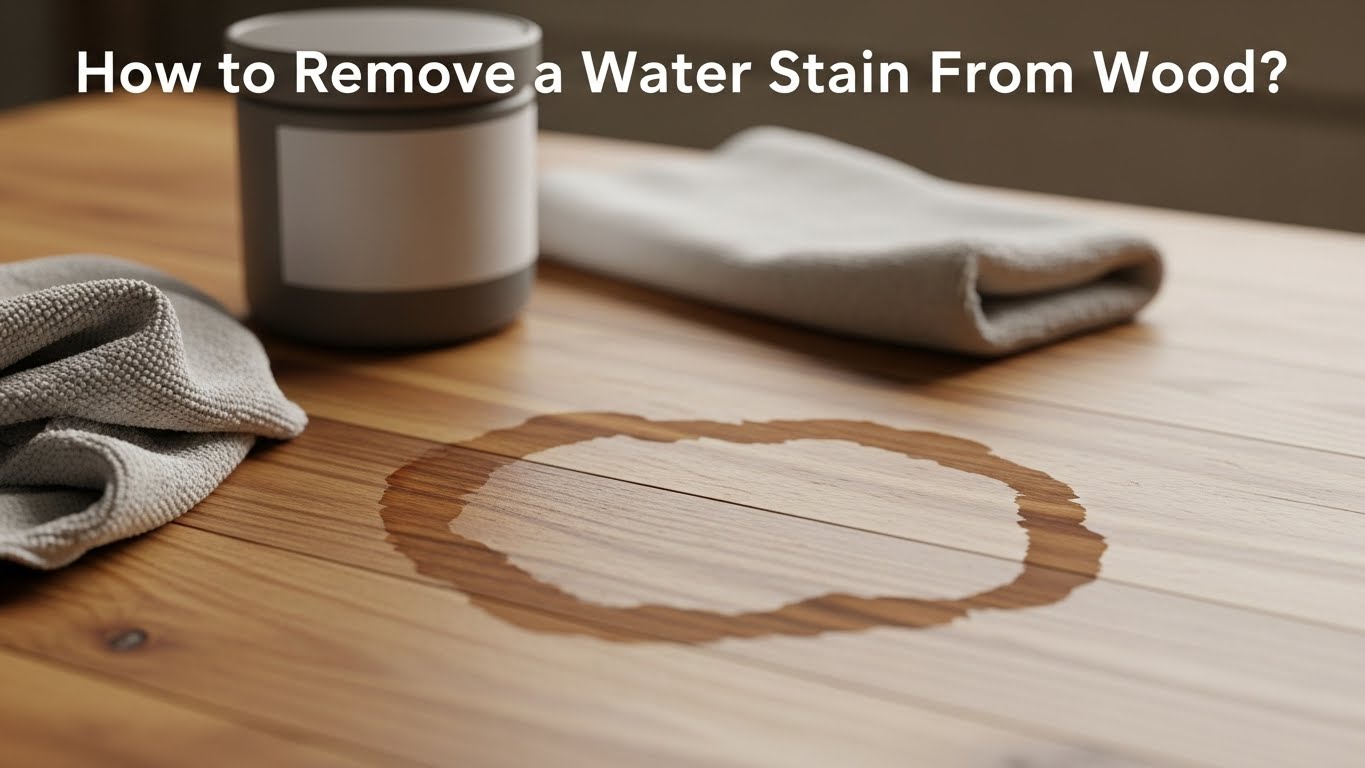
How to Remove a Water Stain From Wood? Effective Tips
To remove a water stain from wood, first identify if it’s a white ring or a dark spot. White stains are surface-level, while dark stains penetrate deeper.
Blot fresh stains immediately and dry gently with low heat. For white rings, try a mix of vinegar and olive oil or baking soda paste applied with the grain.
Dark stains often need oxalic acid treatments or tannin removers. After treatment, seal the wood properly to prevent recurrence.
Key Takeaways
- Blot excess moisture immediately with a clean cloth and allow the wood to dry naturally or with low heat from a hair dryer.
- For white stains, apply a vinegar and olive oil mixture or lightly rub baking soda paste with the grain, then wipe clean.
- Use oxalic acid solution to treat dark or stubborn stains by applying, waiting up to an hour, then rinsing thoroughly.
- Lightly sand the stained area if needed, combining with tannin removers for deep or persistent discoloration before refinishing.
- After stain removal, clean, dry, seal, and protect the wood surface with appropriate finishes to prevent future water damage.
Identifying Different Types of Water Stains on Wood
Water stains on wood come in two primary types: white and dark, each with distinct characteristics that affect how you identify and treat them.
White stains appear as cloudy, smooth rings or marks caused by moisture trapped beneath the finish. This often results from cold drinks or wet objects. They feel smooth and indicate superficial damage since water hasn’t penetrated the wood itself.
Proper drying and moisture control can help prevent further damage to these areas. Treatment choice depends on stain type and depth.
White stains on wood are smooth, cloudy marks caused by moisture trapped beneath the finish, indicating surface-level damage.
In contrast, dark stains show as irregular, rough patches—dark brown, gray, or black—resulting from water seeping deeply into the wood grain beyond the finish. These stains feel raised or textured and signify more serious damage. Such deep penetration may cause internal stresses within the wood, complicating restoration.
To differentiate, check color, texture, and edge definition. White stains have clean, smooth rings, while dark stains possess irregular shapes and roughness, indicating a need for more intensive repair methods.
Immediate Steps to Treat Fresh Water Stains
When you notice a fresh water stain on wood, act quickly to blot up any excess liquid with a clean, absorbent cloth. Avoid rubbing or scrubbing to prevent spreading moisture and damaging the finish.
Remove all objects from the area to assess the stain fully and stop ongoing moisture sources. If possible, tilt or raise the item to let pooled water drain and evaporate. Using gentle cleaning techniques helps to avoid further damage to the wood surface.
Use a low-heat hair dryer or dry fan at a safe distance to speed drying; avoid high heat or steam settings that can warp the finish. For more stubborn stains, the iron method can be effective if used carefully on the lowest setting without steam.
Then, place an absorbent pad over the stain, lightly weighted, and replace it every 10–15 minutes until moisture stops transferring. Maintaining moderate humidity in the room supports effective drying and prevents further damage.
Maintain moderate room humidity and temperature to aid drying and reduce mold risk.
Household Remedies for Removing White Rings and Light Stains
After thoroughly drying fresh water stains, you can address residual white rings or light marks with common household remedies. Each method uses accessible materials and specific application steps to dissolve or lift stains while conditioning the wood surface.
It is important to assess the stain first to determine if it is surface-level or has penetrated deeper into the wood finish. Choosing complementary woods with matching undertones can also help maintain the wood’s visual harmony after stain removal.
| Method | Key Steps |
|---|---|
| Vinegar & Olive Oil | Mix equal parts, apply circularly, wait 3-5 min, wipe off |
| Baking Soda Paste | Mix 1 tbsp soda + water, rub with grain, sit 5 min, wipe damp |
| Toothpaste | Use white non-gel, dab, scrub gently, wipe clean |
Choose the method based on stain severity and materials at hand. These techniques show high efficacy for white rings and light water marks without damaging the finish.
Advanced Techniques for Stubborn and Dark Water Stains
Although light stains often respond well to household remedies, stubborn and dark water marks require more specialized approaches to fully restore wood surfaces.
You’ll need to tackle these with precision using chemical and mechanical methods tailored to the stain severity and wood type.
Consider these advanced techniques:
Oxalic Acid Application: Dissolve crystals in warm water, apply with a toothbrush on dark rings, let sit 1 hour, then reapply for 30 minutes and rinse thoroughly. This method is effective because dark stains result from water penetrating deeper and reacting with tannins, producing black spots or rings dark stains.
Osmo Tannin Spot Remover: Apply directly to tannin stains, allow drying, repeat as needed, then protect with a finish.
Sanding Preparation: Lightly sand affected layers to remove stains without altering surface height.
Combine with tannin remover for tough spots.
Bleaching Techniques: Use oxalic acid solution over the entire surface for uniform color restoration, especially on mahogany or cherry.
Preventing Future Water Damage on Wooden Surfaces
Implementing thorough surface preparation is essential to preventing future water damage on wooden surfaces.
First, clean wood completely using a mild cleaner or water-vinegar mix, then inspect for cracks or decay.
Begin by thoroughly cleaning wood with a gentle solution and checking for any signs of damage.
Make sure the wood dries for at least 48 hours to avoid trapped moisture. Lightly sand the surface to enhance sealant adhesion.
Select a penetrating wood sealer tailored to your wood type, applying thin coats of oil-based polyurethane or varnish for durable water resistance.
Maintain environmental controls by situating wooden furniture away from moisture sources and installing waterproof fixtures. Regularly inspect plumbing and roofs to detect leaks early.
Finally, adhere to maintenance routines: wipe spills promptly, thoroughly dry exposed areas, and reapply sealants periodically.
Using a polycrylic protective finish over fully dried and cured paint can also help improve water resistance without yellowing. These precise steps will greatly reduce the risk of water damage and prolong your wood’s integrity.
Frequently Asked Questions
Can Water Stains Cause Structural Damage to Wooden Furniture?
Yes, water stains can lead to structural damage if moisture penetrates wood fibers.
Prolonged exposure causes swelling, warping, and softening, compromising strength and causing joint stress or veneer delamination.
You should act quickly: dry the area thoroughly to prevent fiber expansion and adhesive failure.
Surface stains alone rarely cause damage, but persistent moisture, especially on softwoods or engineered wood, increases risks like rot and decay, which require repair or replacement.
How Do Different Wood Finishes Affect Stain Removal Methods?
You’ll find that oil-based finishes, which dry in up to 72 hours, allow deeper stain removal using mild abrasives or steel wool with mineral spirits, working along the grain.
Water-based finishes dry faster, requiring gentle, sectioned cleaning with toothpaste or commercial polishes to avoid damage.
Lacquer needs solvents like lacquer thinner, while varnish or polyurethane often demands thick strippers and sanding.
Each finish’s composition dictates your precise stain removal approach.
Are There Specific Tools Recommended for Sanding Out Deep Water Stains?
You’ll want an orbital sander for large, deep water stains on flat surfaces, as it removes material evenly without gouging.
For contoured or delicate areas, use hand sanding blocks to maintain control.
Detail sanders help you reach tight spots precisely.
If speed is critical and the wood is plywood, pneumatic sanders work well.
Always sand with the grain using light pressure, and vacuum dust between grit changes for effective stain removal.
What Safety Precautions Should I Take When Using Chemical Wood Bleaches?
You should wear chemical-resistant gloves, eye protection like safety goggles, and protective clothing to avoid skin and eye contact.
Use a NIOSH-approved respirator if ventilation is poor or fumes are present.
Work only in well-ventilated areas with local exhaust.
Avoid mixing bleaches with acids or ammonia.
Store chemicals tightly closed in a cool, ventilated spot.
Keep emergency eyewash and shower stations nearby, and restrict access during application and drying to guarantee safety.
Is It Safe to Use Heat Methods on Antique or Veneered Wood Pieces?
Imagine your antique veneer as fragile parchment under a flame. Using heat methods like irons or hairdryers isn’t safe.
You risk melting adhesives, causing delamination and irreversible damage. Heat raises wood grain, darkens finishes, and compromises delicate surfaces.
Instead, opt for commercial stain removers designed for antiques or test finishes with ethanol swabs. Avoid heat entirely to preserve your piece’s integrity and value, preventing costly restoration.
Take Action Now: Protect Wood Surfaces From Future Water Stains
Now that you’ve tackled those water stains with precision, your wood can breathe free again, shining like a freshly polished gem.
Remember, swift action is your shield against lasting damage, while preventive care acts as a guardian, keeping moisture at bay.
By mastering these techniques, you’re not just removing stains; you’re preserving the integrity and beauty of your wood, ensuring it stands strong and radiant for years to come.