How to Install Threaded Inserts? Step-By-Step Guide
To install threaded inserts, start by drilling a precise pilot hole with the correct diameter and depth, ensuring perpendicular alignment. For metal, tap the hole to match insert threads or use self-tapping inserts. In wood, choose coarse-threaded inserts and lubricate threads for smooth insertion.
When working with plastic, select inserts compatible with the material, using heat or press methods as appropriate. Use proper tools to seat the insert flush without damaging threads. Explore these methods further to master secure, durable fastening.
Key Takeaways
- Drill a clean, straight pilot hole matching the insert’s diameter and depth, using a depth stop to ensure proper alignment.
- Tap the hole threads if required, or select self-tapping inserts suitable for the material to ease installation.
- Lubricate insert threads to reduce friction and use appropriate tools like hex wrenches or dedicated drivers for straight insertion.
- Apply steady torque to seat the insert flush or slightly countersunk without stripping or damaging the material.
- Break off any coil insert tangs post-installation and consider thread-locking compounds for vibration resistance and durability.
Preparing the Hole for Threaded Insert Installation
When preparing the hole for threaded insert installation, you must drill with exact sizing and alignment to guarantee proper fit and function.
Select a drill bit matching the insert’s diameter, slightly larger if epoxy fills gaps. Use a depth stop to avoid excessive depth, protecting material integrity and ensuring insert stability. For ultrasonic and thermal inserts, maintaining the correct hole size is essential to prevent reduced stripping torque and pull-out force.
Choose a drill bit matching the insert size, slightly larger if epoxy is used, and control depth with a stop for stability.
Maintain perpendicularity to the work surface to prevent misalignment or binding. Employ sharp bits suited to the material, such as wood, plastic, or composite, to produce clean holes with minimal tear-out. The choice of blade material can significantly affect the quality and precision of drilled holes.
For wood, pre-drill to prevent splitting; for plastics, consider oversized holes if using adhesives. Clean debris and oils thoroughly to enhance bonding.
Mark hole depth clearly on the bit or use collars for consistency. Accurate hole positioning relative to assembly features ensures alignment during use and prevents installation issues.
Installing Threaded Inserts Into Metal
Although installing threaded inserts into metal demands careful attention to detail, following precise drilling, tapping, and seating procedures guarantees a secure and durable fit.
Begin by drilling a pilot hole to the exact diameter and depth specified for your insert, using a drill press or depth stop to ensure perpendicularity.
Next, tap the hole with the matching thread size unless you’re using self-tapping inserts suited for softer metals. These inserts enhance connection strength and distribute stress effectively, especially in softer metals.
Use the appropriate installation tool or bolt-and-nut assembly to drive the insert flush or slightly countersunk, applying steady torque with a wrench to avoid stripping.
For coil inserts, break off the tang post-installation per guidelines.
Selecting the correct insert type and considering environmental factors like corrosion further ensures long-term reliability in metal fastening applications.
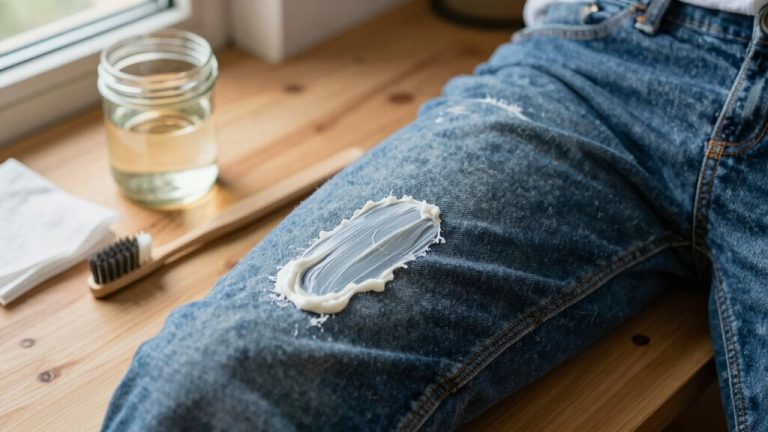
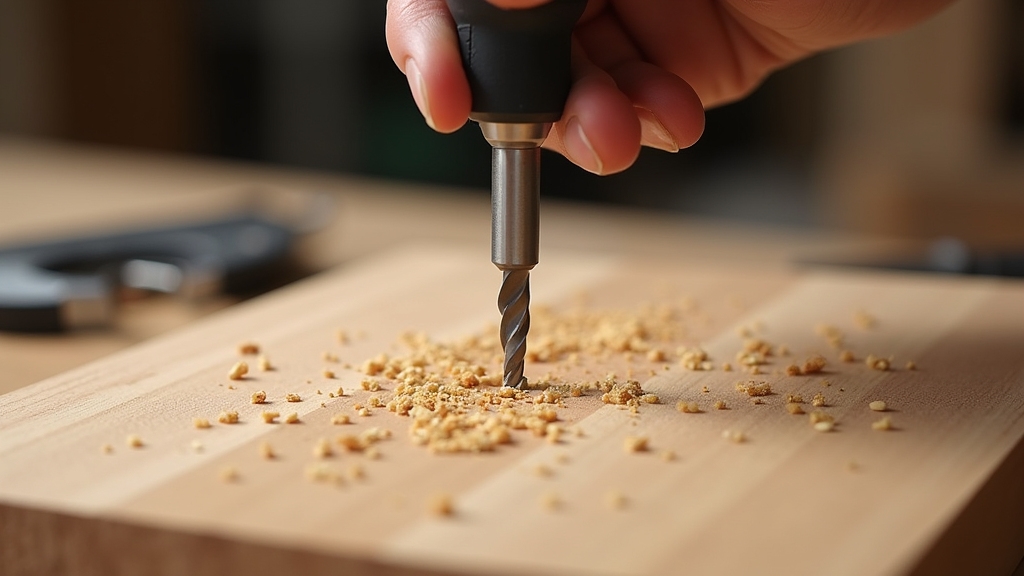
Installing Threaded Inserts Into Wood
Since wood varies considerably in density and grain structure, selecting the appropriate threaded insert and preparing the pilot hole with exact dimensions are critical to achieving secure, long-lasting fastening.
You’ll want brass inserts with coarse external threads for maximum grip and ease of installation. Drill a pilot hole slightly smaller than the insert’s outer diameter to ensure the threads bite properly without splitting the wood. However, manufacturers often advise against installing inserts directly into plywood because its layered structure reduces overall strength compared to solid wood. It is important to keep the insert aligned properly during installation to prevent cross-threading and ensure a secure fit.
Follow these steps:
- Choose an insert diameter and length compatible with wood species and fastener.
- Drill a straight, clean pilot hole matching insert depth.
- Lubricate insert threads to reduce friction.
- Use a hex wrench or adapted power tool for straight, flush insertion.
Maintain alignment to prevent cross-threading and verify tight fit for durable results.
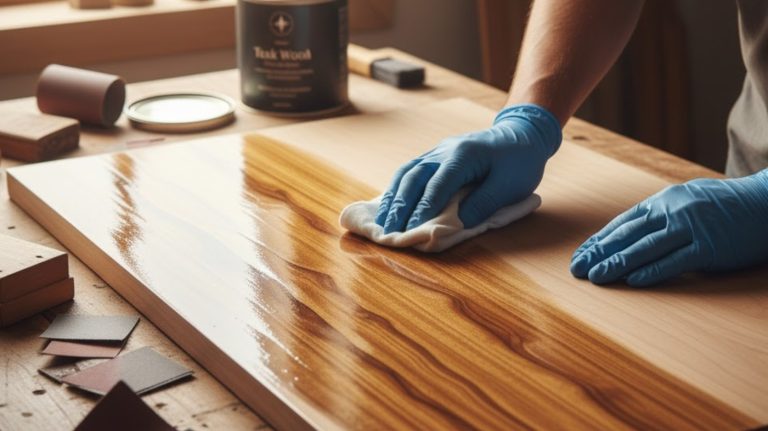
Installing Threaded Inserts Into Plastic
Wood and plastic demand different approaches for installing threaded inserts due to their distinct material properties.
When working with plastic, you must select an insert type and installation method suited to the polymer’s characteristics. Using specialized safety equipment is crucial when performing these installations to prevent accidents related to tool kickback, similar to precautions taken with table saws utilizing a riving knife.
Ultrasonic and heat staking inserts rely on controlled melting of the plastic to establish a secure bond. This is ideal for thermoplastics like ABS. These methods provide medium pull-out strength compared to other insert types.
Ultrasonic and heat staking inserts create strong bonds by melting thermoplastics such as ABS during installation.
Press inserts offer cost-effective solutions by fitting into pre-drilled holes without heat. They’re suitable for thermoset plastics.
Molded-in inserts provide permanent threads by embedding during injection molding.
Expansion inserts enhance holding power by physically expanding inside the hole.
You should match the insert material, commonly brass for thermal conductivity or steel for strength, to the application’s demands.
Tools and Techniques for Threaded Insert Installation
When installing threaded inserts, selecting the right tools and techniques is essential to guarantee proper fit, alignment, and durability.
Start by drilling an accurate pilot hole with the correct bit size to match the insert’s body. Use a tap to cut internal threads for externally threaded inserts, ensuring the tap is sharp and appropriate for the material. Threaded inserts are commonly used in furniture applications to attach legs, arms, and components securely. Checking for material compatibility ensures the insert will hold effectively without causing damage.
Employ a threaded insert driver or a manual tool like pliers or a wrench to insert the component straight and to the correct depth. Consider thread-locking compound for vibration resistance.
- Drill precise pilot holes aligned perpendicular to the surface.
- Use appropriate taps to create clean internal threads.
- Insert using dedicated drivers or manual tools with depth control.
- Apply thread-locking compound for enhanced security when needed.
Frequently Asked Questions
How Do I Remove a Damaged Threaded Insert Without Harming the Base Material?
To remove a damaged threaded insert without harming the base, first apply controlled heat with a soldering iron about 20°C above the base material’s melting point to soften the surrounding matrix.
Use an extractor tool attached to the iron tip for secure grip while gently pulling. Support the base firmly with soft clamps to avoid deformation.
Avoid sudden force; increase torque gradually. If slots are absent, carefully cut them with a Dremel to enable screwdriver engagement.
Can Threaded Inserts Be Reused After Removal or Are They Single-Use Only?
Think of threaded inserts as dependable anchors. You can often lift and reposition them carefully without losing their grip.
Many inserts, like quality brass ones and Keenserts, can be reused if you remove them gently using heat and proper tools, preserving their threads and the surrounding material.
However, locking helicoils usually aren’t reusable due to their permanent locking design.
Always assess the insert’s condition before reuse to avoid compromising thread integrity or the base material’s strength.
What Are the Common Signs That a Threaded Insert Installation Has Failed?
You’ll notice installation failure if the insert spins freely without holding the screw, signaling poor seating or damage.
Over-torquing leaves visible deformities like stripped threads or damaged drive notches.
Cracks around the insert, especially in plastics like polycarbonate, indicate residual stress.
Also, gaps or porosity defects around the insert suggest instability.
Finally, if the insert lacks pull-out resistance, it means material displacement was incomplete during installation.
How Do Temperature Changes Affect the Durability of Threaded Inserts?
Temperature changes expand and contract materials, loosen and stress threaded inserts, corrode and degrade metal surfaces.
You’ll notice reduced torque holding capacity, micro-movements causing fatigue, and crack formation around installation zones.
You must manage heat levels carefully to maintain strong bonds and protect inserts with coatings against corrosion.
Otherwise, thermal cycling accelerates wear, weakens mechanical strength, and compromises the durability of your threaded inserts over time.
Are There Eco-Friendly or Biodegradable Threaded Insert Options Available?
Yes, you can choose eco-friendly threaded inserts made from lead-free stainless steel or aluminum, both promoting safe recycling and reducing environmental impact.
Brass inserts also offer a recyclable, green option.
While fully biodegradable threaded inserts aren’t common due to durability needs, selecting recyclable, non-toxic materials helps minimize ecological harm.
Always balance sustainability with mechanical performance to ensure long-term reliability without compromising your environmental goals.
Take Your Projects Further with Threaded Insert Mastery
Now that you’ve mastered the precise steps for installing threaded inserts into metal, wood, and plastic, the real challenge begins. Will your preparation and technique hold under real-world stress?
The strength of your joint depends on flawless execution and the right tools. Don’t rush—double-check your work to guarantee durability and performance. Ready to test your skills? The integrity of your project hinges on what you do next.