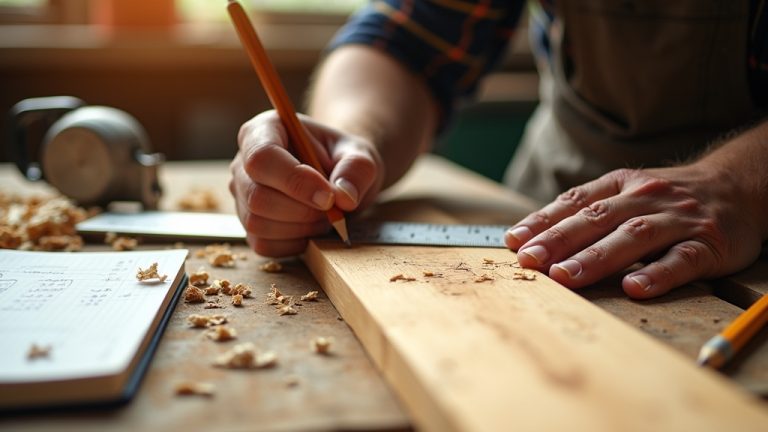
How to Fill Screw Holes in Wood: Easy DIY Repair Guide
You should fill screw holes in wood to keep the surface strong, prevent damage, and maintain a smooth finish.
For small holes, use glued toothpicks or matchsticks, trimming flush once dry.
For better strength and color matching, mix wood dust with glue or epoxy and pack it firmly.
Larger holes need drilled uniformity, glued hardwood dowels, and drying before redrilling.
If you want to master these simple repairs, you’ll soon find the right filler and techniques for lasting results.
Key Takeaways
- Fill screw holes to restore wood strength, prevent damage, and create a smooth surface for refinishing or repainting.
- Use wood glue with toothpicks or matchsticks for quick, small hole repairs that allow non-load-bearing reuse.
- Mix sawdust with wood glue to create a color-matched filler for natural-looking, moderately durable hole repairs.
- For strong, reusable repairs, fill holes with hardwood dowels or epoxy mixed with wood dust and allow proper curing time.
- Trim excess filler flush and wait for glue or epoxy to dry completely before sanding or redrilling the repaired hole.
Why You Need to Fill Screw Holes in Wood?

Although screw holes may seem minor, filling them is essential to maintain the strength and appearance of your wood project.
Unfilled holes weaken the wood around the screw, reducing holding power and risking structural integrity. They also create unsightly gaps that catch dirt and moisture, which can lead to wood damage over time.
Filling screw holes restores a smooth, uniform surface, making it easier to refinish or repaint your work. It also prevents screws from loosening by providing a solid base if you need to reuse the hole.
Whether repairing old furniture or finishing new builds, filling screw holes guarantees durability and a professional look. Skipping this step compromises both function and aesthetics, so don’t overlook it in your woodworking routine.
Using a high-quality epoxy wood filler provides strong adhesion and resistance to moisture, ensuring long-lasting repairs that blend seamlessly with the wood.
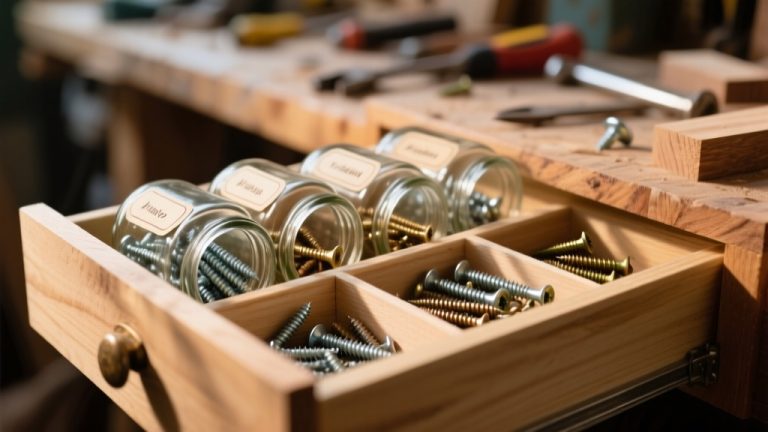
How to Choose the Best Screw Hole Filler: Durability, Appearance, and Ease?
When selecting the best filler for screw holes, you’ll want to balance durability, appearance, and ease of use.
Choosing the right screw hole filler means balancing strength, look, and how easy it is to apply.
For holes that need to be reused or bear weight, choose solid options like hardwood dowels or epoxy fillers. They provide strength and allow redrilling.
If appearance matters, use fillers mixed with wood dust that matches your wood’s color to blend in seamlessly.
For quick, non-structural fixes, wood filler or Timbermate works well. Avoid fillers that crumble under drilling.
Consider ease too: injectable fillers and ready-mixed putties save time. Methods like mixing glue with sawdust require patience but offer good color matching.
Assess your project’s needs to pick a filler that’s strong enough, looks good, and fits your skill and time constraints. For enhanced durability and water resistance, consider using water-resistant adhesives in combination with fillers for a longer-lasting repair.
Using Toothpicks and Matchsticks to Fill Screw Holes
You’ll find toothpicks and matchsticks offer simple, effective solutions for filling small screw holes, especially when strength and appearance aren’t your top priorities. These quick fixes work well for minor repairs or when you plan to reuse the hole without needing a perfect finish.
Apply wood glue to toothpicks or matchsticks before inserting them into the hole. Tap them lightly with a hammer to guarantee a snug fit. Let the glue dry for 1-2 hours to secure the filler. Trim any protruding parts flush with the wood surface using scissors or a chisel. You can reuse the hole by screwing directly into the filled toothpicks or matchsticks.
This method is fast, requires minimal materials, and is ideal for small, non-load-bearing holes. For holes caused by broken screws, applying penetrating lubricant beforehand can help loosen any rust or corrosion that might complicate future repairs.
Mixing Wood Dust, Glue, and Epoxy to Fill Screw Holes
By mixing wood dust with glue or epoxy, you create a filler that matches the wood’s color and texture, making it ideal for both cosmetic and structural repairs.
For glue-based filler, combine sawdust from the same wood species with wood glue until you get a thick paste. Pack it firmly into the hole, ensuring it fills completely. Let it dry for 24 hours to harden fully.
Mix sawdust with wood glue into a thick paste, fill holes completely, and let dry for 24 hours.
For a stronger fix, mix wood dust with a two-part epoxy. Adjust the dust amount to match the color and fill the hole. Epoxy cures in about an hour and hardens reliably for redrilling.
You can also tint epoxy with acrylic paint if needed. Both methods deliver a solid, visually seamless repair suitable for most screw holes. Many professional wood fillers also accept stains and pigments, allowing for precise color matching in repairs.
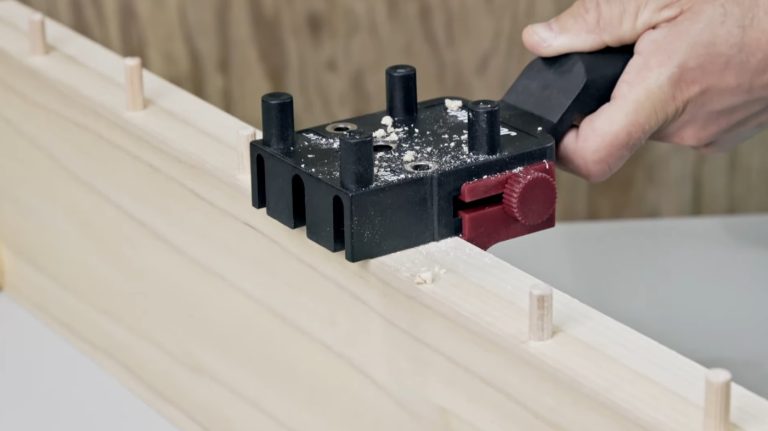
Repairing Large Screw Holes With Dowels and Plug Cutters
Restore the integrity of large screw holes by drilling them out to a uniform size and inserting a hardwood dowel or plug. This method guarantees a strong, load-bearing repair suitable for furniture or structural wood.
Here’s how to do it effectively:
Drill the hole to a consistent diameter, typically 3/8 inch. Cut a hardwood dowel or plug to match the hole depth.
Apply wood glue to the dowel before insertion. Insert the dowel firmly, then trim it flush with the surface. Allow the glue to dry completely before redrilling the screw hole.
Using dowels and plug cutters provides a solid base for screws, restores wood strength, and offers a clean surface ready for finishing or repainting. This approach beats simple fillers for durability and reliability. Choosing screws with self-tapping threads after repair ensures clean entry and reduces wood splitting.
Frequently Asked Questions
Can I Fill Screw Holes in Outdoor Wood Furniture?
Yes, you can fill screw holes in outdoor wood furniture.
You’ll want to use weather-resistant materials like epoxy filler or exterior-grade wood glue mixed with sawdust.
These options harden well and resist moisture.
Avoid standard wood fillers that aren’t waterproof.
After filling, seal the area with outdoor varnish or paint to protect it further.
This guarantees durability and prevents damage from rain or humidity over time.
How Long Should I Wait Before Sanding Filled Holes?
You should wait at least 24 hours before sanding filled holes, especially if you used a wood glue and sawdust mix, to make sure the filler hardens fully.
Epoxy fillers cure faster, usually within an hour, so you can sand sooner.
Curiously, about 90% of repair failures come from sanding too early.
Waiting guarantees a smooth finish and prevents crumbling or uneven surfaces, making your repair sturdy and neat.
Are There Eco-Friendly Fillers for Screw Holes?
Yes, you can use eco-friendly fillers like wood dust mixed with natural wood glue, which is biodegradable and non-toxic.
Timbermate is another green option; it’s water-based and low in VOCs.
You might also try using matchsticks or toothpicks with glue, avoiding synthetic materials altogether.
These options minimize environmental impact while providing solid repairs you can sand and paint as needed.
Always choose natural or water-based products for greener woodworking.
Can I Paint Over All Types of Wood Fillers?
You can paint over most wood fillers, but results vary.
Hard wood fillers, epoxy fillers, and Bondo all-purpose putty accept paint well, providing smooth, durable surfaces.
Toothpicks, matchsticks, or wood dust and glue mixes might need extra sanding and priming first. Avoid fillers that crumble or remain too soft, as paint won’t adhere properly.
Always test a small area to make certain of good adhesion and color match before finishing your project.
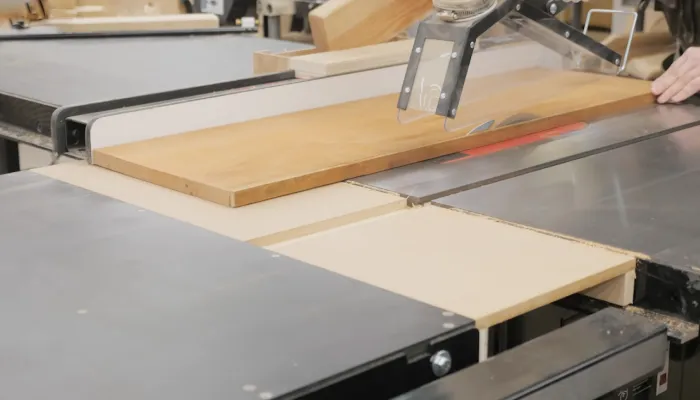
What Tools Are Best for Trimming Excess Filler?
You’ll want to use nippers or scissors for trimming toothpicks or matchsticks flush with the surface.
For wood filler or epoxy, a sharp chisel or putty knife works well to level excess material.
Sandpaper or a sanding block is essential afterward for smooth finishing.
If you’re working with dowels or plugs, a flush-cut saw or chisel helps trim the edges precisely before sanding to blend with the wood.
Final Fix: Say Goodbye to Ugly Screw Holes
So, next time you spot those pesky screw holes, don’t just stare at them like they’re some unsolvable mystery.
You’ve got toothpicks, glue, wood dust, and even dowels ready to do the job. Filling them isn’t rocket science; it’s just a bit of handy know-how.
Trust me, your wood will thank you by looking flawless, not like it’s been through a tiny, embarrassing identity crisis. Now, get filling!