How to Cut Moulding Without a Miter Saw? Easy Methods
You can cut moulding without a miter saw by using tools like a table saw, jigsaw, or miter box. Start by marking your cut lines clearly and aligning your tool properly.
If using a handsaw, keep a steady motion for a clean cut. Chop saws work well for straight cuts but make sure to secure your material firmly.
With the right techniques, you’ll achieve precise results. Discover more effective methods and tips to enhance your cutting skills.
Key Takeaways
- Use a miter box to achieve accurate 45° cuts by aligning the molding properly before cutting.
- A handsaw can effectively cut moulding; ensure to mark your cut lines for precision.
- Utilize a table saw for straight cuts, ensuring the blade is sharp and the fence is aligned.
- For intricate cuts, consider using a coping saw to create detailed joints and profiles.
- Always prioritize safety by wearing goggles and securing materials while cutting to prevent accidents.
Tools Required for Cutting Moulding Without a Miter Saw
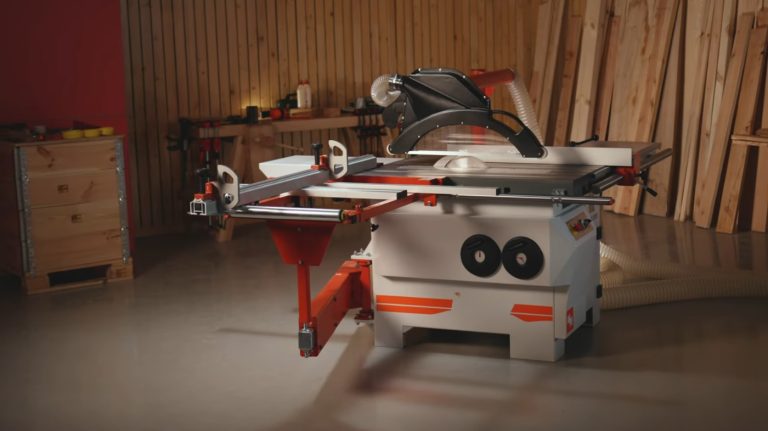
When you’re cutting moulding, having the right tools makes all the difference, especially for alternative cuts. Start with a table saw for precise crosscuts and bevel adjustments.
A jigsaw is great for curved cuts, while a circular saw can handle straight cuts effectively, though it’s less ideal for trim work. For simpler tasks, a miter box allows for accurate miter cuts without needing a miter saw, and compound miter saws excel in basic angled and bevel cuts.
Don’t overlook a coping saw for intricate coping joints. Additionally, consider using a custom jig with a handheld circular saw for achieving accurate angles when cutting crown molding.
Make sure you have clamps to secure your moulding during cuts and invest in fine-cutting blades for precision. Finally, always wear safety goggles and keep your workspace well-lit to maintain a safe cutting environment.
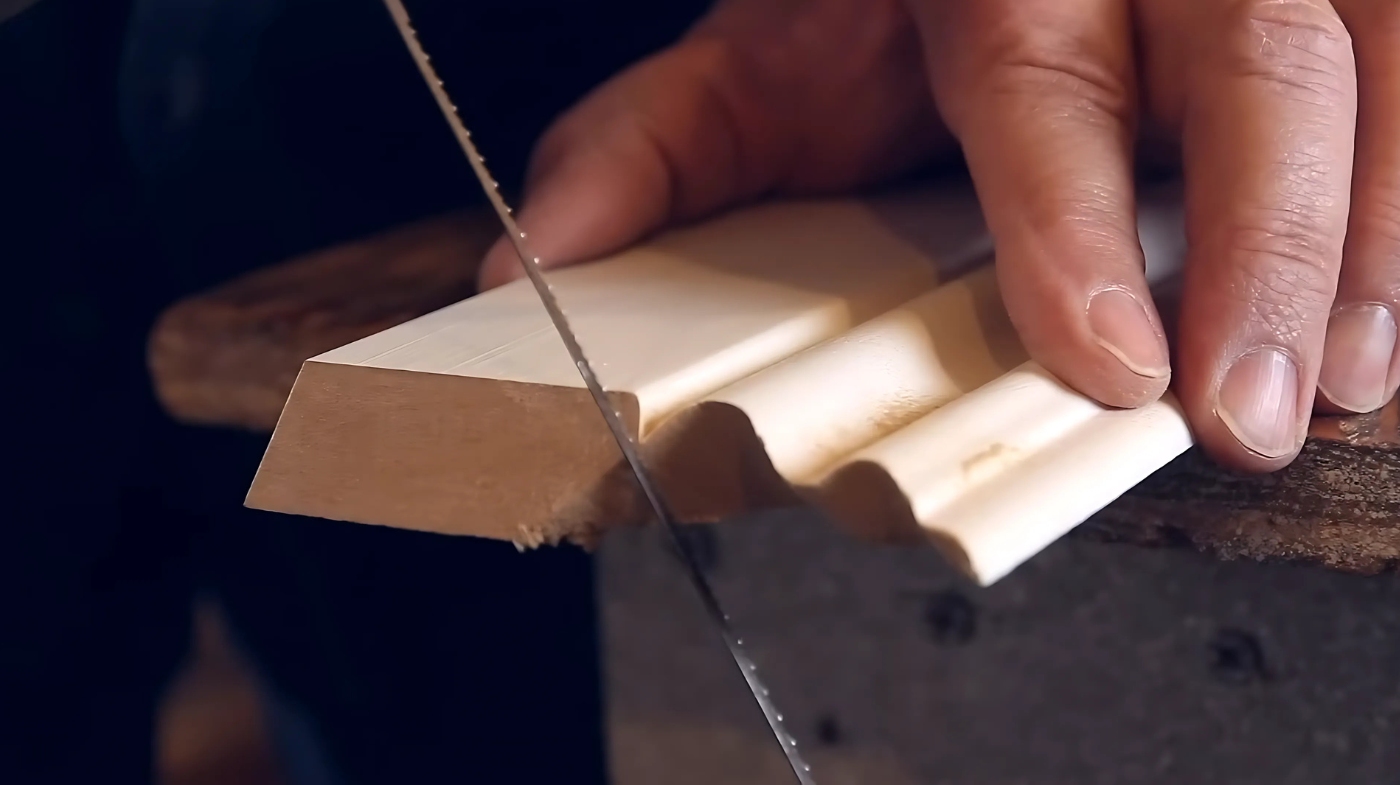
Techniques for Using Handsaws
Cutting moulding with handsaws offers a hands-on approach that’s both effective and rewarding. To achieve precise cuts, consider using a miter box with your handsaw. Here’s a quick reference table to help you:
| Technique | Description | Tools Needed |
|---|---|---|
| Marking Cuts | Clearly mark your cut lines for accuracy. | Pencil, Ruler |
| Saw Alignment | Align the saw with the marked line for straight cuts. | Miter Box, Handsaw |
| Cutting Motion | Use a smooth, consistent motion; let the saw do the work. | Handsaw |
Always keep your fingers behind the blade and maintain a stable work surface. A miter box is essential for achieving accurate angles and ensuring clean cuts, especially when working with moulding.
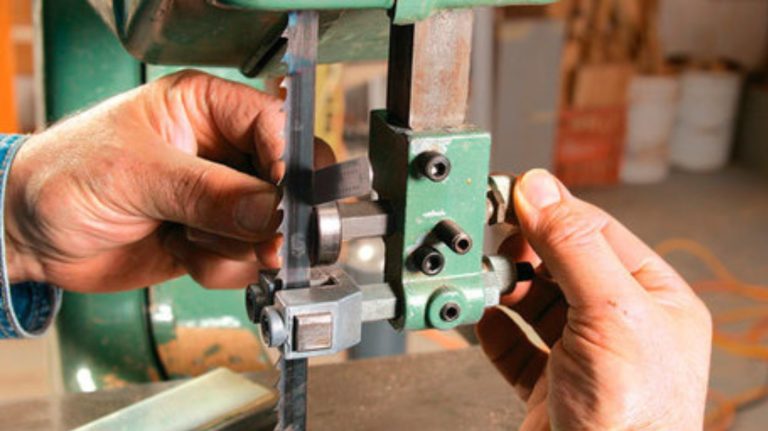
Additionally, using a bandsaw can provide greater control for intricate cuts if you’re looking to explore different techniques. Practice will enhance your skill, making handsaws a reliable option for your moulding projects.
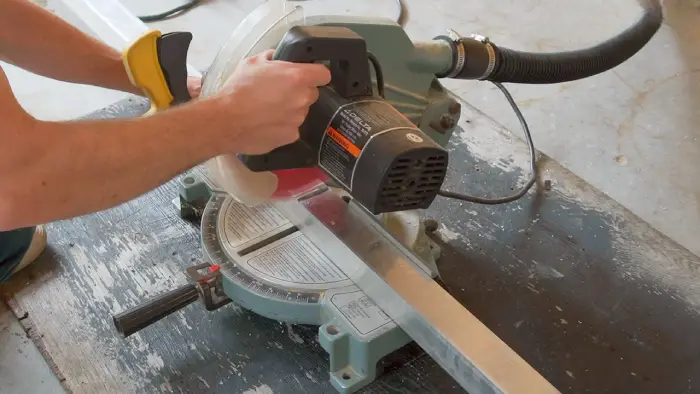
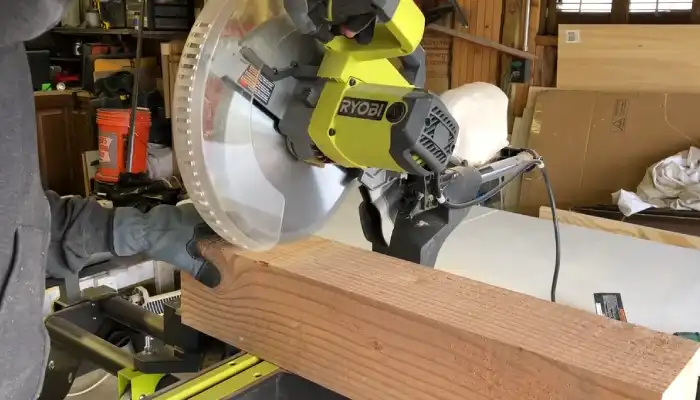
Effective Use of Chop Saws
A chop saw is a powerful tool that can greatly enhance your moulding projects with its ability to deliver quick and precise cuts. Always wear safety goggles to protect your eyes from debris. Before cutting, verify your material is firmly secured against the saw’s fence using clamps.
Choose the right abrasive wheel for your material to achieve accurate results. While chop saws are compact and portable, remember they’re limited to straight cuts and may struggle with thicker materials. Miter saws can also be used for angled cuts, providing versatility in your approach.
Alternative methods can still achieve precise cuts without the need for a miter saw, providing flexibility in your approach. Clear your work area to prevent accidents and continuously monitor the saw during operation.
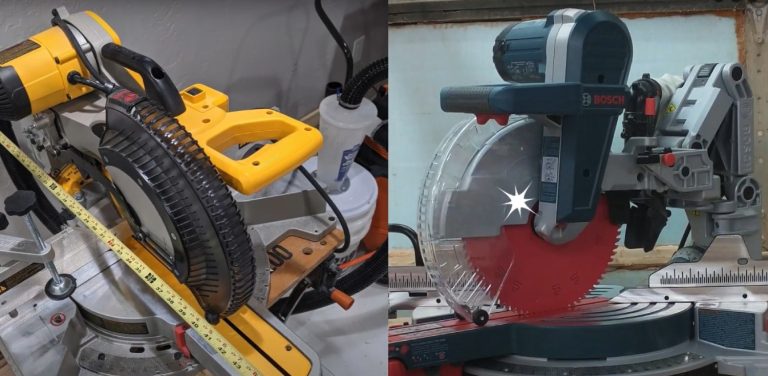
Achieving Precision With Table Saws
While chop saws are great for quick, straight cuts, achieving precision with table saws can elevate your moulding projects to the next level.
Start with safety—wear goggles and gloves to protect against sawdust. Carefully measure and mark your molding to guarantee accurate cuts.
Measuring the molding is crucial to ensure that your pieces fit perfectly in the installation area. Selecting a table saw with a larger rip capacity can further enhance your cutting versatility.
Prioritize safety by wearing goggles and gloves, and ensure precise cuts with careful measuring and marking of your molding.
Test your angle cuts using scrap pieces; this will help you adjust until you achieve a perfect fit. Select a finish blade to minimize tearout and enhance cut quality.
Verify your table saw fence is aligned for consistent accuracy. Use a cross-cut sled for better control, and remember to maintain your blade regularly.
Miter Box Methods for Manual Cutting
Mastering miter box methods can greatly enhance your manual cutting skills for molding projects. A miter box is a simple yet effective tool that you can use to achieve clean cuts.
Here are three essential techniques to remember:
- Align and Secure: Flip the molding and press the bottom edge flush against the miter box. Use clamps to hold it securely. Proper alignment is crucial for ensuring accurate cuts and avoiding mistakes.
- Cutting Angles: For 45° cuts, position your saw along the kerfs. Adjust the length based on whether you’re working on inside or outside corners.
- Check Depth: Verify the groove depth is slightly deeper than the molding strip to maintain alignment during your cuts.
Frequently Asked Questions
What Types of Moulding Can I Cut Without a Miter Saw?
When it comes to cutting moulding without a miter saw, think of it like piecing together a puzzle. You can tackle crown moulding and chair rail moulding with a miter box or hand saw, ensuring you measure accurately for those tricky angles.
For baseboard and picture frame moulding, straight cuts are your best friends—simple hand tools will do just fine. Just remember, practice makes perfect, so don’t hesitate to take your time!
Can I Use a Jigsaw for Cutting Moulding?
Yes, you can use a jigsaw for cutting moulding. To do this effectively, set the orbital setting for control, and make certain you’ve selected the right blade for clean cuts.
Pull the jigsaw toward your body for better visibility, and adjust the angle gradually when steering through curves. Remember, practice makes perfect, so take your time to achieve those precise cuts. Always wear safety goggles to protect your eyes while cutting.
How Do I Ensure Accurate Measurements Before Cutting?
To ensure accurate measurements before cutting, start by using a protractor to measure angles precisely. Employ a T-bevel for transferring these angles to your material, making sure they align correctly.
Use contour gauges to capture complex shapes, especially for irregular areas. Additionally, create templates from cardboard to test angles and draft a cutlist to organize your cuts. Recording measurements helps maintain consistency throughout your project, leading to a more professional finish.
What Are the Best Types of Wood for Moulding?
Choosing the right wood for moulding is like picking the perfect frame for a masterpiece. You’ll want durable options like oak for strength, or mahogany for its rich hue and workability. Cherry adds a touch of elegance, while walnut brings a luxurious feel.
If you’re on a budget, pine offers an attractive natural look. Each type enhances your space, so consider your design and durability needs before making your selection.
How Can I Fix Mistakes After Cutting Moulding?
If you’ve made mistakes after cutting moulding, start by re-cutting any damaged pieces. Use wood filler to fill gaps, then sand the area smooth for a seamless finish.
If adjustments are needed, realign the moulding for a better fit, and apply caulk to seal any remaining gaps. Always guarantee your measurements are accurate next time, and consider testing cuts on scrap material to avoid future errors.
Proving Skill Over Tools in Woodworking
In the domain of woodworking, mastering moulding cuts without a miter saw is like maneuvering a ship through uncharted waters. With the right tools and techniques, you can steer your project to success.
Whether you wield a handsaw, chop saw, or table saw, each method offers you a compass to guide your cuts. Embrace the journey, trust your skills, and soon you’ll find yourself crafting beautiful moulding with precision, proving that creativity knows no bounds—even without the usual instruments.