How to Build a Stand for a Portable Band Saw: 7 Steps [DIY]
Building a sturdy and functional stand for your portable band saw is a crucial step in optimizing its performance, especially in carpentry. Whether you’re an experienced woodworker or a DIY enthusiast, a well-designed stand ensures stability, enhances safety, and provides a convenient workspace.
To build a stand for a portable band saw used for carpentry, you’ll need a list of materials and tools, including plywood and 2×4 lumber. Start by measuring and cutting the plywood to create the base of the stand. Then, cut the 2×4 lumber to assemble the frame, ensuring stability and support.
Here, I’ll explain how to create a sturdy and reliable portable band saw stand to enhance carpentry projects. I’ll also discuss why a stand is essential and whether you should anchor it to the floor for added stability.
How to Build a Stand for a Portable Band Saw: Steps to Take
Building a sturdy stand for a portable band saw is essential for safety and precision in carpentry work. I have listed down the steps you need to follow here:
- Gather Materials and tools
- Measure and cut the plywood
- Cut the 2×4 lumber
- Assemble the frame
- Create a shelf for support
- Attach the band saw to the stand
- Stabilize and finish
Step 01: Gather Materials and Tools
You must gather the necessary materials and tools to build a stand for your portable band saw.
For this project, you’ll need sturdy plywood sheets, 2×4 lumber, screws, a measuring tape, a circular saw, a power drill, and a level.
The plywood sheets will provide a solid base for the stand, while the 2×4 lumber will be used to construct the frame. The screws will be used to secure the different components together, ensuring stability and durability.
By measuring and marking the stand’s dimensions with the measuring tape, you can cut the plywood and lumber to the appropriate lengths. The power drill will be used to create holes for the screws, and the level will ensure that the stand is perfectly balanced.
Step 02: Measure and Cut the Plywood
After gathering the necessary materials and tools, you can measure and cut the stand’s plywood.
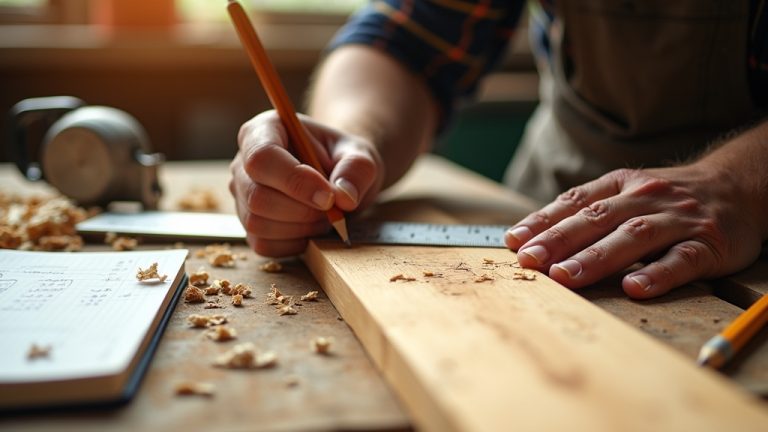
To begin, carefully measure the dimensions of the base of the saw using a tape measure. Ensure accurate measurements, as precision is key in this process. Once the measurements are obtained, transfer them onto the plywood using a pencil. Double-check the dimensions before proceeding.
Step 03: Cut the 2×4 Lumber
Now, you must cut the 2×4 lumber to create the legs for the stand to build a sturdy base for the portable band saw used in carpentry.
The length of the pieces will determine the working height of the stand, so it’s important to consider a comfortable height for carpentry tasks.
To ensure stability, you can use a level to make even cuts. Precision is crucial in this step, as it contributes to the overall stability and functionality of the stand.
Each cut should be made with care and attention to detail, as any inconsistencies could affect the stand’s balance and safety.
Step 04: Assemble the Frame
Attach the cut 2×4 legs to the corners of the plywood base using screws. By positioning the legs evenly and securely fastening them to the base, you can ensure the band saw’s stability and support during carpentry projects.
It’s essential to use screws that are suitable for the job and have enough length to hold the legs in place securely.
As you attach the legs, you’ll also pay close attention to ensuring the frame remains level. This is vital for accurate and safe carpentry work, as an uneven stand can affect the precision of the band saw cuts.
Step 05: Create a Shelf for Support
Additional pieces of 2×4 lumber should be cut to the desired length to create the shelf. These pieces will serve as the horizontal surface for the band saw. Ensuring the shelf is level is important, as this will enhance stability and support during carpentry tasks.
Once the pieces are cut, they should be securely attached between the legs of the stand. This can be done using screws or nails, making sure to position them in a way that ensures the shelf is firmly in place.
Apart from supporting the band saw, the shelf can also serve as a convenient storage space for carpentry tools and materials, thus keeping your workspace organized.
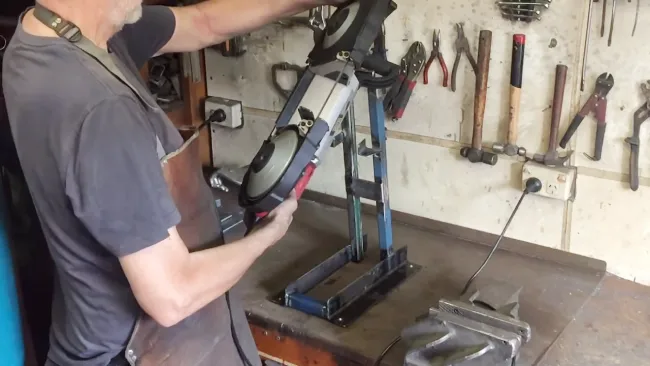
Step 06: Attach the Band Saw to the Stand
To securely attach the band saw to the stand, you’ll need to align the mounting points on the band saw with the corresponding holes drilled into the plywood base. For this, I recommend using appropriate screws for a firm and centered connection.
This step is crucial to ensure the band saw is securely attached and properly supported, allowing for precise and accurate cuts during carpentry work.
First, carefully place the band saw on top of the stand, aligning it with the marked areas where it will be secured. Then, use a drill to create holes in the plywood base that align with the mounting points on the bandsaw.
Once the holes are drilled, insert the appropriate screws through the mounting points on the band saw and into the corresponding holes in the plywood base. It’s important to use screws that are the right size and type for a secure connection.
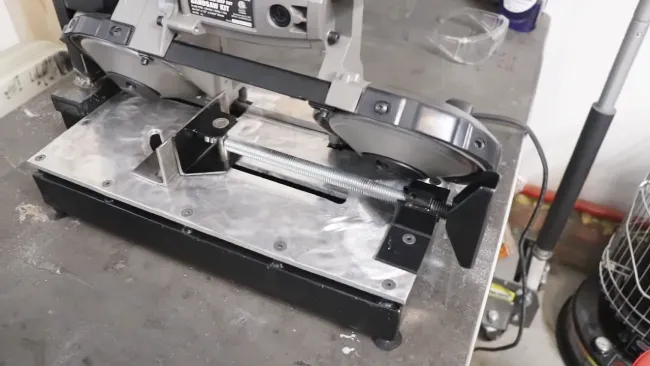
Step 07: Stabilize and Finish
To further stabilize the stand, reinforce the structure by adding diagonal braces cut from the remaining 2×4 lumber. These braces will provide additional support and prevent wobbling or shifting.
Measure the length needed for each brace and cut them accordingly. Then, attach one end of each brace to the leg and the other end to the base of the stand using screws or nails. This will create a triangular shape known for its strength and stability.
Once the braces are securely in place, sand the edges and surfaces of the stand, ensuring no rough spots that could potentially cause injury.
Now, all the steps for your portable band saw stand are complete. You can now enjoy a secure connection that increases stability and safety for all your woodworking projects.
Why use a stand for a portable band saw in carpentry?
The stand provides a stable, elevated platform for the band saw and ensures that it remains securely in place during cutting tasks.
This stability allows for greater accuracy and control over the saw, resulting in cleaner and more precise cuts. According to my knowledge, the stand helps minimize vibrations when using a band saw.
These vibrations not only affect the quality of the cuts but also contribute to a less secure grip on the saw, increasing the risk of accidents and injuries.
Is it necessary to anchor the stand to the floor for added stability?
In most cases, it isn’t necessary to do so. The portable band saw stand is designed to be stable and secure on its own.
However, there are situations where anchoring the stand can be beneficial. If you’re working with exceptionally heavy materials or expect intense vibrations, I think anchoring the stand can provide an extra layer of stability. This can help prevent any unwanted movement or wobbling during carpentry tasks.
Construct a Portable Band Saw Stand
As you construct your portable band saw stand, you’ve created a practical and stable support system for your tool and personalized your workspace. From adding storage solutions to enhancing stability for heavy-duty work, this DIY project can be customized to fit your needs.
In my opinion, with the stand in place, your portable band saw has not only become more functional but also safer and more efficient. This stand will testify to your craftsmanship and ingenuity as you embark on future carpentry projects. This helps you work with precision and creativity in woodworking.
I believe by following these steps and using a stand, carpenters can enhance their efficiency and safety when using a portable band saw.