Does a Table Saw Need to Be Level: Fact or Fiction
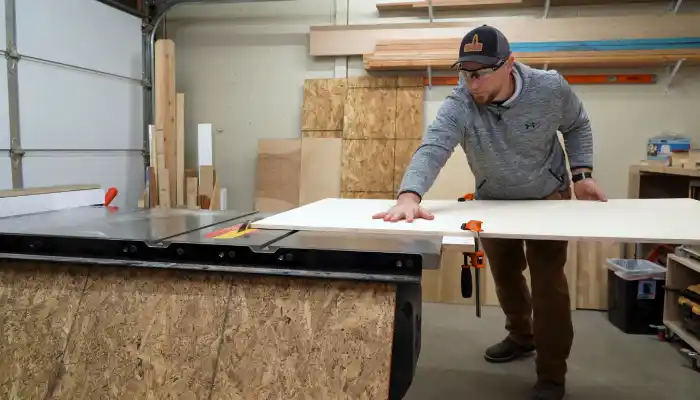
Table saws are a staple in woodworking shops, valued for their precision and versatility. However, many woodworkers may underestimate the significance of keeping their table saw level.
The results of my study indicate that a table saw does not necessarily need to be perfectly level. But an adequately leveled table saw provides precise cuts that can enhance your woodworking experience.
These levels can be achieved using some useful tools for precise cutting. As part of this article, I will explore the importance of leveling a table saw and provide insights into the tools and techniques used to achieve a perfectly balanced surface.
What Tools Can I Use to Level a Table Saw?
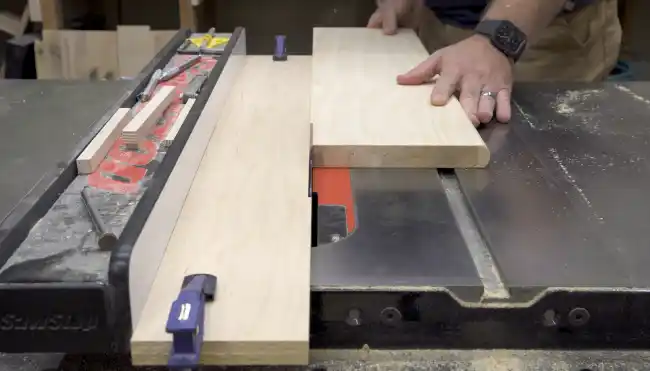
I have found that several tools can be used to level a table saw.
- Shims
- Carpenter’s level
- Dial indicator
- Digital angle gauge
- Drafting triangles
A. Shims
Shims are essential for achieving a level surface on your table saw. When you encounter areas that require adjustment, strategically placing shims under the table or table wings can raise or lower them as needed.
Brass shim stock is a popular choice due to its durability and precision. Cut-up beverage cans, on the other hand, provide a cost-effective alternative.
To use shims effectively, start by identifying the areas that need adjustment. Then, carefully slide the shims into place, ensuring they’re properly aligned and secure. Finally, recheck the level of the table saw to ensure optimal performance and accuracy.
B. Carpenter’s Level
One tool that I found essential for leveling a table saw is a high-quality carpenter’s level. A carpenter’s level is designed to provide accurate measurements and ensure perfectly horizontal surfaces.
To level a cabinet table saw using a carpenter’s level, first, zero the level on a stable and level reference surface in your workshop. Then, place the level on different areas of the table, adjusting the saw’s leveling screws or knobs until the bubble in the level is centered. This indicates that the table surface is level.
C. Dial Indicator
A dial indicator is a precise tool that accurately measures height variations on a table saw’s surface. You can identify higher or lower areas by attaching the dial indicator’s probe to different points on the table saw. This information allows you to make the necessary adjustments to level the table saw.
Adjusting the leveling screws or using shims can bring the table’s surface to a consistent level. The dial indicator’s high accuracy ensures that you can achieve exacting results. This tool is particularly useful for fine-tuning a table saw to ensure optimal performance and precise cuts.
D. Digital Angle Gauge
A digital angle gauge makes it easy to level a table saw to ensure accuracy and precision. Digital angle gauges, such as the Wixey or iGauging brands, are versatile tools that measure angles and serve digitally. These gauges are easy to use and deliver quick and accurate results.
To level your table saw, zero the gauge on a stable reference surface. Then, check different areas of the table to ensure level. The digital display on the gauge will show the exact angle or level measurement, allowing you to make precise adjustments.
E. Drafting Triangles
Using drafting triangles is an effective method for leveling a table saw. These tools are essential for testing the level of the table saw.
Made of transparent plastic, drafting triangles have precise 90-degree angles for accurate measurements. Place a drafting triangle against the table surface and the blade, checking for gaps. If gaps are present, the table saw isn’t level.
To rectify this, adjust the table saw’s leveling mechanisms until the drafting triangle fits snugly, indicating that the table saw is now level. Drafting triangles ensures the table saw is properly aligned, crucial for achieving accurate and precise cuts.
Can I use a regular bubble level to level my table saw?
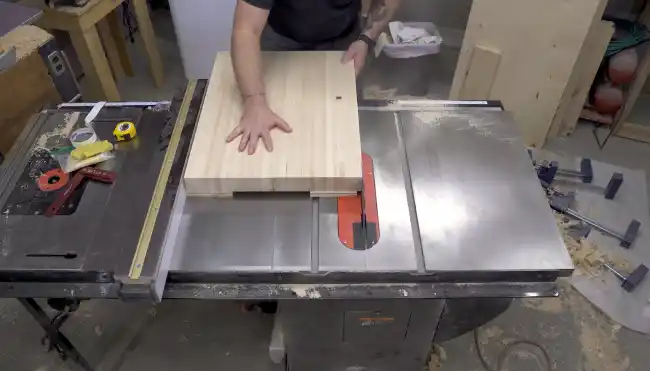
A regular bubble level may roughly estimate a table saw’s level. However, note that a regular bubble level may not be the most precise tool for this task.
While it can give you a general idea of the levelness, it may not be accurate enough for fine woodworking projects. A regular bubble level relies on a small air bubble inside a vial to indicate whether a surface is level. The level’s accuracy depends on the vial’s precision and the user’s ability to interpret the bubble’s position.
For more precise adjustments, especially for fine woodworking, use more accurate tools such as a digital angle gauge or a dial indicator. You can use these tools to make precise measurements and level the table saw more accurately, ensuring optimal performance and accuracy.
What should I do if my table saw is on an uneven floor?
You must use shims or self-leveling resin to level your table saw on an uneven floor. In addition, you will need to adjust the outfeed support to match the level of the table saw.
To begin, place a level on the table saw’s top surface and check for areas that aren’t level. If you find any unevenness, insert shims underneath the table saw’s legs or base to raise or lower specific areas.
Does leveling a table saw improve woodworking projects?
Leveling a table saw can greatly enhance the quality of woodworking projects. When a table saw isn’t level, there is a risk of inaccurate cuts and compromised precision.
This can result in wasted material and a subpar final product. By leveling the table saw, you ensure the blade is perfectly parallel to the table surface, allowing for consistent and accurate cuts every time.
A level table saw promotes safety by reducing the risk of kickbacks and blade binding. It provides a stable and solid platform for the workpiece, minimizing the chances of accidents and injuries.
Achieve a Level Surface on Your Table Saw With Simple Leveling Tools
Although a table saw does need to be level to ensure accurate and precise cuts, uneven surfaces can lead to inaccurate measurements. Fortunately, with the right tools and methods, achieving a level surface for your table saw is not as daunting as it may seem.
From brass shim stock to dial indicators and digital angle gauges to drafting triangles, there are plenty of options to choose from.
So, the next time you’re about to cut on your table saw, remember to check for levelness first. Although it may seem like an extra step, it will save you time, money, and frustration in the long run.

