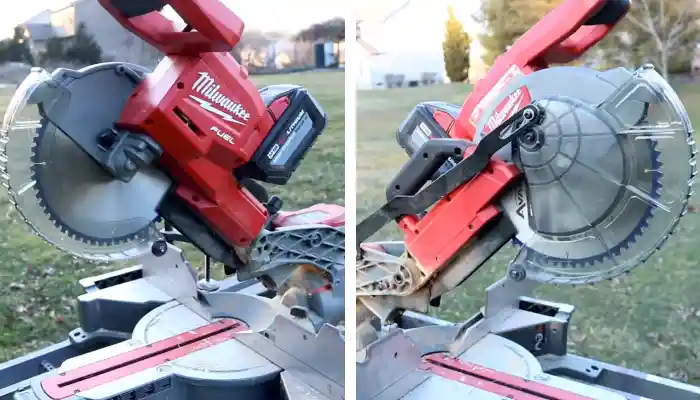
Can You Use the Same Blade for Miter and Table Saw: 5 Considerations
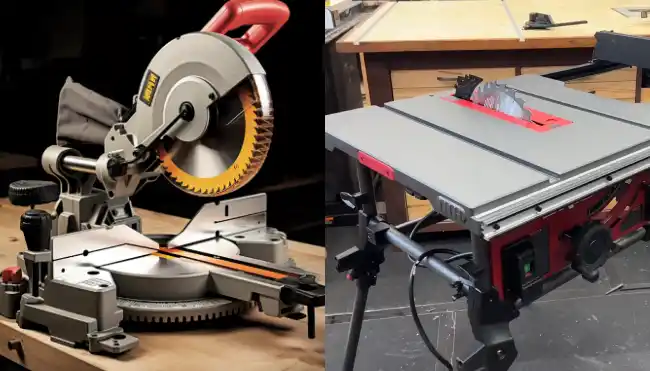
Miter and table saw blades are generally designed with specific tasks in mind, each tailored to excel in its respective domain.
But here’s the question that often crosses the minds of woodworkers and DIY enthusiasts alike: Can you use the same blade for both a miter saw and a table saw?
It’s possible to use the same blade for a miter and table saw. But before you rush to swap blades between your miter saw and table saw, there are crucial factors to consider.
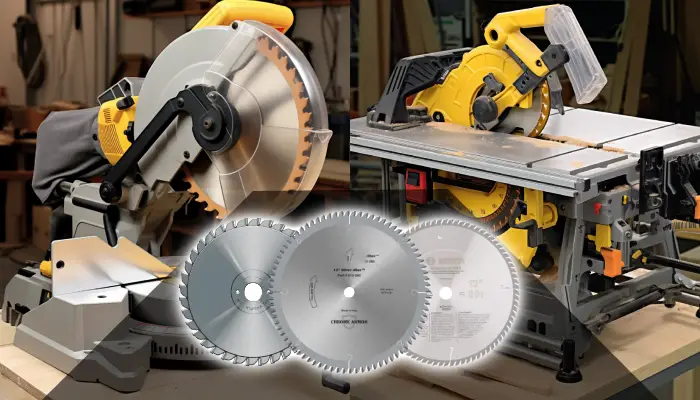
The tooth count, hook angle, and kerf thickness of the blade play a crucial role in its compatibility with both saws.
We’ll go in-depth into these considerations, exploring the nuances of using one blade for two essential saws.
Considerations When Using the Same Blade for Both Miter and Table Saws
When using the same blade for your miter and table saws, there are several important considerations to remember. They are as follows:
- Tooth count
- Hook Angle
- Kerf thickness
- Blade size
- Manufacturer recommendations
Check out each factor in detail so that you know which time using the same blade for your miter and table saw will result in the best results.
1. Tooth Count
Having the right tooth count on your blade is essential for achieving smooth and precise cuts on both the miter and table saw.
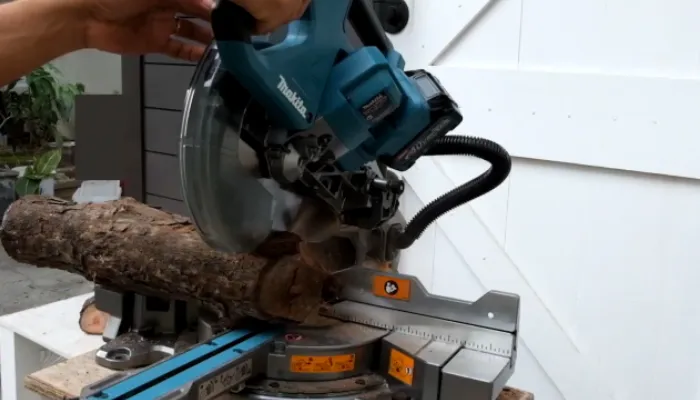
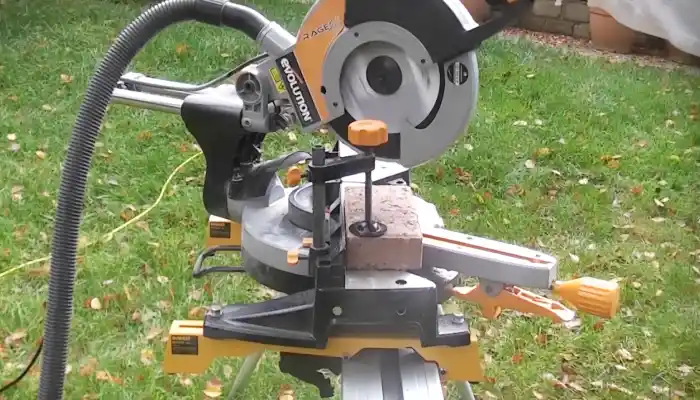
When it comes to the miter saw, a higher tooth count is recommended. Blades with 40-50 teeth may be too aggressive, resulting in rough cuts. Instead, opt for blades with 60 teeth or more to make finer, smoother cuts.
On the other hand, for the table saw, a 24-tooth ripping blade is ideal for making rip cuts along the grain. This type of blade is designed to remove material quickly and efficiently.
It’s important to strike the right balance between tooth count for each application, ensuring that you have the best blade for the job.
2. Hook Angle
Consider the hook angle of the blade’s teeth. Table saw ripping blades typically have a forward-leaning hook angle designed for ripping through wood quickly.
However, a miter saw benefits from a blade with a hook angle of less than 7 degrees, which ensures a smoother entry into the wood.
One thing to keep in mind is that you should avoid choosing blades with negative hook angles, as these can actually lift the workpiece when used on a table saw.
3. Kerf Thickness
Kerf thickness is another important consideration when using the same blade on a table and miter saw.
Since miter saws typically have less power compared to table saws, you’ll want to make sure that your blade’s kerf thickness is suitable for your miter saw’s power capacity.
Using a blade with a full-kerf (1/8″) may cause your saw to bog down or strain its motor, which is not only frustrating but also dangerous.
4. Blade Size
Make sure the blade size matches the arbor size of both your miter saw and table saw to avoid any potential hazards or damage to your equipment.
Using a blade with an incorrect arbor size can result in the blade not fitting securely onto the arbor, which can lead to dangerous vibrations and potential accidents.
Additionally, if the blade is too large for the arbor, it may not be able to spin freely, causing strain on the motor and potentially damaging both the blade and the saw.
On the other hand, using a blade that’s too small for the arbor can also be problematic, as it may not provide enough stability and support during cutting, resulting in poor quality cuts and potential kickback.
Therefore, it’s important to always check and match the blade size to the arbor size of your miter saw and table saw before using them.
5. Manufacturer Recommendations
To avoid any potential hazards or damage, always check the recommendations provided by the blade and saw manufacturers regarding the compatibility of the blade with your tools.
These recommendations are crucial because they help ensure the safe and proper use of your miter and table saws.
The manufacturers may specify whether a particular blade is suitable for both tools or not. Following their guidance is essential, as they’ve tested and designed their tools to work optimally with specific blades.
Using a blade that isn’t recommended for a particular tool can lead to poor performance, increased wear and tear, and even accidents.
Safety Measures When Switching a Blade Between Miter and Table Saws
Proper safety measures should be adhered to when switching between miter and table saw blades. Among them are:
1. Disconnect Power
Ensure you completely disconnect the power before performing any blade changes on the miter saw or table saw to prevent accidental activation. Here are three important reasons why this step is crucial:
- Safety: Disconnecting the power source eliminates the risk of the saw turning on unexpectedly, preventing potential injuries or accidents.
- Electrical Shock: Removing the power connection reduces the possibility of electrical shock when handling the blade or making adjustments.
- Blade Damage: By disconnecting the power, you avoid the risk of the blade unexpectedly spinning while changing it, which could damage the blade or the saw itself.
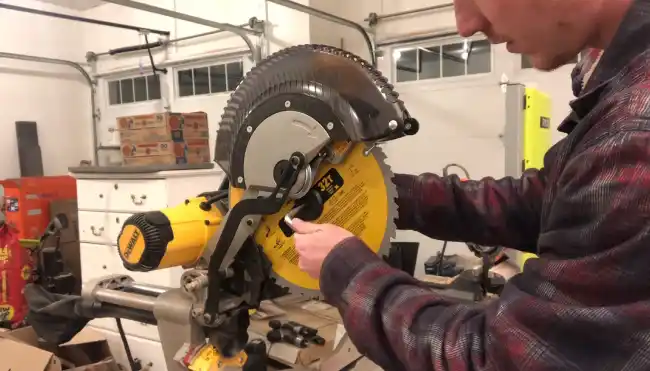
2. Blade Lock
Engage the blade lock feature on your saw to secure the blade in place. The blade lock is a crucial safety measure that immobilizes the blade, preventing it from moving while you work.
This feature is especially important when changing the blade, as it ensures that the blade remains stationary, reducing the risk of accidental contact and potential injuries.
To engage the blade lock, locate the lock button or lever near the blade housing. Press or slide the lock into place, ensuring it securely holds the blade.
Once engaged, you can safely proceed with any necessary maintenance or blade changes, knowing that the blade is firmly locked and won’t move during the process.
3. Proper Tools
To tighten or loosen the blade nut, ensure you have the appropriate tools. Using the proper tools ensures that you can safely and effectively replace the blade on your miter or table saw.
Here are three essential tools you’ll need:
- Wrench: A wrench is necessary to loosen or tighten the blade nut. Make sure you have the correct size wrench for your specific saw model.
- Blade Lock: A blade lock is a handy tool that holds the blade in place while you loosen or tighten the blade nut. It adds an extra layer of safety and stability during the blade replacement process.
- Safety Gloves: Safety gloves protect your hands from any sharp edges or potential injuries while handling the blade or using the tools. Always prioritize your safety and wear the appropriate protective gear.
4. Blade Orientation
When installing a blade in either your miter saw or table saw, always pay attention to the orientation of the blade teeth. The direction in which the teeth are facing is crucial for the type of cut you intend to make.
For table saws, the teeth should be facing downward, allowing for clean cuts and efficient material removal.
On the other hand, for miter saws, the blade teeth should also face downward to ensure accurate and precise angled cuts.
Using the correct blade orientation improves the quality of your cuts and enhances safety by reducing the risk of kickbacks and blade deflection.
5. Blade Guards
Make sure the blade guard is securely in place to ensure your safety while operating the saw. The blade guard is a crucial safety feature that helps prevent accidental contact with the blade. Here are three important things to know about blade guards:
- Blade guards are designed to cover the upper part of the saw blade, creating a barrier between the blade and your hands or other body parts. This helps reduce the risk of injury.
- Blade guards often have a transparent shield, allowing you to see the cutting area while still providing protection. This allows for better visibility and control of your cuts.
- It’s important to properly adjust the blade guard to ensure it’s close to the workpiece but not touching it. This ensures the guard effectively protects you while allowing smooth and accurate cuts.
6. Test Cuts
Before proceeding, ensure the blade is aligned and functioning properly by making a few test cuts on scrap wood. Test cuts are important because they allow you to verify the accuracy and performance of the blade.
To make a test cut, select a piece of scrap wood that’s similar in size and type to the material you’ll be working with. Position the wood securely and adjust the blade height and angle as necessary. Then, carefully make a cut along the desired line.
Observe the quality of the cut, checking for smoothness, accuracy, and any signs of burning or tear-out. If the test cut meets your expectations, you can proceed confidently, knowing that the blade suits your miter or table saw.
7. Wear Safety Gear
Remember to always wear the appropriate safety gear, such as safety glasses, hearing protection, and dust masks, when working with any type of saw.
Safety gear is crucial to protect your eyes from flying debris, your ears from loud noise, and your lungs from harmful dust particles. Here are three important reasons why you should prioritize wearing safety gear:
- Safety glasses: These protect your eyes from wood chips, sawdust, and other debris that may be kicked up during cutting. They prevent potential eye injuries that could result in permanent damage.
- Hearing protection: The loud noise generated by power saws can cause hearing damage over time. Wearing earplugs or earmuffs helps to reduce the risk of hearing loss and tinnitus.
- Dust masks: Sawdust and other airborne particles can be hazardous to your respiratory system. Dust masks filter out these particles, minimizing the risk of respiratory issues such as allergies, asthma, or even more serious conditions.
8. Follow Instructions
Now that you’ve got your safety gear on, it’s time to focus on following instructions. This is crucial when using both your miter saw, and table saw.
The user manual for each tool contains specific guidelines that must be adhered to for safe operation. These instructions outline your saws’ correct setup, operation, and maintenance procedures. It’s important to carefully read and understand these instructions before using the saws.
Following the instructions will help ensure you use the tools correctly and avoid potential safety hazards. Remember, each saw may have unique instructions and safety precautions, so it’s essential to consult the corresponding user manual for each tool.
How often should you replace the blade on a miter saw or table saw?
You should change the blade on a miter saw or table saw when signs of wear and dullness appear. These signs include requiring more force than usual, encountering snags, or producing subpar cuts.
Regularly inspect each piece after cutting. A blade’s lifespan can differ based on factors like tool quality, frequency of use, the type of wood it cuts, and maintenance.
On average, both a miter saw and table saw blade may last around 2 to 4 years before replacement. You need to monitor the blade’s performance to ensure safe and efficient cutting results.
Can you use dado blades on the miter saw and table saw?
Dado blades aren’t compatible with miter saws, but they’re specifically designed for table saws. Table saws provide the necessary adjustments to control the width of the dado cut, either by adjusting the blade or changing the number of cutters.
However, it’s essential to check your table saw’s specifications, as not all models are compatible with dado blades. On the other hand, miter saws are primarily designed for cross-cutting and angled cuts, making them unsuitable for dado cuts.
When creating accurate and precise dado cuts, the table saw equipped with a dado blade set is the tool of choice. So, it’s best to use dado blades exclusively with table saws for optimal results.
Use the Same Blade for Your Miter Saw and Table Saw with Care and Confidence
When you think about using the same blade for your table saw and miter saw, remember that it’s possible with careful consideration of tooth count, hook angle, kerf thickness, blade size, and manufacturer recommendations.
These factors can make the difference between seamless, precise cuts and frustrating, inefficient ones.
Regular maintenance and periodic blade replacement are essential to ensure your tools perform at their best and, most importantly, keep you safe.
While some tools, like dado blades, are tailored for specific tasks, understanding the capabilities and limitations of each saw in your workshop empowers you to choose wisely.
By adhering to safety measures, following instructions, and making the right blade choices, you’ll not only extend the lifespan of your blades but also enhance your woodworking skills, one precise cut at a time.