Best Way to Paint Quarter Round: Easy Steps for Lasting Results
To paint quarter round effectively, start by cleaning and lightly sanding the surface, then fill any gaps with caulk and smooth dents with wood filler.
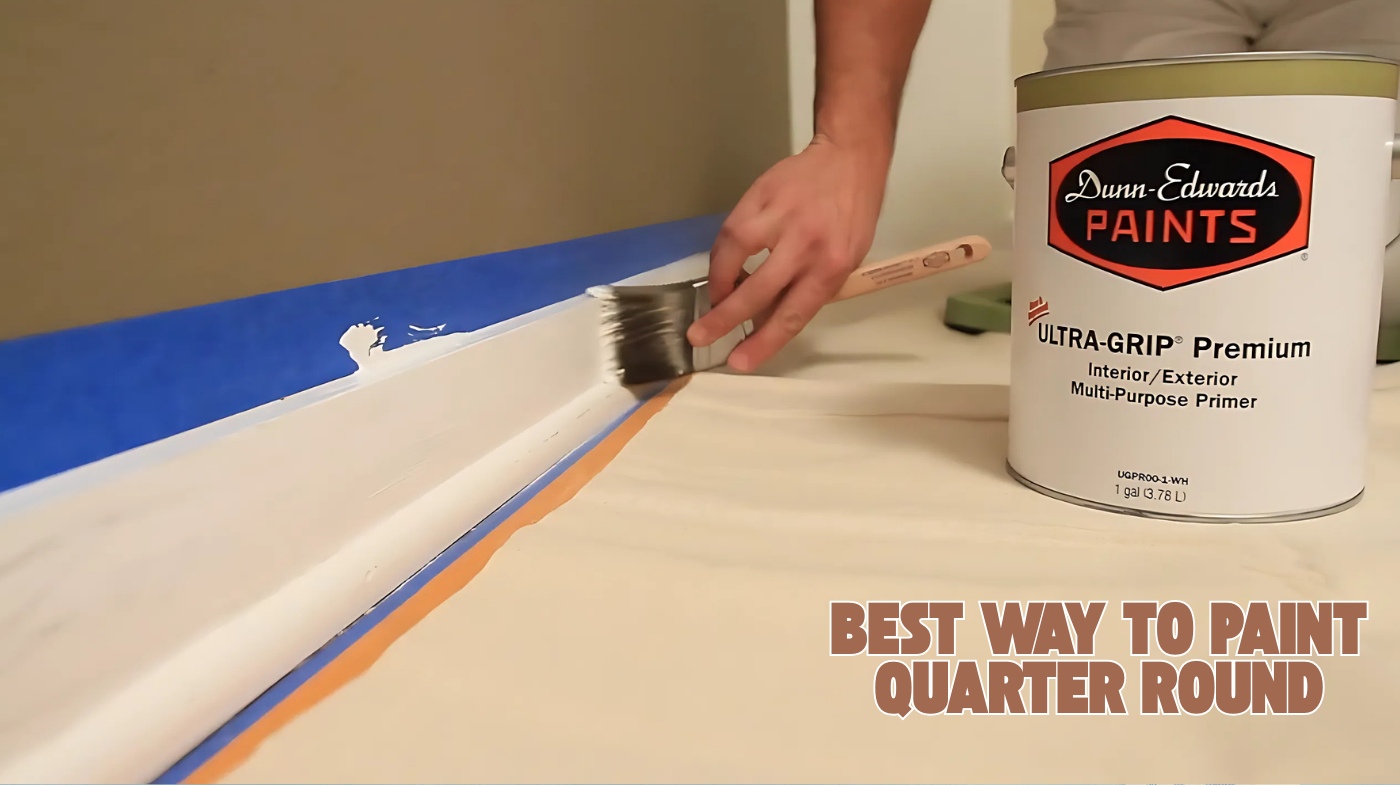
Apply painter’s tape carefully to protect floors and adjacent surfaces. Use a high-quality angled sash brush with primer on raw wood or drastic color changes.
Paint in thin, even coats, allowing proper drying time between layers. Remove tape gently and touch up as needed for a seamless finish.
Following these steps guarantees lasting, professional results—and there’s more to explore for perfect precision and durability.
Key Takeaways
- Clean and lightly sand quarter round, then apply primer if wood is unfinished or stained for better paint adhesion.
- Use painter’s tape along edges to protect adjacent flooring and create crisp paint lines.
- Apply paint with a 2-inch angled sash brush, using smooth, controlled strokes for even coverage on curved surfaces.
- Allow full drying between coats, lightly sanding and cleaning between applications for a smooth, durable finish.
- Remove painter’s tape carefully after drying and touch up any imperfections for a professional, polished look.
Preparing Quarter Round for Painting
Before you start painting, it’s crucial to prepare your quarter round properly to guarantee the paint adheres well and looks flawless.
Begin by removing dust, dirt, and debris with a vacuum or microfiber cloth. Inspect the surface for paint chips, cracks, or damage that might affect the finish.
If needed, wash with mild soap and water, then let it dry completely. Check for grease or oils, and make sure the surface is clean. Fill any gaps between the quarter round and adjacent surfaces with caulk for a seamless look.
Use wood filler for dents or nail holes, smoothing excess with a damp finger or putty knife. Allow fillers to dry fully before lightly sanding the entire surface with fine-grit sandpaper to create a smooth base for painting.
For optimal results, applying painter’s tape around the quarter round can protect the adjacent flooring surface during painting.
Essential Tools and Materials Needed
To paint your quarter round effectively, gather essential tools like a 2-inch angled sash brush and painter’s tape for clean edges. Choosing the right grip material for your tools can improve comfort and control during the painting process.
Choose high-quality latex paint with a semi-gloss finish and apply primer if the surface is raw or stained. Don’t forget supplies like a drop cloth, paint tray, and caulk to guarantee smooth preparation and a professional finish. Before painting, make sure to clean surfaces thoroughly with a TSP solution to remove grime and improve paint adhesion.
Recommended Painting Tools
When tackling the task of painting quarter round, having the right tools guarantees a smooth and professional finish. Start with short, angled paintbrushes that fit the trim’s contours perfectly. Use a roller and tray for any larger flat sections before installation. Choosing the proper tools can improve efficiency much like how selecting the right chainsaw enhances cutting precision in tree work.
To prepare surfaces, grab angled sanding sponges or sanding blocks to smooth imperfections. A spring-loaded nail set tool helps you sink nails flush, avoiding bumps under paint. Proper surface preparation is as crucial as regular maintenance in keeping equipment like chainsaws in optimal condition.
Protect floors with drop cloths and use painter’s tape to ensure sharp, clean edges. Latex gloves shield your hands, while safety goggles and masks protect your eyes and lungs from debris and fumes. Additionally, painter’s tape creates crisp lines and prevents paint bleeding for a clean finish. Wearing comprehensive safety gear is vital not only in painting but also when operating power tools.
For added precision, a 2-foot stainless steel trowel acts as a buffer near the floor, preventing accidental paint smudges. These tools set the stage for a flawless paint job. Just as ergonomic handle designs reduce fatigue in chainsaw use, these tools improve control and comfort during painting tasks.
Necessary Painting Supplies
Although selecting the right tools is essential, gathering the necessary painting supplies guarantees you can complete your quarter round project efficiently and with a professional finish.
You’ll want to prepare the surface properly and protect adjacent areas while ensuring smooth application and cleanup. Focus on quality materials that suit your paint type and project needs to achieve a lasting result. It is best to paint quarter-round before installation for convenience and even coverage. Using fine-grit sandpaper similar to sanding plexiglass edges helps achieve a smooth surface for painting.
Make sure you have these essentials on hand:
- Acrylic latex or oil-based paint with semi-gloss or satin finish
- Fine-grit sandpaper and tack cloth for surface prep
- Painter’s tape and drop cloths to protect floors and walls
- Wood filler and caulk for filling holes and sealing gaps
- Paint trays, brushes, and clean rags for application and cleanup
Choosing the Right Paint and Finish
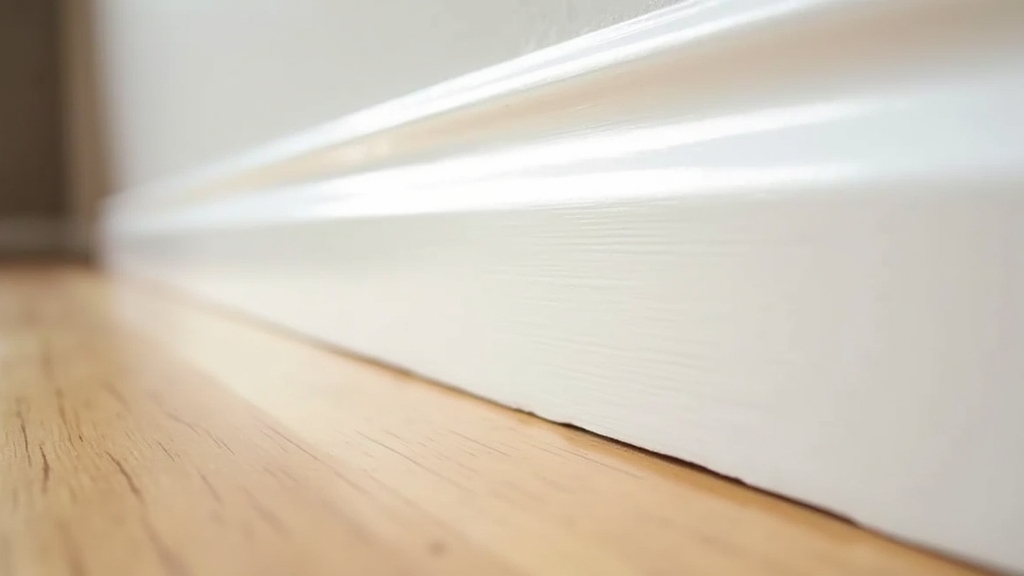
When choosing paint for your quarter round, opt for durable enamel types that provide a smooth finish and resist wear. Acrylic enamel, such as Insl-x Cabinet Coat, is especially recommended for its durability and resistance.
Selecting the right finish, like satin or semi-gloss, balances durability with appearance. Avoid overly glossy surfaces that highlight imperfections. Matching your paint color precisely guarantees your trim blends seamlessly with surrounding walls or cabinetry.
This careful selection ensures a polished and cohesive look in your space. For best results, proper surface preparation and maintenance can significantly prolong the life of your painted trim, similar to how regular maintenance requirements extend the life of tools and equipment.
Paint Type Selection
Selecting the right paint type and finish plays a crucial role in guaranteeing your quarter round trim remains durable and visually appealing over time. You’ll want to focus on paints that offer hardness, adhesion, and easy cleaning to withstand foot traffic and scuffs.
Choosing a satin finish is often ideal for trim as it balances durability and aesthetic appeal, offering a smooth, subtle sheen that resists scuffs and moisture. Consider also how the paint quality influences resistance to wear and ease of maintenance.
Acrylic enamel paints are an excellent choice because they cure hard and resist wear better than typical latex paints. Oil-based paints also provide durability but can be tricky to work with due to odor and drying time.
To get the best results, consider these factors:
- Use acrylic enamels like Benjamin Moore’s Insl-x Cabinet Coat for toughness and smooth finish.
- Avoid standard latex wall paints, as they lack durability.
- Prime properly with oil-based or solvent primers for adhesion.
- Select paints designed specifically for trim applications.
- Ensure paint and primer compatibility to prevent peeling and flaking.
Ideal Finish Options
Because quarter round trim faces frequent contact and wear, choosing the right paint finish is crucial to balance durability, appearance, and ease of maintenance.
Satin finishes offer a smooth, velvety texture that’s durable and easy to clean, making them ideal for high-touch areas. They also hide minor surface imperfections better than glossier options. For woodworking projects, using protective gear like dust masks can ensure safety during surface preparation.
Semi-gloss finishes provide a brighter, polished look with excellent wear resistance. However, they require thorough surface prep to avoid highlighting flaws. It is important to prime all sides of the trim before painting to ensure better adhesion and durability.
For added protection, consider a polycrylic top coat over latex paint to guard against scuffs and moisture. Be sure to test first to ensure it doesn’t alter the sheen.
Using acrylic enamel paints can eliminate the need for extra sealing by providing a hard, washable surface. This supports long-lasting, crisp quarter round edges.
Color Matching Tips
How do you guarantee your quarter round paint complements the room’s existing elements? Start by matching it to either your baseboards or kitchen cabinets for a cohesive look.
If your cabinets will be refinished, use that color on the quarter round—especially in rooms with tile or stone floors. Quarter round molding is often used to cover gaps or uneven edges between flooring and baseboards, making its finish an important detail to consider for both functional and aesthetic roles. Choosing a finish with durability and easy-to-clean formulas can enhance longevity and maintain appearance over time.
For hardwood floors, keep stained quarter rounds consistent throughout connected spaces. Consider lighting and finish differences, and always test samples in the room.
- Match quarter round color to baseboards or cabinets
- Use custom stain for wood floors to maintain warmth
- Test paint samples under various lighting conditions
- Apply primer for unfinished wood or drastic color changes
- Choose durable, easy-to-clean paint formulas for longevity
Step-by-Step Painting Techniques
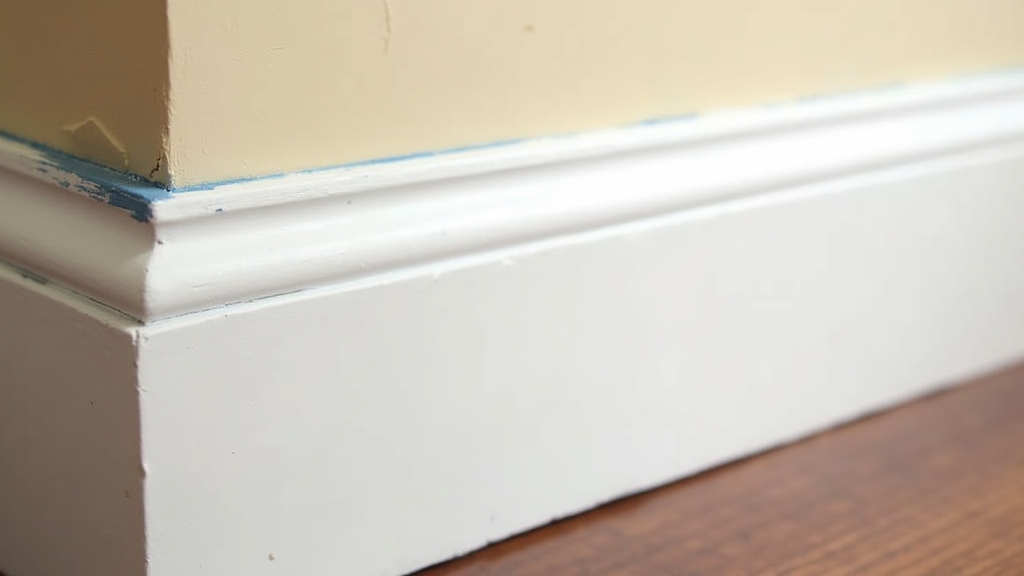
Before you start painting your quarter round, prepare the surface by sanding it lightly with fine-grit sandpaper. This helps smooth imperfections and guarantees the paint adheres properly. Proper preparation prevents uneven coverage.
Use a sanding block or angled sandpaper to reach grooves and edges. Then, remove dust thoroughly with a tack cloth.
Utilize a sanding block or angled sandpaper for grooves, then clear dust completely with a tack cloth.
Dip only the bottom quarter of a 1-2 inch angled sash brush into paint. Wipe off excess to avoid drips. Begin by painting top edges and corners with smooth strokes. Then use short horizontal strokes followed by long vertical ones to blend paint evenly.
Work in small sections to maintain a wet edge. Finish by painting the quarter round itself, angling the brush downward for precision. Apply multiple thin coats, allowing each to dry fully before the next.
Painting Quarter Round Before Installation
Why should you paint quarter round before installation? Painting beforehand speeds up your project, letting you work on a flat, stable surface without interruptions. It also protects walls and floors from accidental paint splatters, minimizing cleanup. Using a well-lit and ventilated workspace enhances visibility and safety during the painting process, especially when working with laser guides.
You’ll achieve full coverage on all edges—including miters and corners—ensuring a professional look. Plus, using sprayers or rollers is easier without worrying about masking adjacent surfaces.
To paint quarter round effectively before installation, lay pieces flat on sawhorses over a drop cloth for accessibility. Lightly sand and clean surfaces to improve paint adhesion.
Apply 1-2 primer coats if the wood is raw or stained. Use a sprayer, brush, or small roller for even coverage. Allow sufficient drying time between two durable enamel coats. This method guarantees a smooth, durable finish with minimal post-installation touch-ups. Pre-painting quarter round before installation also makes caulking and painting seams more straightforward, enhancing the overall finishing process.
Painting Quarter Round After Installation
Although painting quarter round after installation can be more challenging, careful surface preparation and proper caulking set the foundation for a smooth, professional finish. Choosing the right tools and workspace setup, similar to considerations in workshop requirements, can improve the painting process.
Begin by caulking gaps between the quarter round and adjoining surfaces with a caulk gun. Smooth the bead with a damp finger to fill cracks and wipe away excess, ensuring seamless joints, especially at corners. Let the caulk dry fully before painting. To minimize paint bleed and ensure crisp edges, apply painter’s tape carefully and press down firmly to seal tape edges.
Next, protect adjacent flooring with painter’s tape applied tightly along the quarter round edges. Use a small angled brush to apply paint in downward strokes, minimizing drips and brush marks.
For corners and tight joints, add extra caulk if needed and paint with gradual strokes. After painting, inspect for missed spots and touch them up carefully for a clean, polished look.
Drying Times and Applying Multiple Coats
When you apply caulk to the seams of your quarter round, you’ll want to wait until it’s completely dry before painting to avoid any imperfections. Check the caulk tube for drying times, typically 30 minutes to several hours.
Using high-quality caulk like Sherwin Williams Powerhouse ensures better sealing and a more seamless finish. Working in a well-ventilated area helps disperse any fumes or dust during this preparation phase.
Allow caulk to fully dry before painting—usually between 30 minutes and several hours—for a flawless finish.
After painting the first coat, allow it to dry fully—usually 1 to 4 hours for latex paints—before applying a second coat. Environmental conditions like temperature and humidity can affect drying, so adjust your timing accordingly.
To ensure a smooth, durable finish, follow these tips:
- Use a high-quality angled brush for precise application.
- Follow manufacturer’s recommended interval between coats.
- Lightly sand and clean between coats for better adhesion.
- Avoid over-brushing to prevent texture issues.
- Apply two coats for best coverage and durability.
Cleanup and Final Touch-Up Tips
To achieve a polished look after painting your quarter round, start by carefully cleaning up your workspace and addressing any paint mistakes. Remove tape slowly to avoid peeling paint.
Use steel wool with a gentle cleaner to lift paint splatters, and a toothpick for precise removal of dried paint. Steel wool is particularly effective on porous surfaces like crown molding, making paint splatter removal easier. Smooth rough spots with fine-grit sandpaper, then wipe dust away before applying touch-up paint.
Inspect caulk lines for smoothness and fill gaps if needed. Protect floors with painter’s paper and clean spills immediately.
| Task | Recommended Method |
|---|---|
| Paint Leaks | Use painter’s tape; press firmly |
| Paint Mistakes | Steel wool, toothpick, warm cloth |
| Final Touch-Ups | Sand, dust, touch-up paint |
Frequently Asked Questions
Can I Paint Quarter Round Over Carpet Without Damaging Fibers?
Yes, you can paint quarter round over carpet without damaging fibers if you’re careful. Use low-tack painter’s tape tucked under the molding, not on carpet fibers.
Press tape firmly with a putty knife to prevent paint seepage.
Paint with a small angled brush, using thin coats and avoid rolling paint near edges.
Remove tape slowly at a 45-degree angle once dry.
These steps protect carpet fibers effectively.
How Do I Prevent Paint From Peeling on Quarter Round in Humid Areas?
Think of painting quarter round in humid areas like trying to keep a sandcastle intact at the beach—you need a strong barrier and constant care. To prevent peeling, start by priming with a high-quality, moisture-blocking primer.
Use mildew-resistant satin or semi-gloss paint, apply thin coats, and ensure good ventilation during drying.
Seal joints tightly and keep humidity below 50%.
Regularly inspect and address any cracks early to maintain lasting paint adhesion.
Is It Better to Use Oil-Based or Water-Based Primer on Quarter Round?
You’ll get better results using oil-based primer on quarter round if it’s raw, porous wood, especially in humid or high-moisture areas. It seals the wood well and blocks stains, preventing peeling.
If the quarter round is already sealed or painted, or you want quicker drying with easier cleanup, water-based primer works fine. Just make sure the surface is dry and ventilation is good when using oil-based primers indoors.
Can Quarter Round Be Painted a Different Color Than Baseboards?
Imagine your baseboards and quarter round as dance partners—while they usually move in sync, you can choose to let quarter round perform a solo in a different color. You absolutely can paint quarter round a different shade than your baseboards.
Just coordinate the color thoughtfully—maybe matching kitchen cabinets or defining separate spaces—to keep design harmony. This method creates intentional contrast without visual chaos, maintaining a balanced and polished look throughout your rooms.
How Do I Fix Uneven Edges After Painting Quarter Round?
To fix uneven edges after painting quarter round, gently sand the rough spots with fine-grit sandpaper to smooth them out.
If dents or gaps remain, apply wood filler or caulk, then let it dry completely before sanding flush.
Clean off dust thoroughly, then repaint the area in thin, even coats.
Finally, use a damp cloth or your finger to smooth caulk edges for a seamless finish.
Give Your Trim the Perfect Finish – Start Painting Today
Remember, “measure twice, cut once” applies just as well to painting quarter round. By preparing your surface carefully, choosing the right paint, and following each step methodically, you’ll achieve a smooth, professional finish.
Whether you paint before or after installation, patience with drying times and attentive touch-ups make all the difference. Stick to these tips, and you’ll transform your quarter round into a polished detail that enhances your entire space.

