How Do You Install Vinyl Plank Flooring: Step-by-Step Guide
To install vinyl plank flooring, start by gathering essential tools like a utility knife, spacers, and a rubber mallet.
Prepare and level your subfloor, ensuring it’s clean, flat, and dry. Acclimate planks for 48 hours, measure your space, and plan your layout with expansion gaps.
Install the first row carefully using spacers, then cut and fit planks, staggering seams for stability and appearance.
Finish by installing baseboards and trim. Following these steps sets you up to master a flawless installation.
Key Takeaways
- Gather essential tools like a utility knife, measuring tape, spacers, rubber mallet, and safety gear before starting installation.
- Prepare and level the subfloor by removing debris, filling imperfections, and ensuring moisture levels are suitable.
- Acclimate vinyl planks flat in unopened boxes for 48 hours and plan layout to maintain expansion gaps and avoid repetitive patterns.
- Install the first row along the longest wall with spacers for expansion gaps, using a rubber mallet and tapping block to secure planks.
- Cut planks precisely, stagger seams 6–8 inches apart, fit edges tightly, and finish with baseboards and molding to conceal gaps.
Gather Essential Tools and Materials for Vinyl Plank Installation

Before you begin installing vinyl plank flooring, make sure you’ve gathered all the essential tools and materials. You’ll need a utility knife for precise cuts, a measuring tape and pencil for accurate measurements and markings, and spacers to maintain expansion gaps.
Gather all essential tools like a utility knife, measuring tape, pencil, and spacers before installing vinyl plank flooring.
A rubber mallet and tapping block are vital for securing planks without damage. Use a pry bar and pliers to remove existing flooring or trim. Safety glasses and knee pads protect you during extended work.
A fine-tooth saw or vinyl cutter handles complex cuts, while a level and straightedge guarantee proper alignment. Additionally, keep a moisture meter handy to check subfloor conditions.
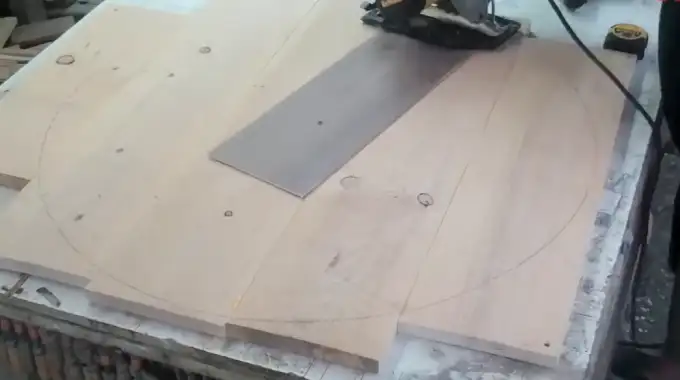
Finally, have a dumpster arranged for debris disposal. Gathering these tools upfront streamlines installation and prevents unnecessary delays. When making long straight cuts, consider using a circular saw with a fine-toothed blade to achieve clean and precise edges on vinyl planks.
Prepare and Level the Subfloor for a Smooth Installation
Although preparing the subfloor may seem straightforward, making certain it’s level, stable, dry, and smooth is essential for a successful vinyl plank installation.
Start by removing all existing flooring, molding, trim, and debris to expose a clean surface. Use a level and straightedge to identify any uneven spots, cracks, or bumps.
Fill imperfections with an appropriate leveling compound or caulking to create a flat surface. Sweep or vacuum thoroughly to eliminate dust and dirt, which can compromise adhesion and plank stability.
Check moisture levels with a moisture meter to confirm dryness. If doorframes interfere, shorten them by the floor height plus a 1 mm expansion gap to allow clearance.
Taking these precise steps makes certain your subfloor will support a smooth, long-lasting vinyl plank installation. Proper dust management during preparation can improve air quality and reduce cleanup time, so consider dust collection methods when working on the subfloor.
Acclimate Vinyl Planks and Plan Your Layout
Since vinyl planks respond to temperature and humidity, you’ll need to acclimate them in the installation room for at least 48 hours. This guarantees dimensional stability and prevents warping after installation.
During acclimation, keep the planks in unopened boxes, stacked flat on the subfloor, away from direct sunlight or heat sources. Next, plan your layout carefully:
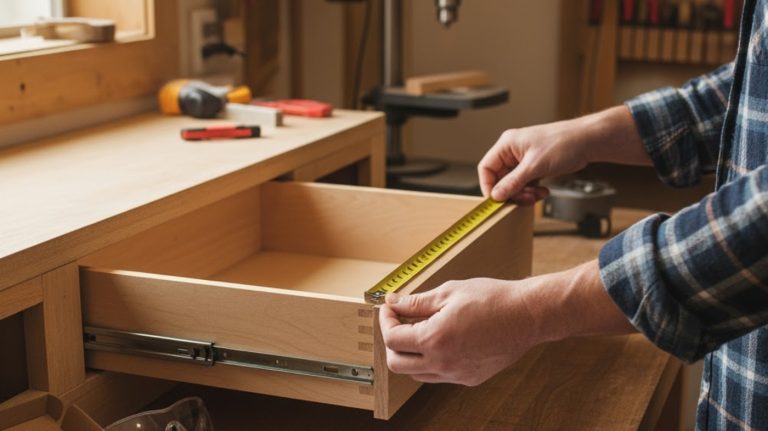
- Measure room length and width to calculate square footage plus 10% for cuts.
- Divide room width by plank width to determine full rows; guarantee the last plank is at least 5 cm wide.
- Dry lay the first row along the longest unobstructed wall, maintaining a ¼ inch expansion gap.
- Mix planks from different boxes to avoid repetitive patterns near each other.
Proper acclimation and layout planning set the foundation for a durable, visually balanced floor. Always wear safety goggles and a dust mask when cutting planks to protect yourself from debris.
Install the First Row With Proper Spacing
When you begin installing the first row, trim the short tongue edge of the initial plank using a utility knife to guarantee a clean fit against the wall.
Position the plank with the trimmed edge facing the wall and maintain a consistent ¼ inch expansion gap by inserting spacers between the plank and the wall.
Start in a corner along the longest, straightest wall, making sure the row is perfectly aligned and straight.
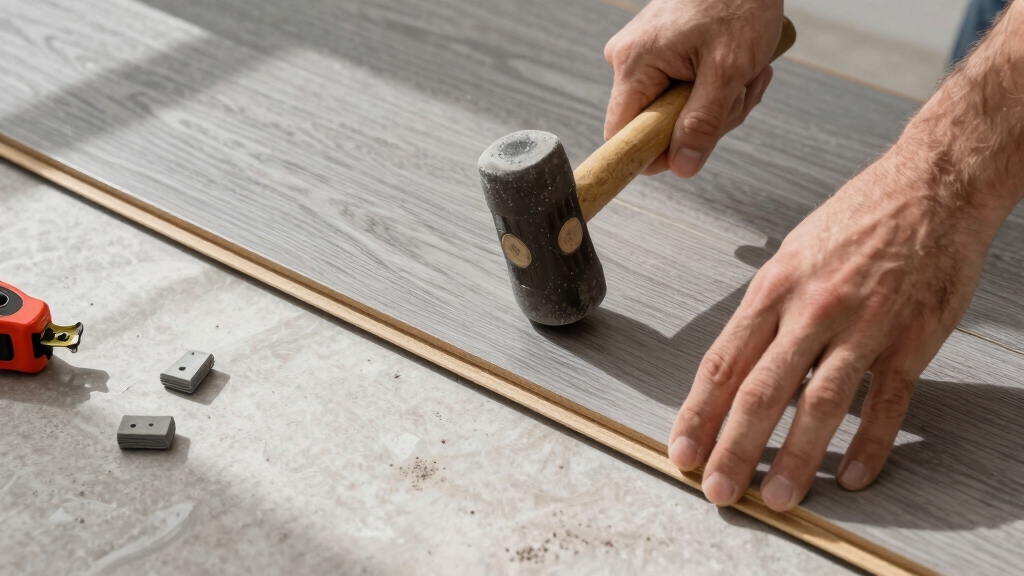
Use a rubber mallet and tapping block to gently click planks together, preventing damage to edges.
Confirm the planks lay flat without gaps or unevenness.
This precise spacing accommodates floor expansion and contraction.
Avoid pressing planks tight against walls to prevent buckling later.
Maintaining these standards assures a professional, durable foundation for the rest of your vinyl plank flooring.
Additionally, using hold-down clamps can help keep planks stable during installation, ensuring accuracy and safety.
Cut and Fit Vinyl Planks, Staggering Seams for a Natural Look
As you progress beyond the first row, carefully measure each vinyl plank to guarantee a precise fit against walls and obstacles. Accurate cuts prevent gaps and assure a professional finish.
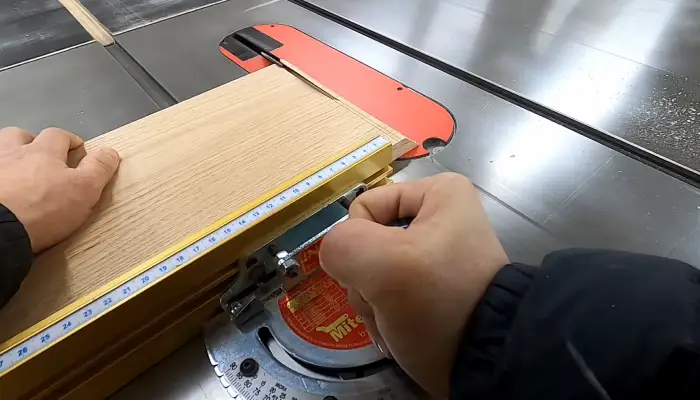
Use a utility knife or fine-tooth saw for clean edges. Stagger seams at least 6-8 inches apart to mimic natural wood patterns and enhance floor stability.
Follow these steps for cutting and fitting:
- Measure the required length precisely, accounting for expansion gaps.
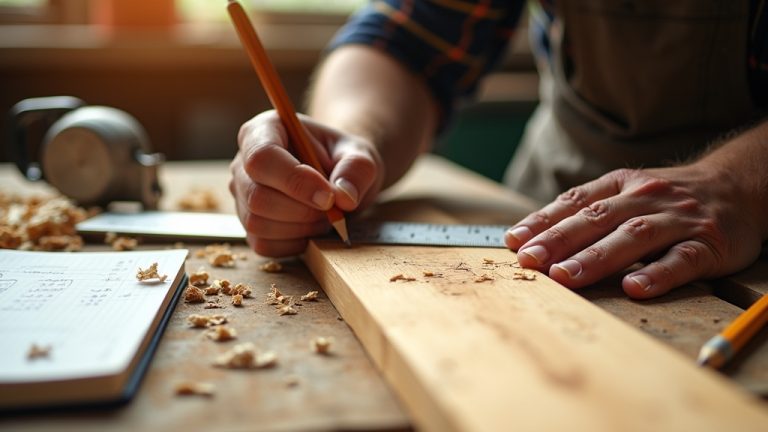
- Mark the plank with a pencil and straightedge.
- Score the plank’s top layer with a utility knife, then snap it cleanly.
- Fit the cut plank by angling the tongue into the groove, then tap gently with a rubber mallet.
Maintain consistent staggering throughout for a seamless, natural appearance. For best results, work in moderate temperatures to avoid material expansion or brittleness during cutting and fitting.
Install Baseboards and Finish Special Areas Like Stairs and Landings
After fitting and staggering the vinyl planks, securing the floor’s edges with baseboards is your next step to conceal expansion gaps and provide a polished finish.
Measure and cut baseboard molding precisely, then attach it using nails or adhesive without pinching the flooring, maintaining expansion space.
For stairs, make certain treads and risers are level and clean.
Cut stair nose molding to fit over tread edges, then glue and fasten treads securely with adhesive and nails or screws at corners.
Avoid fasteners in the middle of risers to prevent damage.
Dry lay landings before gluing to confirm fit.
Rolling out underlay on landings and stairs enhances stability and sound absorption.
These steps finalize your installation, ensuring durability and a professional appearance.
Using a dust collection system during installation can help maintain a clean workspace and improve air quality.
Frequently Asked Questions
Can Vinyl Plank Flooring Be Installed Over Existing Tile or Hardwood?
Yes, you can install vinyl plank flooring over existing tile or hardwood if the surface is level, clean, dry, and stable.
You must fill any grout lines or imperfections to create a smooth base. Avoid loose or damaged tiles or boards.
Use an underlayment if recommended, especially over hardwood. Proper preparation guarantees the vinyl planks lock tightly and prevents future issues like uneven wear or clicking noises during use.
How Do I Clean and Maintain Vinyl Plank Flooring After Installation?
You’ll want to clean vinyl plank flooring regularly by sweeping or vacuuming to remove dirt and debris that can cause scratches.
Damp mopping with a manufacturer-approved cleaner keeps it spotless without damaging the surface.
Avoid abrasive tools and harsh chemicals.
Wipe spills immediately to prevent staining and maintain the floor’s finish.
Using felt pads under furniture also helps preserve your floor’s integrity and prolongs its lifespan efficiently.
What Are the Best Adhesives for Glue-Down Vinyl Plank Flooring?
The best adhesives for glue-down vinyl plank flooring are pressure-sensitive acrylic adhesives and urethane-based adhesives.
You’ll want a strong, flexible glue that resists moisture and heat, ensuring durability.
Pressure-sensitive acrylics provide excellent tack and repositionability, while urethane adhesives offer superior bond strength, especially on concrete subfloors.
Always choose an adhesive compatible with your plank’s backing and subfloor type.
Follow manufacturer instructions for peak results and warranty compliance.
Can Vinyl Plank Flooring Be Installed in Bathrooms or Basements?
Yes, you can install vinyl plank flooring in bathrooms and basements because it’s water-resistant and durable.
However, you must make certain the subfloor is completely dry and level to prevent moisture issues.
Use a moisture meter to check subfloor conditions and choose waterproof adhesive or floating installation methods.
Proper acclimatization and sealing edges help avoid water damage, making vinyl plank flooring a practical choice for these moisture-prone areas.
How Do Temperature Fluctuations Affect Vinyl Plank Flooring?
Temperature fluctuations cause vinyl plank flooring to expand and contract.
You need to allow for this by leaving an appropriate expansion gap around the room’s perimeter.
If you don’t, planks may buckle or warp.
Acclimating planks for 48 hours before installation helps them adjust to room conditions, reducing stress.
Using proper underlayment and maintaining stable indoor temperatures further protects your flooring’s integrity over time.
Finishing Strong: Enjoy Your Perfect Vinyl Plank Floor
By following these steps precisely, you’ll install your vinyl plank flooring with ease and professional results. Remember, prepping your subfloor and planning your layout carefully is as essential as the final cut.
With every plank you fit and stagger, you’re one step closer to a flawless floor that’ll last a long time, almost like laying down a path of solid gold.
Stay patient and methodical, and your flooring will look impeccable for years to come.