How to Build a Shed Door With Plywood: A Strong Finish
Start by measuring your shed opening carefully, using the smallest width and height to cut your plywood accurately.
Build a strong 2×4 frame matching those dimensions and secure it with screws and braces.
Attach the plywood with waterproof adhesive and screws, then reinforce it with horizontal support planks.
Install sturdy hinges and a weather-resistant handle positioned for easy use.
Finally, hang the door with proper gaps for smooth operation and finish with protective paint or sealant to guarantee durability.
Discover more tips to complete your project successfully.
Key Takeaways
- Measure shed opening precisely and use smallest dimensions to cut plywood for a proper door fit.
- Build a 2×4 lumber frame matching door size, ensuring square corners and secure joints with screws and brackets.
- Attach plywood to frame with waterproof adhesive and exterior screws, reinforcing with horizontal support planks.
- Install heavy-duty hinges and weather-resistant handle, using corrosion-resistant screws for outdoor durability.
- Hang door with even spacing on all sides, then sand and finish with weather-resistant paint or sealant.
Measure and Cut Plywood to Fit Your Shed Door Opening

Before you start cutting, make sure to measure your shed opening carefully on at least two sides.
Accurate measurements on multiple sides ensure your shed opening fits perfectly before cutting.
Then use the smallest measurement to guarantee an accurate fit.
Use a tape measure to record the width and height at multiple points, noting any variations.
Next, transfer these measurements onto your plywood board, marking lines clearly with a pencil and square for straight edges.
Set up your plywood on a flat work surface or sawhorse to confirm stability during cutting.
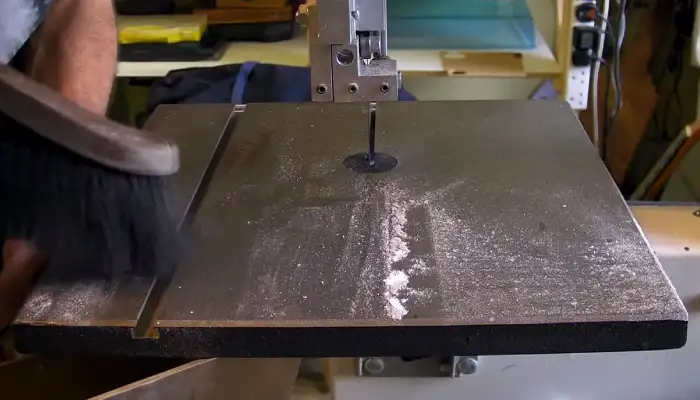
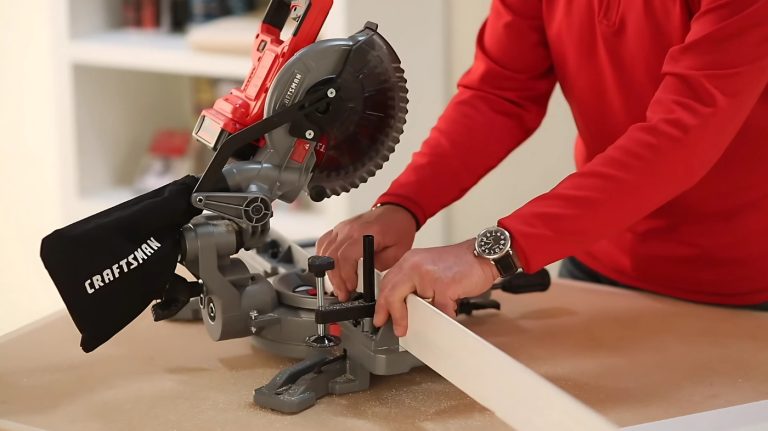
Wearing safety goggles, cut along the marked lines with a circular saw, maintaining a steady hand to achieve a clean edge.
After cutting, sand the plywood edges lightly with a sanding block to remove splinters and rough spots.
Finally, verify the fit by test placing the plywood in the shed opening before proceeding.
For improved cutting quality and to reduce splintering, consider using a fine-toothed blade when making your cuts.
Build Your Shed Door Frame Using 2×4 Lumber for Strength
Start by laying out your 2×4 lumber on a flat surface to create the basic frame for your shed door.
Arrange the pieces to match your door dimensions, guaranteeing corners meet squarely.
Use a carpenter’s square to check angles, then clamp the pieces together to hold them steady.
Drill pilot holes to prevent wood splitting before securing the frame with wood screws.
Reinforce corners with metal L-brackets if the door is large or heavy.
Remember to:
- Measure diagonals for squareness
- Clamp corners tightly before screwing
- Use corrosion-resistant screws
- Guarantee frame is level and flat
- Double-check dimensions before fastening
This sturdy frame provides the strength needed to support your plywood panel and withstand daily use. For added safety during construction, always secure components to prevent movement while working.
Attach Plywood and Reinforce the Door Support Structure

Once you’ve secured your door frame, you’ll want to carefully center the plywood panel on it, ensuring even overhang on all sides.
Apply a generous layer of waterproof construction adhesive to the frame before positioning the plywood to boost bonding strength.
Drill pilot holes through the plywood into the frame to prevent splitting, then fasten the plywood with 1.5-inch exterior wood screws spaced every 6 inches along the edges and 12 inches in the center.
Next, reinforce the door by attaching ¼-inch support planks horizontally across the top, middle, and bottom.
Use wood glue and screws at 8-inch intervals to secure these braces firmly.
Clamp the support pieces in place as you screw them in, keeping the door perfectly flat and sturdy for long-lasting durability.
For added safety and precision while working, always wear safety goggles to protect your eyes from debris.
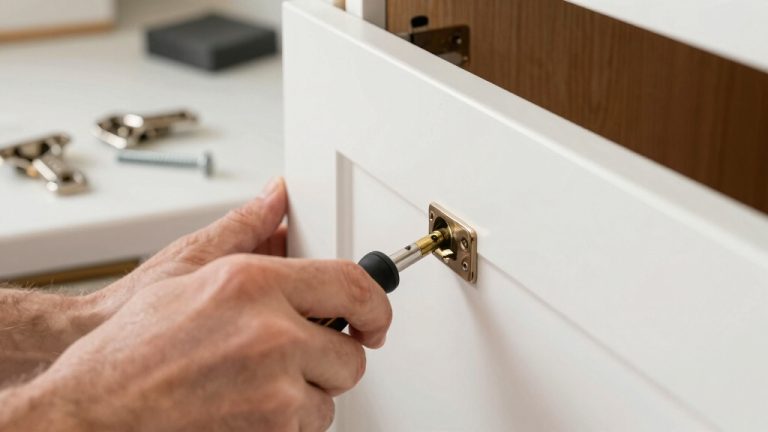
Install Hinges, Handles, and Weather-Resistant Shed Door Hardware
When you’re ready to install the hardware, position the heavy-duty hinges 6 inches from both the top and bottom edges of the door.
Place heavy-duty hinges 6 inches from the top and bottom edges for optimal door support.
Add a third hinge centered vertically if the door is particularly heavy.
Next, mark and drill pilot holes carefully to prevent wood splitting.
Install a weather-resistant handle about 36 inches from the bottom for ergonomic access.
Use stainless steel or galvanized screws and hardware to withstand outdoor elements.
Finally, attach trim pieces to seal edges and reinforce corners with L-brackets if needed.
- Align hinges precisely for smooth operation.
- Drill pilot holes before screwing hardware.
- Choose corrosion-resistant materials for longevity.
- Set handle height for comfortable use.
- Secure trim with evenly spaced screws to prevent warping.
For best results, select screws with a corrosion-resistant coating to ensure durability and prevent rust in outdoor conditions.
Hang the Shed Door and Finish With Paint or Sealant

Although hanging a heavy shed door can require two people for safety and accuracy, careful alignment guarantees smooth operation and proper clearance.
Start by positioning the door in the opening using spacers to maintain an even ¼-inch gap on all sides, ensuring it’s not less than ⅛ inch to prevent binding.
Mark hinge screw holes precisely, then secure the door with exterior-grade screws angled into the door rails for stability.
Next, attach the latch following manufacturer instructions.
Once installed, prep the door surface by sanding any rough spots.
Apply a weather-resistant paint or sealant in thin, even coats, allowing adequate drying time between layers.
Multiple coats improve durability and protect against moisture, extending your door’s lifespan and preserving its appearance.
For enhanced safety during installation, always wear appropriate safety equipment such as dust masks and safety glasses.
Frequently Asked Questions
What Type of Plywood Is Best for Outdoor Shed Doors?
You should choose exterior-grade plywood for your shed door because it’s designed to withstand moisture and outdoor conditions.
Marine plywood is ideal since it has waterproof glue and fewer voids, preventing water damage and warping.
If marine plywood is too pricey, opt for CDX plywood, which is treated for outdoor use but less durable.
Always seal and paint the plywood to boost its weather resistance and prolong your door’s lifespan.
How Do I Prevent My Shed Door From Sagging Over Time?
You prevent your shed door from sagging by building a strong frame using 2×4 lumber arranged in a sturdy rectangular shape with cross braces or diagonal supports.
Secure the plywood firmly to the frame with screws spaced evenly.
Use heavy-duty hinges and install at least three, positioning one near the top, one near the bottom, and one in the middle.
Finally, reinforce corners with metal L-brackets to maintain shape and prevent twisting over time.
Can I Use Treated Lumber for the Door Frame?
You can definitely use treated lumber for the door frame, and it’s smart to do so since treated wood resists rot and insect damage up to 50% longer than untreated wood.
When working with it, remember to wear gloves and use corrosion-resistant screws to avoid fastener failure.
Treated lumber adds durability, especially for outdoor sheds exposed to moisture.
Just cut and assemble your frame as usual, ensuring you maintain square corners for a sturdy door.
What Tools Are Essential for Building a Shed Door?
You’ll need a circular saw for precise plywood and lumber cuts, plus a drill with screwdriver bits to drive screws and create pilot holes.
A tape measure and carpenter’s square guarantee accurate measurements and squareness. Use clamps to hold pieces steady during assembly. Sanding tools smooth rough edges.
Finally, a pencil for marking and safety gear like goggles and gloves protect you. These tools help you build a sturdy, well-fitting shed door efficiently.
How Often Should I Repaint or Reseal My Shed Door?
When it comes to repainting or resealing your shed door, don’t wait until the cows come home. Check it at least once a year.
Inspect for peeling paint, cracks, or water damage, especially after harsh weather. If you spot any wear, sand the surface lightly and apply a fresh coat of paint or sealant.
Staying on top of this keeps your door weatherproof and extends its life markedly.
Built Right, Built Tight: Your Shed Door Success
Now that you’ve built your shed door, it should fit snugly and open smoothly like a well-oiled machine. Remember to double-check all measurements before cutting and reinforce the frame for long-lasting strength.
Installing sturdy hardware and finishing with paint or sealant will protect your door from the elements. With these steps, your shed door will be both functional and durable, making your shed secure and ready for use year-round.