Why is My Circular Saw Cutting Crooked: 9 Reasons Explained
Achieving clean, straight cuts with a circular saw is crucial for any woodworking project. Crooked cuts not only compromise the quality of your work but can also be unsafe. Understanding the reasons behind crooked cuts and learning how to prevent them is essential for anyone using a circular saw.
Applying excessive pressure while cutting can lead to misalignment and an angled cut, causing the saw to deviate from the desired path.
A dull blade can also result in imprecise cuts as it struggles to penetrate the wood, causing it to veer off course. Additionally, improperly installed blades, if not secured tightly, can cause wobbly cuts.
In this blog post, we’ll explore what might be causing your circular saw to cut crooked and what you can do about it. Whether you’re a beginner or a seasoned pro, these tips can come in handy. So, read on to learn more.
Why Is My Circular Saw Cutting Crooked: Reasons with Solutions
Nobody wants crooked cuts on their workpiece. So, to eliminate these problems, you must find out the reasons behind them. There are a few possible reasons why your circular saw cuts unevenly. They are listed below.
- The Blade Is Dull
- The Blade Isn’t Installed Correctly
- The Fence Isn’t Aligned Properly
- The Wood You’re Cutting Is Warped
- You’re Not Holding the Saw Correctly
- The Saw Is Too Stressed
- Sawing in an Irregular Line or Pattern
- The Saw Is Old and Is Simply Not Cutting Well Anymore
- The Surface Is Uneven
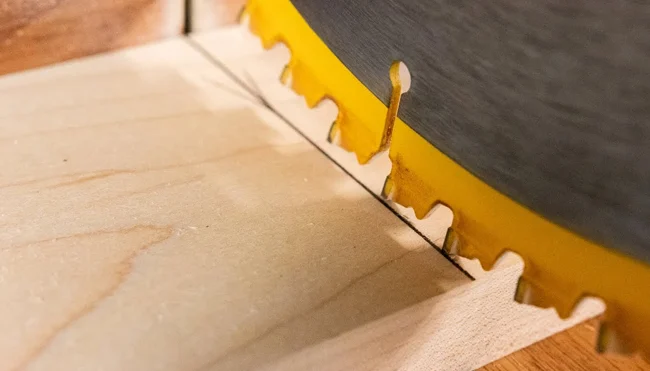
1. The Blade is Dull:
One of the most common reasons why your circular saw might be cutting crooked is because the blade is dull. When the blade is dull, it isn’t able to make a clean, precise cut through the wood.
This can cause the blade to wander off course, resulting in a crooked cut. To fix this problem, simply sharpen or replace the blade on your saw.
2. The Blade isn’t Installed Correctly:
Another common reason for a crooked cut is an incorrectly installed blade. If the blade isn’t tight enough, it can cause the blade to spin on the arbor (the shaft that the blade is mounted on), resulting in a wobbly cut.
Make sure that the blade is installed according to the manufacturer’s instructions and that it’s tightened properly. Also, check to see if the arbor nut is loose; if it is, tighten it with a wrench.
3. The Fence isn’t Aligned Properly:
The fence on your circular saw is what you use to guide the blade along as you make your cut. If the fence isn’t properly aligned with the blade, then your cuts will be crooked.
To fix this problem, ensure the fence is level with the table on your saw. Then, use a square to check that the fence is perpendicular to the blade. Once you’ve done that, tighten any loose screws or bolts on the fence so that it doesn’t move during use.
4. The Wood You’re Cutting is Warped:
Sometimes, the reason your circular saw is cutting crooked has nothing to do with the saw itself, it may be due to the piece of wood you’re trying to cut. If the wood is warped or bowed, it can cause your saw to veer off course as you’re making your cut.
The best way to fix this problem is by using a straight edge (such as a level or a straight rule) to guide your saw during cutting. That way, even if the piece of wood is warped, you’ll still end up with a straight cut.
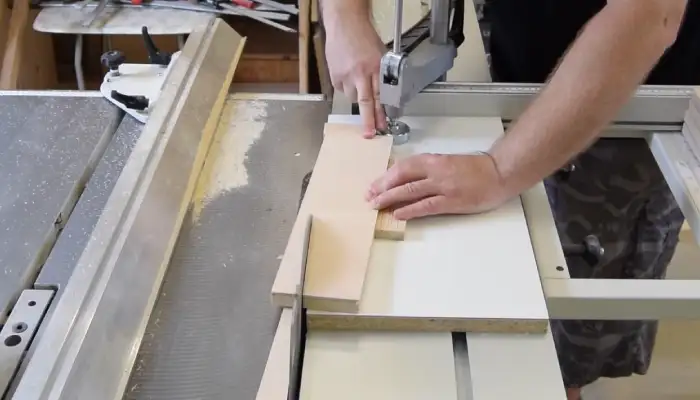
5. You’re Not Holding the Saw Correctly:
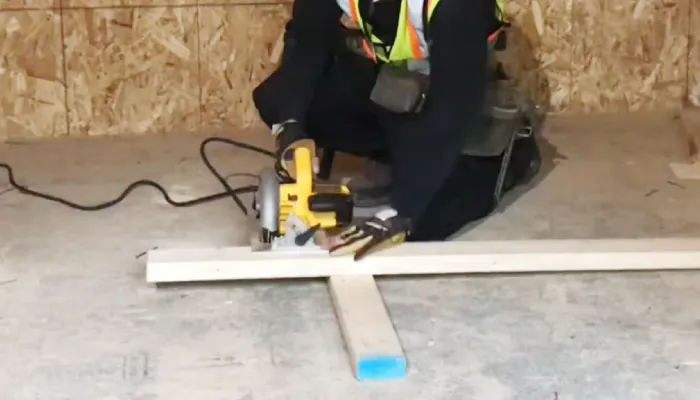
Also, one of the common mistakes people make when using a circular saw is not holding it correctly. Believe it or not, how you hold a circular saw can affect whether or not you end up with a crooked cut. When using a circular saw, you should always grip it with two hands on either side of the handle.
And make sure to keep your hands as close as possible to this top handle. If you grip it too far down, you risk losing control of the saw and ending up with an ugly, crooked cut.
6. The Saw is too Stressed:
One common cause of crooked cuts is exerting too much pressure on the saw. When you press down too hard, the blade gets out of alignment and cuts into the wood at an angle.
This can stall your project and cost you time and money in wasted materials. To avoid this, take caution to apply just enough pressure to keep the blade cutting straight.
7. Sawing in An Irregular Line or Pattern:
When planning to use a circular saw, it is essential to follow a straight line in order to make precise cuts. If the blade begins to veer off course, it will result in a crooked cut. This can be difficult to fix, especially if the piece is already cut partially through.
That’s why it is always best to take your time and ensure that the blade follows a straight path. If necessary, use a guide or fence to help keep the blade on track.
8. The Saw is Old and is Simply Not Cutting Well Anymore:
Over time, even the best-made saw will eventually lose its edge and need to be replaced. When a circular saw becomes old, it can produce cooked cuts. The teeth on the blade become dull and rounded, which makes it more difficult to cut through the material.
The saw also vibrates more, which can cause the blade to bind in the cut. Because of this, old circular saws can often produce cuts that are ragged and uneven.
9. The Surface is Uneven:
One of the most important things to keep in mind when cutting wood is that the surface you’re cutting on might not be level. This can cause your cuts to be crooked, which can be very frustrating.
To avoid this, it’s important to make sure the level surface before you start cutting. You can do this by using a level or a straight edge.
How to Prevent Crooked Cuts by a Circular Saw?

Check the Blade Regularly:
Crooked cuts are a common problem when using a circular saw, but they can easily be avoided with a little bit of preventive maintenance. The blade on a circular saw can become damaged or dull over time, and this can cause the saw to produce crooked cuts. As such, it’s important to check the blade regularly and replace it if necessary.
Check the Material You’re Cutting:
Inspecting the material that you are going to cut with a circular saw is important for preventing crooked cuts. You want to make sure that the material is flat and level before proceeding. This will help to ensure that the blade of the circular saw is cutting evenly through the material.
If the material is not flat or level, it is more likely to cause the blade to bind, which can result in a crooked cut. So, before you start cutting, take a few moments to inspect the material and make sure it is ready for a smooth, even cut.
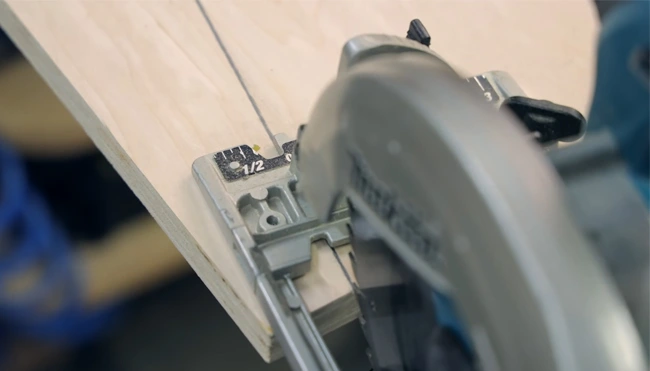
Use a Speed Square or Miter Gauge:
When setting up your saw for a cut, it’s important to make use of a speed square or a miter gauge to ensure that the blade is set at a 90-degree angle. To do this, simply align the square or gauge with the blade and adjust the blade’s bevel angle until it is flush with the square or gauge.
Use an Angle Finder:
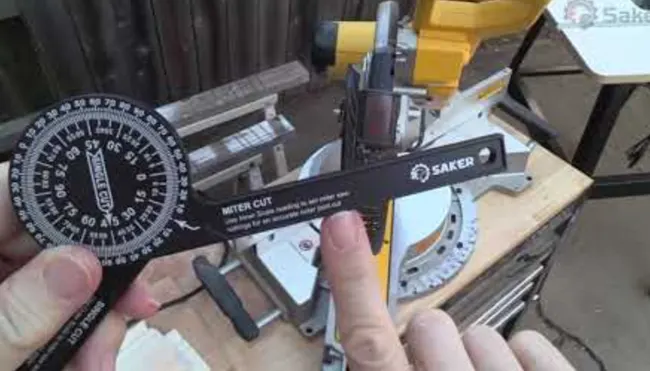
If you don’t have a speed square or miter gauge, you can use an angle finder to set the blade at a 90-degree angle. To do this, position the tool so that one leg is resting against the side of the blade while the other leg is touching the baseplate. Then, rotate the blade until the tool reads 90 degrees.
Mark Your Workpiece Before Cutting:
Once you’ve set your saw up correctly, it’s still advisable to mark your workpiece before making any cuts. This will give you a reference point to follow as you cut and help you stay on track if the blade should happen to drift off course.
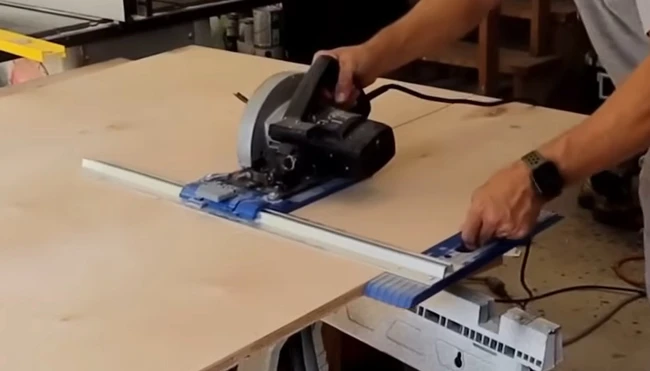
Use a Guide Rail:
The most important thing you can do to ensure straight cuts is to use a guide. A guide rail can help you keep your cuts straight and avoid cropping issues. There are several different types of guides available, but the two most widely used are line guides and clamp-on guides.
Line guides are simply longboards that you stick to the workpiece at the desired cutline. Clamp-on guides are similar, but they have clamps that attach them to your workpiece, which gives you more control over the saw and prevents the guide from slipping.
Use a Level:
Another way to make sure your cuts are straight is to use a level. You can either hold the level in your free hand or attach it to the workpiece with painter’s tape. Just align the level with your cutline and make sure the blade is in contact with the level before you start cutting.
Use Chalk Lines:
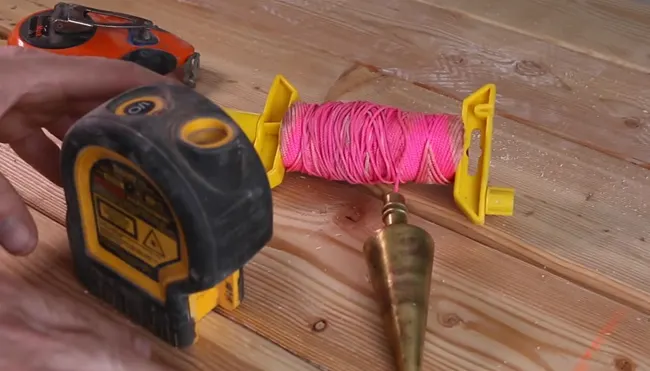
If you’re working with long boards or sheets of plywood, it can be difficult to keep them from moving while you’re cutting them. In these cases, it’s best to use chalk lines.
To do this, simply draw your cutline on the wood with chalk and then snap a line along the chalked area with a chalk line reel. The tension in the line will keep the board from moving as you cut it.
Use Bar Clamps:
Bar clamps are another great way to keep long boards and sheet goods from moving as you cut them. There are two types of bar clamps: F-style and C-style. F-style clamps resemble scissors, while C-style clamps have jaws that open up like pliers.
Whichever type you choose, just make sure that the jaws are wide enough to span across your workpiece and that they’re tightened down securely before you start cutting.
Use Stop Blocks:
Stop blocks are small pieces of wood that you attach to your workpiece at either end of your cutline. This allows you to make repetitive cuts quickly and easily without getting at the risk of crooked cuts.
To use stop blocks, just mark out your cutlines on both ends of the workpiece and then clamp on the stop blocks so they’re flush with the marks. Then, set the depth of your blade and make your cuts.
Practice Using The Circular Saw:
Another way to avoid making crooked cuts is to practice using the saw before cutting into the wood. Get a feel for how much pressure you need to apply and how fast or slow you need to move the saw.
Once you have a good understanding of how the saw works, you will be less likely to make mistakes while cutting.
Which side of the line do you cut with a circular saw to avoid crooked cuts?
In order to prevent crooked cuts, circular saws need to be cut on the correct side of the line. For most types of saws, the blade will rotate clockwise, so you should cut on the right side of the line.
This will ensure that the blade is moving away from you as it cuts, making it easier to control and less likely to cause injury. Then again, there are some saws that have a left-hand blade rotation.
In this case, you would need to cut on the left side of the line. It is always important to check the owner’s manual for your particular saw before operating it to make sure that you are using it correctly.
How do you adjust the Angle on a circular saw to prevent crooked cuts?
When using a circular saw, it is important to adjust the blade angle to prevent Crooked Cuts. The blade angle is adjusted by loosening the bolt that holds the blade in place and turning the blade to the desired position.
The most common way to make a Crooked Cut is not to have the blade parallel to the cutting surface. This usually happens when the blade is not at a 90-degree angle to the surface.
To prevent this, make sure the blade is perpendicular to the surface before beginning to cut. Another way to prevent crooked cuts is to use a guide. A guide can be anything from a piece of wood to a metal straight edge. It helps to keep the saw on track and prevents it from veering off course.
Get the Desired Cuts With a Good Circular Saw
Avoiding crooked cuts when using a circular saw is a matter of technique, proper maintenance, and attention to detail. Whether it’s sharpening the blade, aligning the fence, or using guides and clamps, taking the necessary steps can make a significant difference in the quality of your cuts.
Hopefully, using the tips and techniques outlined in this guide, you can ensure that your circular saw produces clean and precise cuts. It will allow you to complete your projects with confidence and precision.