How to Preserve Wood Slices with Bark? Simple Steps
To preserve wood slices with bark, choose species like basswood harvested during dormancy to reduce bark shedding. Cut clean slices with sharp tools, dry them slowly in shaded, ventilated areas controlling moisture to 6-9%.
Stabilize bark using treatments like Pentacryl or epoxy resin to reinforce adhesion and seal cracks. Finish with clear sealants applied carefully to avoid saturating bark.
Store slices in steady humidity, away from direct sunlight. Explore detailed methods to enhance bark retention and finish quality for lasting beauty.
Key Takeaways
- Harvest wood slices during dormancy in fall or winter to maximize bark adhesion and reduce sap flow.
- Dry slices slowly in a cool, shaded, well-ventilated area using spacers to prevent bark shedding and cracking.
- Stabilize bark immediately after cutting by saturating slices with preservatives like Pentacryl to minimize shrinking and separation.
- Secure loose bark with flexible adhesives and clamps, and reinforce with thin layers of epoxy or clear sealants.
- Store preserved slices flat in dry, ventilated environments with stable humidity to prevent moisture damage and bark detachment.
Selecting the Right Wood Slices for Bark Preservation
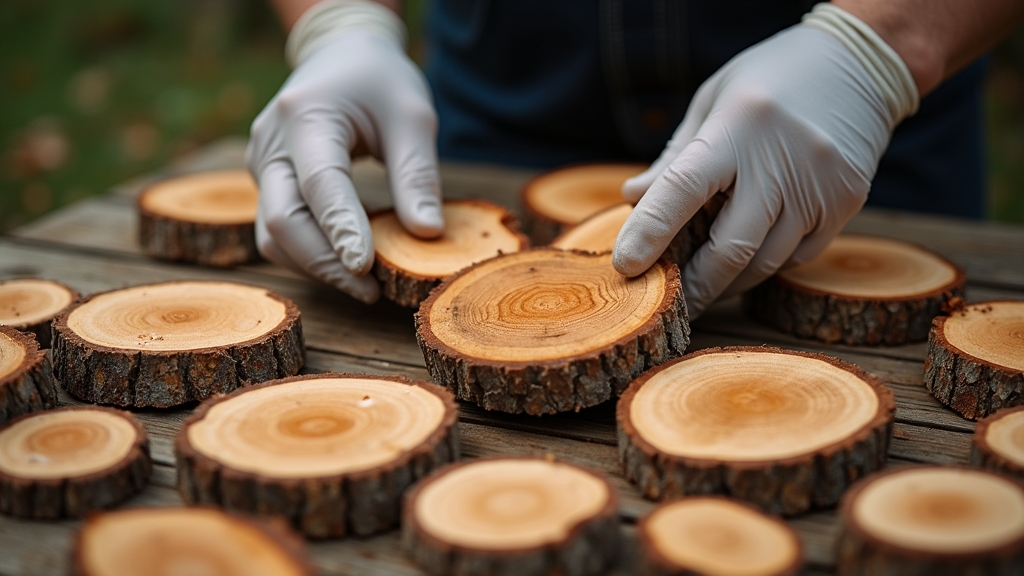
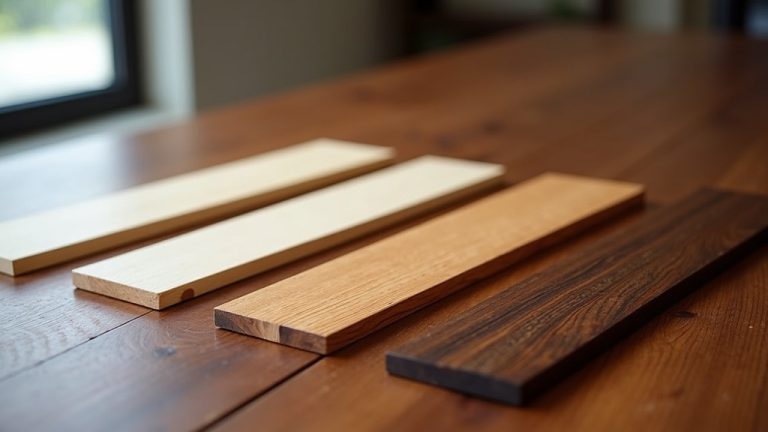
When selecting wood slices for bark preservation, you need to prioritize species and timing that naturally promote bark adhesion. For example, basswood and sassafras retain bark well after drying, while species like hickory and sycamore are poor choices due to their tendency to shed bark.
Walnut and Eastern Red Cedar can hold bark if cut in fall or winter, but summer cutting reduces bark adhesion because of active sap flow. Choose slices with intact cambium layers and avoid damaged or diseased bark to enhance retention.
Thicker wood slices generally maintain bark integrity better than thin ones. Opt for dormant-season harvests to maximize bark adhesion, as cambium activity during growth seasons loosens bark.
Selecting species with dense wood and robust bark texture minimizes shedding and reduces the need for aggressive preservation methods. Additionally, kiln drying often causes bark to fall off, so logs should be processed promptly after cutting to preserve bark.
Techniques for Initial Drying and Moisture Control
Although preserving bark starts with selecting the right wood slices, proper initial drying and moisture control play a critical role in maintaining bark adhesion.
You should cut wood during dormant seasons to minimize sap flow. This timing helps reduce moisture-related issues and enhances bark retention. Cutting in winter prevents sap-related issues and bark tightness, which helps produce more stable wood slices. Using tools with adjustable bevel features can help achieve precise cuts that reduce bark damage.
Dry slices slowly in cool, shaded, and well-ventilated areas. Avoid direct sunlight and rapid drying, as these conditions can cause checking and bark separation. Use spacers to promote air circulation around the slices. Monitor moisture content carefully, aiming for a target range of 7%-9%.
For thicker slices, controlled soaking can aid moisture regulation. However, avoid soaking the bark directly to prevent damage.
| Technique | Key Considerations |
|---|---|
| Seasonal Cutting | Dormant season; minimal sap flow |
| Controlled Drying | Shade, ventilation, moderate humidity |
| Moisture Monitoring | 7%-9% moisture content target |
Applying Treatments to Strengthen Bark Adhesion
Since maintaining bark adhesion requires addressing both biological and mechanical factors, applying targeted treatments immediately after cutting is essential. You should saturate the wood slice with Pentacryl, a stabilizer that minimizes shrinking and supports bark retention.
Penecrawl prevents wood from shrinking and pulling away from bark, which helps maintain bark tightness on the wood slice. For best results, harvest during the tree’s dormant period when sap flow is minimal, reducing separation forces.
This timing aligns with optimal wood preservation practices to maximize bark adherence. Once dried, Pentacryl maintains a natural finish compatible with further processing.
Additionally, applying multiple thin epoxy resin layers creates a physical barrier that strengthens bark structure and seals cracks, enhancing adhesion and visual appeal. If bark is fragile, mechanically secure it with fine wires or clamps before treatment.
Preparing Surfaces and Finishing for Durability
Proper surface preparation is critical to guarantee durable finishes that protect both the wood slice and its bark. Confirm the wood is dried to 6-9% moisture to reduce shrinkage and bark separation risks. This moisture range is ideal because indoor furniture moisture typically settles around 10%, minimizing natural wood movement.
Lightly sand the wood surface with fine-grit sandpaper, avoiding bark damage, and thoroughly clean off dust and debris. Stabilize small cracks or gaps with penetrating sealers or clear CA glue before finishing. Using clamps for stability can help keep the wood steady during preparation and finishing.
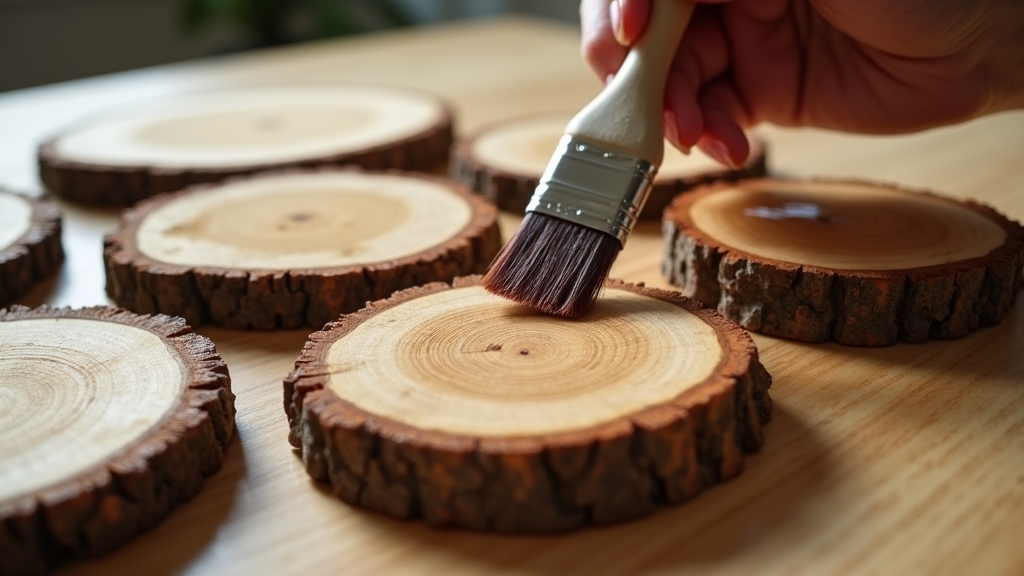
Seal cut end grain first to prevent rapid drying. Apply multiple thin finish layers—epoxy resin offers superior bark adhesion and protection, while polyurethane provides a hard, water-resistant topcoat.
Avoid saturating the bark; use careful brush or wipe-on methods. Lightly sand between coats and respect curing times to optimize finish durability and adhesion, ensuring the integrity of both wood and bark surfaces.
Best Practices for Long-Term Care and Handling
When you handle wood slices with bark, maintaining bark adherence requires careful attention to drying conditions and stabilization methods. To ensure long-term preservation, follow these best practices:
Store slices flat in a dry, well-ventilated area. Avoid direct sunlight and temperature extremes to prevent bark warping and detachment. It is important to allow the slices to dry slowly to minimize cracking and warping.
Use gentle mechanical supports like clamps or soft bindings during any handling or drying stages. These help secure loose bark without causing damage.
Periodically inspect for insect or fungal activity. Apply targeted antimicrobial treatments as needed to inhibit decay and maintain bark integrity. Additionally, seal dried slices with compatible finishes to lock moisture and reinforce bark adhesion.
Practical Uses and Maintenance Tips for Barked Wood Slices
You can enhance rustic décor by incorporating barked wood slices as natural coasters, wall art, or centerpiece bases. Selecting wood slices with a durable bark can improve longevity and aesthetic appeal.
When handling and storing these slices, keep them dry and avoid direct sunlight to maintain bark integrity and prevent warping. Bark contains nutrient-conducting cells similar to those in wood, which contribute to its unique texture and appearance.
For maintenance and repairs, apply thin epoxy resin layers to stabilize loose bark. Gently clean surfaces with a soft brush to preserve both wood and bark.
Rustic Décor Ideas
Although barked wood slices offer a naturally rustic appeal, their practical application in décor requires careful selection and treatment to maintain durability and aesthetic quality. Using tools with precision and control can help create clean cuts that preserve the bark’s attachment and prevent damage.
You can enhance your space by integrating barked slices in functional and decorative forms while preserving their integrity.
Consider these key rustic décor ideas:
- Transform slices into furniture pieces like coffee tables or plant stands by securely attaching metal or copper legs, ensuring stability and longevity. Many trendy options incorporate copper pipe legs or hairpin legs to modernize the rustic look.
- Create wall art by framing individual slices or assembling multiple pieces into a mural, using varied sizes for dimensional effect. Using jointers with adjustable fences allows for precise edge jointing to fit slices neatly together.
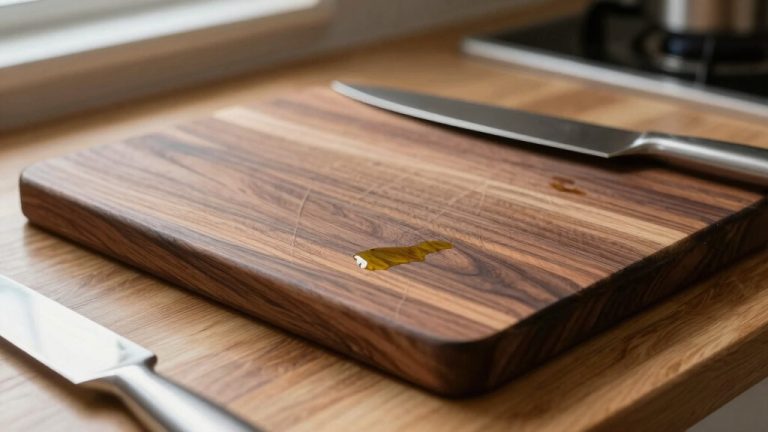
- Craft functional accessories such as coasters, clocks, or candleholder bases, applying clear sealants to protect bark from moisture and wear. Applying a lacquer or protective finish will also help maintain the wood’s surface and extend the life of your pieces. Utilizing dust collection systems during sanding and finishing can improve the quality of your work by reducing dust-related imperfections.
Handling and Storage
Since bark adhesion varies considerably across tree species, understanding how to handle and store barked wood slices is crucial for preserving their integrity. You should prioritize thicker slices from well-seasoned branches, as these reduce bark detachment risks.
Handle them gently to avoid dislodging bark, especially on species with rough or naturally shedding bark like hickory or walnut. Store slices in cool, dry places away from direct sunlight and damp surfaces to prevent mold and moisture-induced bark loosening. Proper alignment of conditions helps maintain bark stability during storage.
Maintaining consistent humidity around 40-60% minimizes cracking and separation. Treat slices soon after cutting, ideally during dormancy, and consider applying wood preservatives such as Pentacryl before drying to reduce shrinkage.
Elevate slices off the ground to ensure air circulation, and avoid rapid moisture changes to maintain bark adhesion and wood stability.
Selecting branches that are straight and uniform in width helps achieve more consistent bark retention and slice quality during preparation consistent branch selection.
Maintenance and Repairs
Proper maintenance and timely repairs considerably extend the lifespan and appearance of barked wood slices. To keep bark intact, apply flexible adhesives or diluted wood glue sparingly at loose areas, and clamp gently until set.
Use penetrating stabilizers before finishing to reinforce bark fibers, preventing flaking. Avoid excessive moisture post-treatment to maintain adhesion. Incorporating a high-quality wood stabilizer is essential to prevent cracking and bark loss in wood slices. Regular inspection for any surface damage can help address issues before they worsen.
Follow these key maintenance steps:
- Gently dust bark with a soft brush to preserve texture and finish.
- Store slices away from direct sunlight and temperature extremes to prevent bark drying and detachment.
- Reapply oils or stabilizers periodically to maintain flexibility and adhesion.
For minor damage, reattach small chips with wood glue and secure loose flaps using fine pins before sealing. Minimal sanding of bark edges is advised to avoid further loosening.
Frequently Asked Questions
Can Barked Wood Slices Be Safely Used for Food Serving?
Yes, you can safely use barked wood slices for food serving if you guarantee they’re properly kiln dried and sealed with a food-safe finish like mineral oil, beeswax, or approved varnishes.
Avoid untreated bark since it can harbor bacteria and contaminants. Regularly maintain the finish to prevent cracking or splitting, which trap debris.
Always check for certification or labeling confirming food safety, and clean thoroughly after each use to uphold hygiene standards.
How Do Seasonal Changes Affect Bark Adhesion Over Time?
Seasonal changes cause bark to expand, contract, and weaken. You’ll find bark adhesion stronger when wood is cut in dormant, dry winters but looser during moist, warm springs.
Freeze-thaw cycles and humidity fluctuations stress the bark-wood bond, while summer heat dries both unevenly, causing cracks.
Insects and fungi thrive in warmer months, further loosening bark.
To maintain adhesion, you must consider timing, moisture control, and prompt stabilization to counteract these seasonal effects.
What Tools Are Best for Removing Loose Bark Without Damage?
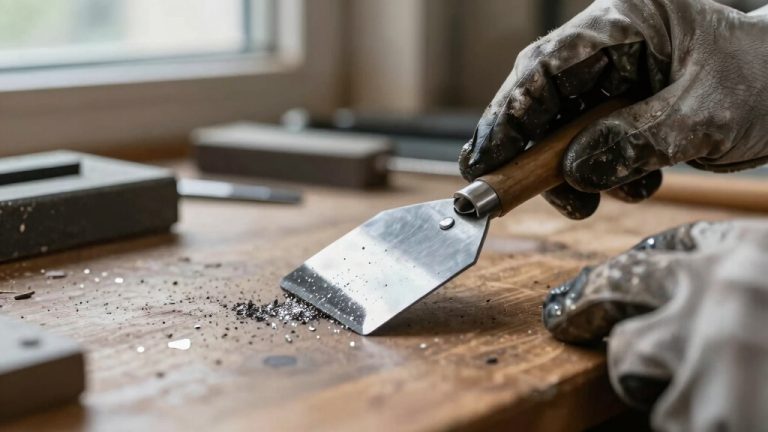
You’ll want to use flat chisels combined with mallets or large gouges with wooden mallets to remove loose bark without damaging the wood beneath. Start gently prying the bark with peeling spuds to loosen it, then finish with drawknives for detailed scraping.
Avoid forcing tools aggressively; work along the grain to minimize splintering. These hand tools offer precision and control, preserving wood integrity while effectively removing loose bark.
Are There Specific Wood Species Better for Bark Preservation?
When it comes to bark preservation, smooth bark species like beech and birch are your best bet—they’re tougher and shed fewer layers, making them easier to keep intact. Think of their bark as a well-oiled machine, naturally resisting fungi and insects.
Thick, multi-layered bark like oak offers durability but challenges stability. Avoid thin, peeling bark like paper birch if you want long-lasting preservation, as it tends to flake off and complicate your efforts.
How to Identify Insect Infestation in Bark During Storage?
You can identify insect infestation in bark during storage by looking for small exit holes (around 1mm), loose or peeling bark, and powdery frass near bore sites.
Check under bark for larval galleries—radiating tunnels indicating feeding activity. Notice any sap exudation, a tree’s defense response.
Also, watch for adult beetles near the wood or on windowsills.
Regularly inspect stacked wood, especially cracks, to catch early signs of infestation.
Keep Bark Intact and Rustic Beauty Alive for Years to Come
Preserving wood slices with bark is like nurturing a delicate seed into a sturdy tree—each careful step strengthens its natural beauty and durability. By selecting the right slices, controlling moisture, and applying precise treatments, you guarantee the bark clings firmly, resisting time’s wear.
Like a vigilant gardener, your ongoing care and handling keep the wood vibrant and intact. Follow these technical practices, and your barked wood slices will stand resilient, showcasing nature’s craftsmanship for years.