Miter Saw Storage Ideas: Exploring Different Methods
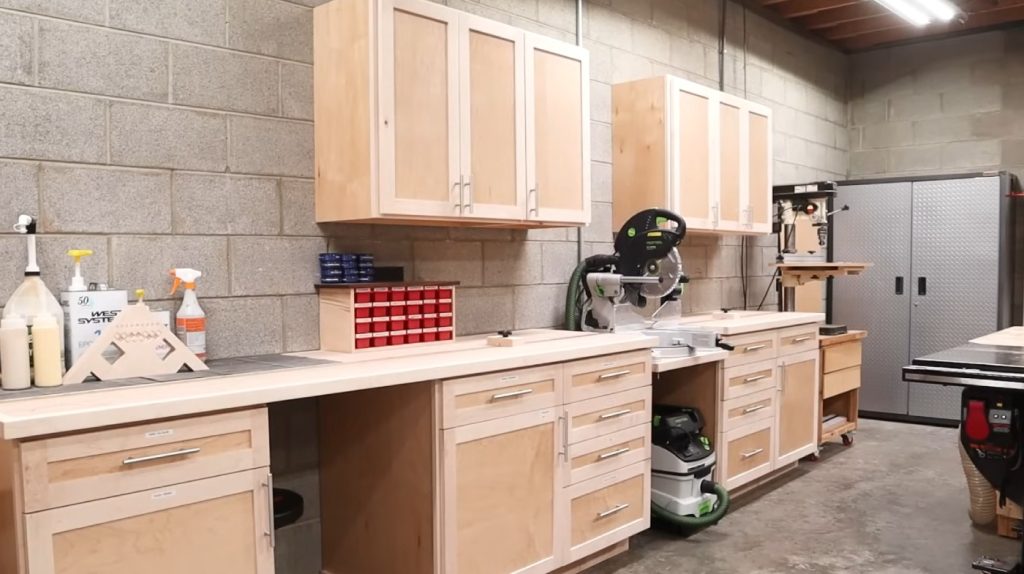
For effective miter saw storage, consider a modular station design that adapts to your needs. Utilize under-station storage and concealed solutions to keep tools organized and accessible.
Implement a vertical tool wall to maximize space and integrate a lumber rack for easy material access. Don’t forget to store saw blades properly to maintain their sharpness.
As you explore these ideas, you’ll discover even more tips to enhance your workshop’s efficiency and functionality.
Key Takeaways
- Create a modular miter saw station design to accommodate different saw models and optimize storage space effectively.
- Incorporate concealed storage solutions like pullout bins and hidden compartments to keep the workspace tidy and tools easily accessible.
- Utilize wall-mounted storage solutions to free up floor space while ensuring tools are organized and within reach.
- Implement a magazine-style storage rack for high-end saw blades to maintain sharpness and facilitate easy access.
- Use durable materials and energy-efficient practices to promote sustainability while setting up your miter saw storage solutions.
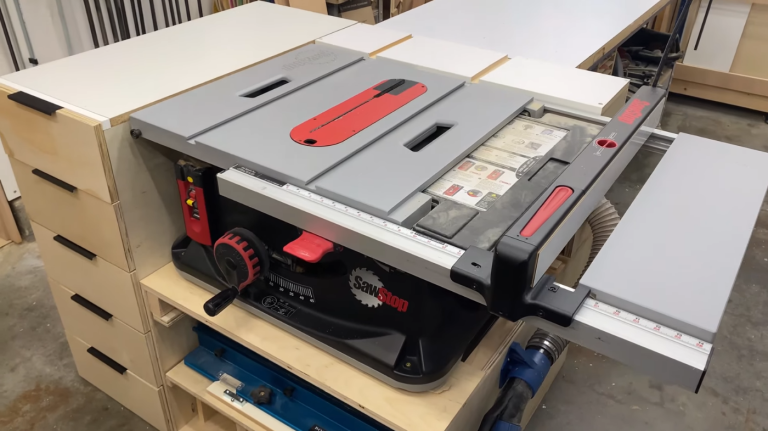
Modular Miter Saw Station Design
When you’re setting up a miter saw station, a modular design can make all the difference in how efficiently you work. With a modular framework, you can easily adapt the center section to fit different miter saw models and sizes, ensuring a perfect fit.
Additionally, the modular design allows for identical end units, making it easier to create a cohesive look while maximizing functionality.
You can also customize the station’s height for your comfort and additional storage needs. Utilizing common materials like 2×4 lumber and plywood keeps costs down while providing durability.
Plus, integrating features like a dust shroud enhances cleanliness. Remember to incorporate adjustable leveling feet to ensure a stable workspace on uneven surfaces. Assembly is simplified with pre-drilled pocket holes and brad nails, ensuring strong construction.
Utilizing Under-Station Storage
Below are some practical ideas for incorporating under-station storage to keep your workspace organized:
Efficient Bin Organization
Efficient bin organization can transform your under-station storage into a streamlined powerhouse for your workshop.
Start by using rubber-made bins to protect your tools from dust while labeling them for quick identification. Assign specific bins for different items like finishes and chemicals. Utilizing storage space efficiently can also enhance the overall functionality of your workspace.
Consider see-through bins for cut-offs, making it easy to spot what you need. Incorporate pullout storage for better accessibility and design custom bins tailored to your tools.
Using dividers within bins can help you organize small parts effectively. Don’t forget to create a charging station for your power tools, ensuring everything’s ready when you need it.
Maximizing Vertical Space
Maximizing vertical space in your workshop can greatly enhance your miter saw station’s functionality.
By utilizing under-station storage, you can keep your workspace tidy and efficient. Here are three effective strategies:
- Shaker Doors: Use these to conceal dust collection systems and maintain a clean look.
- Pullout Tool Walls: Incorporate vertical storage for handheld power tools, ensuring easy access without clutter.
- Modular Designs: Create storage solutions tailored to your specific tools, allowing for future modifications. Additionally, consider integrating a combo miter saw station that functions as both a miter saw station and lumber storage rack for better organization.
Concealed Storage Solutions
Another effective way to keep your workshop neat and organized is by incorporating concealed storage solutions. These ideas can hide clutter while maintaining easy access to your tools and materials:
Pullout Bins Design
Creating pullout bins for your miter saw station not only enhances organization but also optimizes your workspace. With a few simple modifications, you can design functional and efficient storage solutions. Here are three key steps to take into account:
- Utilize Drawer Slides: Install high-quality drawer slides to guarantee smooth pullout mechanisms for easy access.
- Tailor Bin Dimensions: Modify your miter saw station’s base to fit the specific width of your pullout bins, accounting for slide widths.
- Choose Suitable Materials: Use sturdy materials like plywood to construct your pullout bins, ensuring durability and stability. Additionally, consider incorporating concealed storage solutions to keep your workspace tidy and secure.
Hidden Tool Compartments
Hidden tool compartments offer a clever way to keep your workspace organized while protecting your valuable equipment. Start by selecting sturdy wood suitable for your compartment’s design.
Cut the sides and form a housing that fits seamlessly into your workspace. Assemble the pieces using wood glue, ensuring everything aligns perfectly.
Incorporate a spring mechanism for easy access, and drill holes for a locking system that keeps your tools secure. Consider adding a secret compartment or drawers to conceal items within deeper storage spaces. You can even utilize toe-kick drawers that blend into your cabinetry.
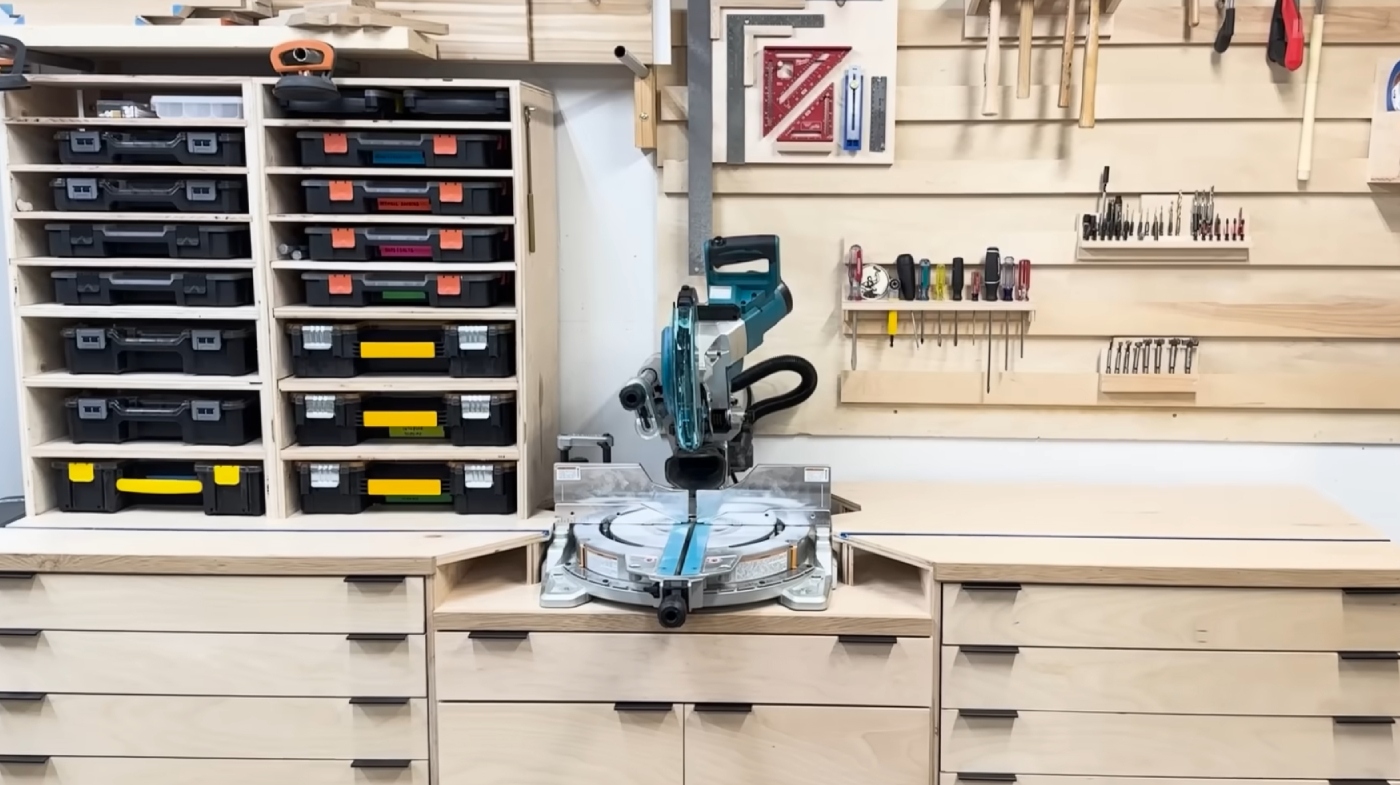
Vertical Tool Wall Implementation
To optimize your workspace and keep your tools easily accessible, implementing a vertical tool wall can be a game changer. Here are some key steps to take into account:
- Build the Structure: Use 3/4 inch plywood for durability, and securely anchor wall studs to support weight.
- Design for Accessibility: Plan your layout to maximize visibility and incorporate adjustable french cleats for various tool holders. The French cleat system allows for easy rearrangement and organization of tools on the wall.
- Install with Precision: Use a level and straightedge for accurate installation, and drill pilot holes for secure attachment.
Position your tool wall near your miter saw for convenience. Remember to label tool locations for easy identification, and leave space for future additions.
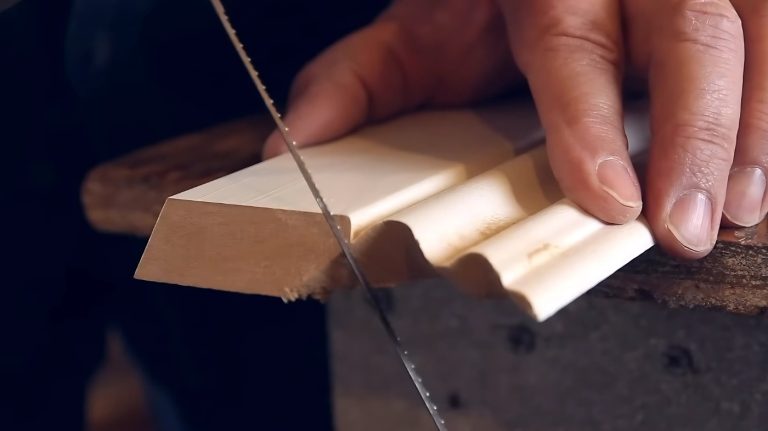
Effective Saw Blade Storage
Now that you have an organized miter saw station, it’s important to keep your saw blades sharp and in good condition. Implementing an effective saw blade storage solution will help prolong their lifespan and maintain performance. Here are some ideas to consider:
Organized Storage Solutions
Effective saw blade storage is essential for maintaining the longevity and performance of your tools, especially in a busy workshop. To keep your blades organized and protected, consider these practical storage solutions:
- Magazine-Style Storage Rack: This wall-mounted frame with slanted slots is perfect for high-end saw blades.
- Slide-Out “CD-Style” Box: Conceals your blades while keeping them easily accessible, just like a CD organizer. Proper storage protects blades from damage and dullness, ensuring they remain sharp for longer.
- Knife Block: A robust option that holds heavy saw blades securely.
Easy Access Techniques
While having a well-organized storage system for your saw blades is essential, ensuring easy access to them can greatly enhance your workflow.
Consider installing pull-out trays in customizable cabinets, allowing quick retrieval while keeping your blades protected. Proper storage methods are crucial to maintaining blade condition over time. If space is tight, integrate drawers into your saw table for seamless access.
Slide-out boxes can mimic CD storage to conceal and organize your blades effectively. For a unique twist, try wall-mounted magazine-style racks for high-end blades or a French cleat system for versatile storage.
Open-access shelves are also an option, offering immediate availability, although they may expose your blades to dust. Additionally, consider a plywood case designed specifically for organized saw blade storage to protect carbide teeth from chipping.
Protective Blade Management
Properly managing your saw blades is essential for both safety and efficiency in your workshop. Implementing effective storage solutions not only protects your blades but also keeps your workspace organized.
Consider these three key features for protective blade management:
- Pull-Out Trays: Save space while easily accessing multiple blades. Additionally, anti-kickback design features can enhance user safety during cutting.
- Custom Cutouts: Prevent chipping by nesting blades securely in tailored slots.
- Material Choice: Use 1/2″ Baltic birch plywood for a durable and functional storage box. Additionally, strong plywood is essential for durability under the weight of storage.
Additionally, finger holes make sliding out trays effortless, while a 1″-dia. hole helps with blade removal.
Custom Cubby Holes for Small Items
Custom cubby holes are a game changer in organizing your miter saw station, offering you a flexible storage solution for small items like scrap wood and tools.
By integrating cubbies into the sides of your station, you can maximize vertical space while keeping frequently used items like measuring tapes and squares easily accessible.
Additionally, this design allows for extra workshop storage with adjustable shelving, enhancing your overall organization. Implementing a custom storage solution can further streamline your workspace and accommodate various tools.
Consider adjustable shelving with shelf pin holes for customization, and add features like concealed pullout bins to manage dust and debris.
Make specific holders for tools such as Brad nailers and jig saws, ensuring everything has its place.
Using durable materials like 3/4 inch plywood guarantees stability, while a compact design saves valuable workshop space.
Lumber Rack Integration
Integrating a lumber rack into your miter saw station can greatly enhance your workspace efficiency and organization. By combining these two elements, you save space and streamline your workflow. Here are three key considerations for a successful integration:
- Design: Use cantilevered arms that can be tapered for strength while maximizing space. Ascertain the framework is securely lag-bolted to studs for stability. Additionally, ensure your design incorporates storage for tools and accessories, similar to the miter saw station’s functionality. A well-designed lumber rack can improve overall productivity by allowing quick access to materials.
- Material: Opt for durable hardwood for the posts and arms, assuring longevity and reliability.
- Adjustability: Incorporate an adjustable design to accommodate various lumber sizes, allowing easy access to all your materials.
Ergonomic Workspace Layout
Creating an ergonomic workspace layout is essential for enhancing comfort and productivity, especially if you spend long hours at your miter saw station.
Start by evaluating your current setup; identify any mismatches between your tasks and your physical capabilities. Consider incorporating adjustable desks to accommodate various heights and using footrests for better posture. Additionally, maintaining a clean workspace can significantly enhance focus and reduce distractions.
Keep your workspace clutter-free and guarantee clear aisles for easy movement. Proper positioning of tools and furniture will help reduce strain and prevent injuries.
Frequently Asked Questions
What Tools Are Essential for Building a Miter Saw Station?
To build a miter saw station, you’ll need several essential tools. Start with a circular saw for cutting materials, and a miter saw for precise crosscuts. A table saw helps rip plywood, while a jigsaw is perfect for curved cuts.
Don’t forget a drill/driver for assembly. Hand tools like a tape measure, square, and clamps are vital for accuracy. Finally, consider a brad nailer and sander for smooth finishes and quick assembly.
How Can I Increase the Stability of My Miter Saw Station?
They say a solid foundation is the key to stability. To increase your miter saw station’s stability, start by using bolts and washers to create a leveling mechanism. Construct a sturdy base with durable materials like 2x4s, ensuring it’s well-supported.
Incorporate adjustable bolts for fine-tuning, and secure your saw firmly to the base. Finally, add hockey puck foot-pads for extra ground contact, enhancing overall stability and performance during your projects.
What Safety Measures Should I Consider for My Miter Saw Station?
When setting up your miter saw station, prioritize safety by inspecting the blade guard, wearing eye protection, and keeping loose clothing and hair secured.
Always clamp your materials firmly to prevent kickback and make certain the blade reaches full speed before cutting. Use hearing protection and a dust mask to guard against noise and dust.
Finally, maintain proper alignment with the fence and never overreach while operating the saw for peak safety.
How Do I Maintain My Miter Saw and Storage Solutions?
To maintain your miter saw, regularly clean it by removing sawdust with a vacuum or compressor. Wipe down the saw teeth and table with damp and dry cloths, respectively.
Inspect moving parts and lubricate them to reduce friction. For storage solutions, build a modular station with drawers and vertical tool walls to keep everything organized.
Can I Integrate My Miter Saw Station With Other Workshop Tools?
Absolutely, you can integrate your miter saw station with other workshop tools! Imagine a workspace where everything flows seamlessly. By mounting a drill press next to your miter saw, you’ll enhance versatility.
Adding T-track stop blocks helps with precision, while rolling tool carts keep your area organized. Just think about how efficient your projects will become when everything’s within reach and tailored to your needs. It’s all about maximizing your workspace and boosting productivity.
Smartly Store Your Miter Saw and Transform Your Workshop for Maximum Efficiency
By incorporating these miter saw storage ideas, you’ll not only maximize your workspace but also streamline your workflow. Remember, a well-organized shop is the key to keeping your projects on track.
Whether you opt for modular designs or vertical solutions, you’ll find that every inch counts. So, don’t let clutter trip you up—take the bull by the horns and implement these strategies to create a more efficient and enjoyable woodworking environment.