How to Use Milk Paint: A Complete Beginner’s Guide
To use milk paint, start by prepping your surface. Sand porous wood lightly and remove dust or finish residues.
Mix equal parts powder and water until smooth. Let it thicken before adding water to reach a creamy consistency.
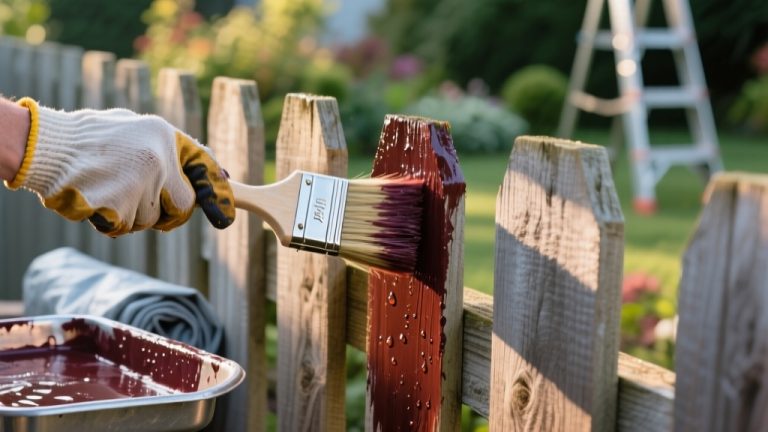
Apply thin, even coats with natural-bristle brushes or foam rollers. Allow 15–60 minutes to dry between coats.
Use bonding agents on slick surfaces and seal the final layer for durability. Following these steps guarantees a smooth, lasting finish, with tips ahead for handling common challenges.
Key Takeaways
- Prepare porous surfaces by cleaning, sanding with 120–180 grit, and filling imperfections for better milk paint adhesion.
- Mix equal parts milk paint powder and water, let sit 10–30 minutes, and stir gently before applying.
- Apply thin, even coats using natural-bristle brushes or foam rollers, allowing 15–60 minutes drying time between coats.
- Use bonding agents on slick or previously finished surfaces to improve adhesion and prevent peeling.
- Seal fully dried paint with compatible water-based polyurethane or sealer after lightly sanding for durability.
Selecting and Preparing Surfaces for Milk Paint

When you’re preparing to use milk paint, choosing the right surface is essential for achieving the best results.
Milk paint sticks best to porous materials like bare wood or masonry, so bare, untreated surfaces work great. If your surface has an existing finish, expect less adhesion and consider using a bonding agent or extra prep.
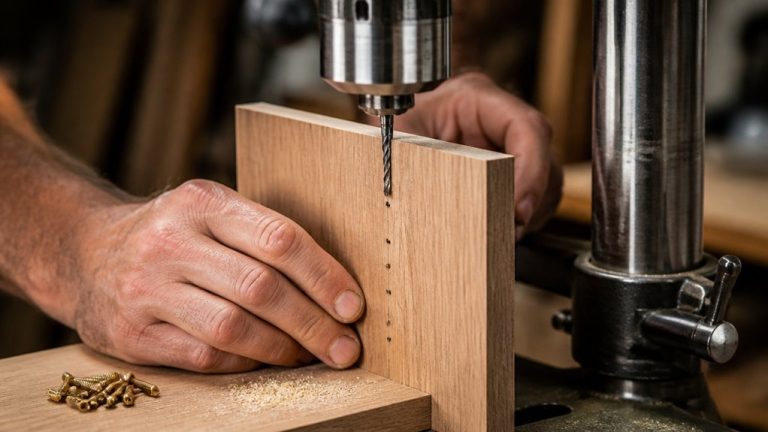
New wood usually benefits from a light sanding with 120 to 180 grit sandpaper to open its pores for better paint grip.
Remove dust thoroughly after sanding to make certain the paint bonds well. Also, fill dents, knots, or nail holes before painting to create a smooth, even surface.
These steps help you avoid uneven coverage and enhance the durability and appearance of your milk paint project. For optimal results, sand along the wood grain to maintain texture and ensure even paint adhesion.
Preparing Your Wood Surface for Painting
Before you dive into painting, it’s super important to give that wood surface a good clean. You want to get rid of any dust, dirt, or grease since those little things can really mess with how well the paint sticks. Trust me, taking a few minutes to clean will pay off later!
Once you’ve got it all cleaned up, grab some sandpaper—aim for 120 to 180 grit. This step is all about smoothing out those rough spots and opening up the wood pores. Why? Because it helps the paint soak in better.
And don’t forget to check for any dents, knots, or nail holes. Filling those in will help you achieve a nice, even surface. You want your milk paint finish to look flawless, right? So take your time with this part!
For added protection and durability, consider sealing the wood with a water-based polyurethane before applying your milk paint.
Surface Cleaning Techniques
Although sanding is essential for preparing wood, thorough surface cleaning guarantees your milk paint adheres properly and lasts longer.
Start by wiping the surface with a dry cloth to remove loose dust and debris.
Then, use a slightly damp cloth or sponge with mild soap and water to clean stubborn dirt, grease, or residues.
Avoid soaking the wood; excess moisture can raise the grain and cause uneven paint absorption.
After cleaning, let the surface dry completely before painting.
For previously finished wood, remove any wax or polish buildup with a gentle cleaner or mineral spirits.
Proper cleaning guarantees a porous, receptive surface, improving bonding and helping you achieve an even, durable finish with your milk paint.
Take your time with this step for the best results.
For optimal results, sanding progressively with grits from 80 to 150 ensures a smooth surface that enhances paint adhesion and finish quality, as explained in the sanding progression technique.
Sanding And Filling
Start by sanding your wood surface to create the ideal texture for milk paint to adhere. Use 120 to 180 grit sandpaper to smooth new wood or raise the grain on existing pieces. Focus on removing rough spots and old finishes that could block paint absorption.
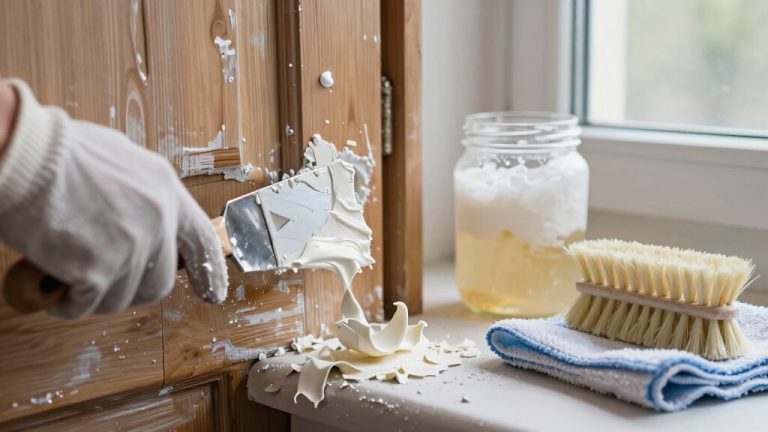
Next, inspect the surface for dents, knots, or nail holes. Fill these imperfections with a wood filler that matches your wood type, applying it carefully with a putty knife. Once dry, sand the filled areas flush with the surface to ensure an even finish.
Remove all dust thoroughly with a tack cloth or vacuum before painting. Proper sanding and filling create a porous, smooth base that helps milk paint bond well and produce a flawless, durable finish. Using a high-quality wax- and silicone-free tack cloth ensures dust is effectively removed without leaving residue that could affect paint adhesion.
Mixing Milk Paint for the Best Consistency
To get started, grab equal parts of milk paint powder and water. This will give you a nice, smooth base.
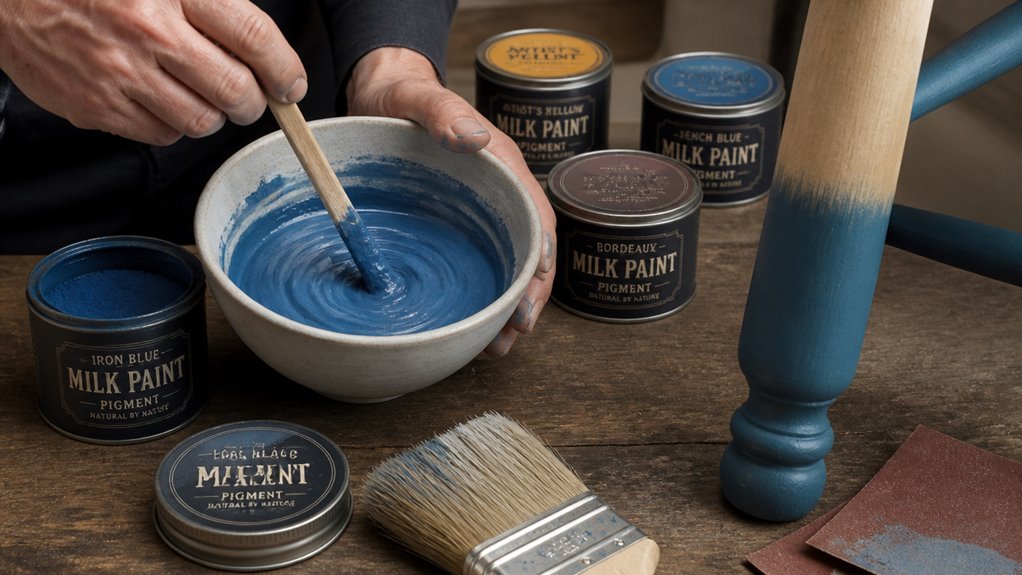
Now, you can use a drill or a blender to mix them together really well. Once that’s done, let the mixture sit for about 10 to 30 minutes. This waiting time helps it thicken up and allows the pigments to fully dissolve.
If you find that your paint is a bit too thick, no worries! Just add small amounts of water while you’re mixing until you reach a consistency that feels just right. Happy painting!
For preserving your painted wood furniture, consider using products with UV protection to prevent fading and damage from sunlight.
Powder To Water Ratio
Achieving the right powder to water ratio is crucial for mixing milk paint that applies smoothly and delivers consistent coverage.
Start by combining equal parts of powder and water as your baseline. This 1:1 ratio usually gives you a paint that’s slightly thinner than latex, making it easy to spread without dripping.
If the mixture feels too thick or clumpy, add small amounts of water incrementally, stirring thoroughly each time until you reach a creamy consistency.
Avoid making it too runny, which can cause poor coverage and uneven drying.
Remember, the goal is a smooth, pourable texture that clings well to your surface.
Maintaining this balance guarantees that your milk paint performs reliably and looks professional from the first coat.
For long-lasting results on wood surfaces, consider finishes that offer durable hardwax oil protection.
Mixing Techniques And Timing
Although you can mix milk paint by hand, using mechanical methods like a drill, blender, or food processor will give you a much smoother consistency with less effort.
Start by combining equal parts of powder and water in a clean container.
Mix thoroughly until the paint is free of lumps and slightly thinner than latex paint.
After mixing, let the paint sit for 10 to 30 minutes to allow pigments to fully dissolve and the mixture to thicken properly.
If it feels too thick, add small amounts of water gradually while mixing until you reach the desired consistency.
This timing and technique guarantee better adhesion and an even finish when you apply the paint.
Always stir again before use to redistribute any settled pigments.
For best results, stir gently to avoid introducing bubbles that can mar the finish.
Tools and Techniques for Applying Milk Paint
When applying milk paint, choosing the right tools can make a significant difference in the finish and ease of your work. Opt for a natural-bristle brush for detailed pieces like furniture or cabinets, as it offers excellent control and smooth strokes.
For larger flat surfaces, a foam roller provides even coverage without brush marks. You can also use spray equipment for quick, uniform coats, but practice first to avoid runs.
Apply thin, even coats, starting with broad areas, then edges and details. Work quickly, as milk paint dries fast—within 15 to 60 minutes depending on conditions.
Keep your brush strokes consistent and avoid over-brushing to reduce streaks. Clean your tools promptly with water to prevent dried paint buildup. This approach guarantees a smooth, professional-looking finish. For outdoor wooden furniture, consider a finish with UV protection to guard against sun damage and ensure durability.
How Many Coats of Milk Paint Should You Apply?
You’ll usually want to apply two to three coats of milk paint for that perfect, full coverage.
It’s important to let each coat dry completely, which typically takes about an hour, before you go ahead and apply the next one.
Oh, and here’s a helpful tip: lightly sanding between coats can really make a difference!
It smooths out the surface and helps the next layer stick better.
So, keeping an eye on those drying times and doing a little sanding will definitely lead to a more durable and even finish.
For added protection, consider applying a water-based polyurethane topcoat after your final milk paint layer.
Happy painting!
Recommended Coat Quantity
Applying two to three coats of milk paint usually achieves the best opaque coverage and durability for most projects.
Start with a thin, even first coat to build adhesion and avoid drips. After it dries, apply a second coat to deepen color and fill any thin spots.
If you want the richest finish or are covering a dark or uneven surface, a third coat helps guarantee full opacity and smoothness.
Keep your coats thin rather than thick to prevent cracking or uneven drying. Lightly sanding between coats smooths the surface and improves adhesion for the next layer.
For added protection and a lasting finish, consider sealing your milk-painted surface with a water-based polyurethane or other compatible wood sealer.
Drying Time Between
After the first coat of milk paint dries, it’s important to wait the recommended amount of time before applying the next layer. This guarantees proper adhesion and a smooth finish.
Typically, milk paint dries within 15 to 60 minutes depending on humidity and temperature. Checking the specific product instructions is key.
Applying a second coat too soon can cause lifting or uneven texture. Most projects benefit from two to three coats for full coverage and durability.
Make sure the first coat feels completely dry to the touch and is no longer tacky before continuing. This pause allows the paint to bond well and avoids trapping moisture, which could affect the finish.
Patience during drying ensures your milk paint job looks professional and lasts longer.
Sanding Between Coats
Waiting for the first coat to fully dry sets the stage for sanding between coats, which helps smooth the surface and improve adhesion for additional layers.
Once dry, lightly sand with fine-grit sandpaper (around 220 grit) to remove any brush marks or rough spots. This step guarantees your next coat goes on evenly and bonds well.
After sanding, clean off dust thoroughly before applying the next coat. Generally, two to three coats of milk paint provide good coverage and durability.
Applying thin, even coats and sanding between each will give you the best results. Remember, skipping sanding can lead to uneven texture and poor adhesion, so don’t rush this step.
Patience here pays off with a smooth, lasting finish.
How to Dry Milk Paint and Apply Additional Coats?
Although milk paint dries quickly, usually within 15 to 30 minutes depending on conditions, you should allow the first coat to dry fully before adding another. This guarantees the paint cures properly and prevents lifting or uneven texture when applying additional coats.
After drying, lightly sand the surface with fine-grit sandpaper to smooth out any imperfections and improve adhesion. Wipe away dust with a clean, dry cloth before proceeding.
Apply subsequent coats using thin, even layers for the best coverage and finish. Typically, two to three coats provide opacity and durability.
Keep in mind that environmental factors like humidity and temperature can affect drying time, so adjust accordingly. Proper drying and recoating will help you achieve a smooth, long-lasting milk paint finish.
Using Bonding Agents for Milk Paint Adhesion
When you’re working with slick or previously finished surfaces, adding a bonding agent is essential to guarantee your milk paint adheres properly and resists chipping over time.
These agents create a strong link between the paint and nonporous surfaces, improving durability and finish quality.
Before applying, make sure the surface is clean and lightly sanded to boost adhesion. You can mix the bonding agent directly into your milk paint or apply it as a primer.
Using a bonding agent helps you avoid frustrating peeling and chipping after all your hard work.
You’ll achieve a smooth, even finish that lasts longer and feel confident tackling challenging surfaces without extra sanding.
Incorporating bonding agents makes certain your project looks professional and stands the test of time.
Sealing Milk Paint for Durability
Protecting your milk paint finish with a sealer enhances durability and keeps your project looking fresh longer. Before sealing, make sure the painted surface is completely dry and free of dust by wiping it down gently.
Sealing your milk paint finish boosts durability and maintains a fresh, clean look over time.
Lightly sand with fine-grit sandpaper to smooth any rough spots and promote better adhesion of the sealer. Choose a sealer compatible with your milk paint; water-based polycrylic or natural oils work well.
Apply thin, even coats using a brush or foam applicator, allowing each coat to dry fully before adding another. Usually, two coats suffice for good protection.
Sealing strengthens the finish against wear, moisture, and stains, making it especially important for furniture or surfaces that get frequent use. Follow your specific product’s instructions for the best results.
Fixing Common Milk Paint Problems
If you encounter issues like uneven coverage, chipping, or cracking with your milk paint, there are straightforward ways to address these problems and improve your finish.
First, assess whether the surface was properly prepped; poorly sanded or sealed surfaces often cause adhesion problems.
Next, check if you mixed the paint to the right consistency. Too thick or too thin mixtures can affect coverage and durability.
To fix common problems:
Sand lightly between coats to smooth rough spots and improve bonding.
Apply a bonding agent on slick surfaces to prevent chipping.
Seal knots with shellac to stop stain bleed-through.
Test Your Milk Paint Setup Before You Begin
Before diving into your full project, make sure to test your milk paint setup on a hidden or scrap piece. This step lets you verify surface prep, paint consistency, and adhesion.
Apply the paint as planned, noting how it covers and dries. Check for any issues like chipping, uneven coverage, or poor bonding, especially if you’re working on a previously finished or nonporous surface.
If needed, adjust your prep by sanding more or adding a bonding agent. Also, confirm the paint’s thickness and drying time meet your expectations.
Testing prevents surprises and helps you refine your technique before committing. Once you’re satisfied with the test results, proceed confidently to your main project knowing your milk paint setup works effectively.
Frequently Asked Questions
Can Milk Paint Be Used on Metal or Plastic Surfaces?
You can use milk paint on metal or plastic, but it’s tricky.
These nonporous surfaces don’t absorb the paint well, so adhesion might be poor and chipping more likely.
To improve results, you’ll need thorough surface prep—cleaning, sanding, and applying a bonding agent or primer designed for slick surfaces.
Always test on a small area first to check adhesion and finish before committing to your whole project.
How Do I Store Leftover Mixed Milk Paint?
Oh sure, just toss that leftover milk paint in the fridge and hope it magically stays fresh forever!
But seriously, to store your mixed milk paint, pour it into an airtight container to prevent drying out.
Keep it in the fridge, where it can last about a week.
Before using it again, stir thoroughly and add a little water if it’s thickened.
Is Milk Paint Safe for Children’s Furniture and Toys?
Yes, milk paint is safe for children’s furniture and toys because it’s non-toxic, natural, and contains no harmful chemicals.
You can feel confident using it around kids, but make sure you seal the painted surface with a safe, child-friendly topcoat to protect against chipping and wear.
Always check the specific product’s ingredients and follow sealing guidelines to guarantee maximum safety and durability for your little one’s items.
Can Milk Paint Be Tinted With Regular Acrylic Pigments?
You generally shouldn’t tint milk paint with regular acrylic pigments because it can affect the paint’s natural bonding and finish.
Milk paint relies on its powder’s unique composition to adhere and cure properly.
Instead, use pigments specifically designed for milk paint or pre-tinted powders to guarantee consistent color and performance.
If you experiment, test a small batch first to avoid unexpected results or compromised durability.
What Is the Shelf Life of Milk Paint Powder Unopened?
Think of unopened milk paint powder like a sealed bag of flour in your pantry. It stays fresh for quite a while if kept dry.
Typically, milk paint powder has a shelf life of about 3 to 5 years when stored in a cool, dry place. You’ll want to avoid moisture and humidity, or it might clump and lose effectiveness.
Always check the manufacturer’s date for the best guidance on freshness.
Conclusion: How to Use Milk Paint for a Beautiful, Durable Finish
Milk paint is a versatile, eco-friendly option that’s been used for over 2,000 years. It offers a beautiful, natural finish.
By preparing your surface properly, mixing your paint just right, and applying the correct number of coats, you’ll get a durable, stunning result.
Don’t forget to test your setup and use bonding agents if needed to guarantee adhesion.
With these steps, you’ll master milk paint and enjoy its unique charm on any project.