How to Use a Track Saw? Step-By-Step for Perfect Cuts
You’ll start by choosing a track saw with the right blade size and motor speed for your material. Set up a clean workspace, securely clamp your workpiece, and place the guide rail precisely along the marked cut line.
Adjust the blade depth and bevel angle to match your cut requirements. Make steady straight or plunge cuts using consistent pressure while keeping the saw stable.
To achieve perfect results and maintain your tool, there are important setup and maintenance tips you’ll want to follow.
Key Takeaways
- Align the guide rail precisely along the cut line and secure it with clamps or grip pads to ensure straight cuts.
- Adjust the blade depth to match the material thickness before starting the cut for clean and controlled cutting.
- Insert the saw into the track before powering on and maintain steady, consistent pressure while cutting along the guide rail.
- Clamp and support the material firmly on both sides of the cut to prevent movement and sagging during operation.
- Use splinter guards on the guide rail to minimize tear-out and achieve clean edges on the workpiece.
Choosing the Right Track Saw and Blade
When choosing the right track saw and blade, you need to contemplate motor type, cutting capacity, and blade specifications to match your cutting tasks accurately. Opt for brushless motors for enhanced efficiency and durability.
Consider variable speed settings for flexibility across materials. Some models offer variable speeds ranging from 1,750 to over 6,000 rpm, which helps optimize cut quality depending on the material.
Verify the cutting capacity; for example, the DeWALT DWS520K cuts up to 2 1/8 inches at 90 degrees. Pay attention to blade diameter—6 1/2 inches suits most cuts—and blade speed, ranging from 1,750 to 4,000 rpm, depending on material.
Choose blades with longer life and sharpness retention. Also, factor in the saw’s build quality, weight, and ergonomic features like rubberized grips.
Setting Up Your Work Area Safely
Before you start cutting, clear your workspace of any debris or obstacles that could interfere with saw operation. Maintaining a clear workspace reduces hazards during cutting tasks.
Securely position and clamp your material to prevent movement during the cut. Make sure your work area is well-lit to maintain clear visibility and accuracy throughout the process. Using guide rail clamps is essential to secure the rails, preventing movement and ensuring accuracy during cuts.
Clear Workspace Preparation
Although setting up your workspace might seem straightforward, maintaining a clean, well-lit, and organized area is essential for safe and accurate track saw operation.
Clear all clutter to reduce trip hazards and remove dust or debris frequently to prevent tracking issues and blade damage. The track saw’s affordability, portability, precision, safety, and versatility make it an ideal tool to use in a well-prepared workspace.
Ensure your work surface is flat, stable, and free of nails or screws. Position your track on a sacrificial surface to protect both the workbench and the track. Confirm that lighting is bright and shadows are minimized to enhance visibility. If your project involves moving heavy tools, consider the use of ramps to facilitate safe handling.
Keep pathways clear for unobstructed movement around the saw and organize tools so only necessary items are within reach. Avoid slippery or wet spots that could cause loss of control.
Secure Material Placement
Securing your material firmly is essential to guarantee control and accuracy during cutting with a track saw. Always clamp the workpiece securely to a stable surface to prevent shifting or blade binding. Regularly check alignment of your setup to ensure precision.
Position clamps away from the saw’s path and avoid deforming the material. For small pieces, use guides or supports to prevent launching. Support large panels on both sides near the cut line to avoid sagging, which can cause binding or saw wobble. Use stable scrap wood or supports of equal thickness under the track for narrow cuts.
Lay the guide track precisely on the cut line, securing it with clamps or grip pads on a sacrificial base. Confirm all supports and clamps hold steady, ensuring the saw moves smoothly along the track without interference.
Properly securing the material also helps maintain the cut quality by preventing movement that could cause rough or inaccurate cuts.
Ensure Proper Lighting
Once your material is firmly in place, focus on lighting your work area properly to maintain accuracy and safety while using a track saw. Use bright, energy-efficient LED fixtures positioned to eliminate glare and shadows on the workpiece.
The suspension system for lighting can be adapted to diverse ceiling and site conditions, ensuring optimal fixture placement for your workspace suspension system versatility. Proper maintenance practices, such as regular cleaning and inspection, ensure lighting remains effective and consistent.
Incorporate adjustable task lighting to highlight cut lines and textures, especially on reflective or patterned materials. Ensure general lighting is evenly distributed to prevent eye strain and reduce accidents.
Manage cords carefully to avoid tripping hazards, and position lights to keep the workspace clear and safe. Select lighting with neutral color temperatures to enhance color contrast for precise marking visibility.
Regularly inspect and maintain fixtures to ensure consistent illumination. Proper lighting setup optimizes visibility, minimizes errors, and upholds safety standards throughout your track saw operation. Additionally, training on proper operational techniques can further reduce errors and improve safety during use.
Preparing the Guide Rail for Accurate Cuts
Because accurate cuts depend heavily on the stability and alignment of your guide rail, you need to prepare the track carefully before beginning your work.
Start by selecting the appropriate track length for your material, joining multiple tracks securely with connectors if necessary.
Check that the rubber grip pads on the track’s underside are clean and intact to prevent slipping; if they aren’t sufficient, use clamps to firmly secure the track. Ensuring a lightweight design in your tools can reduce fatigue during prolonged use.
Position the splinter guard along the track edge to minimize wood tear-out. Align the track precisely with your cut line, using reference points and guide strips to verify straightness.
Use fixing strips underneath tracks and tighten with an Allen key to ensure the rails stay firmly connected and aligned. Finally, confirm the track is stable and won’t move during cutting.
Adjusting the Cutting Depth and Bevel Angle
After setting up your guide rail to make certain of stability and alignment, the next step is to adjust your track saw’s cutting depth and bevel angle accurately.
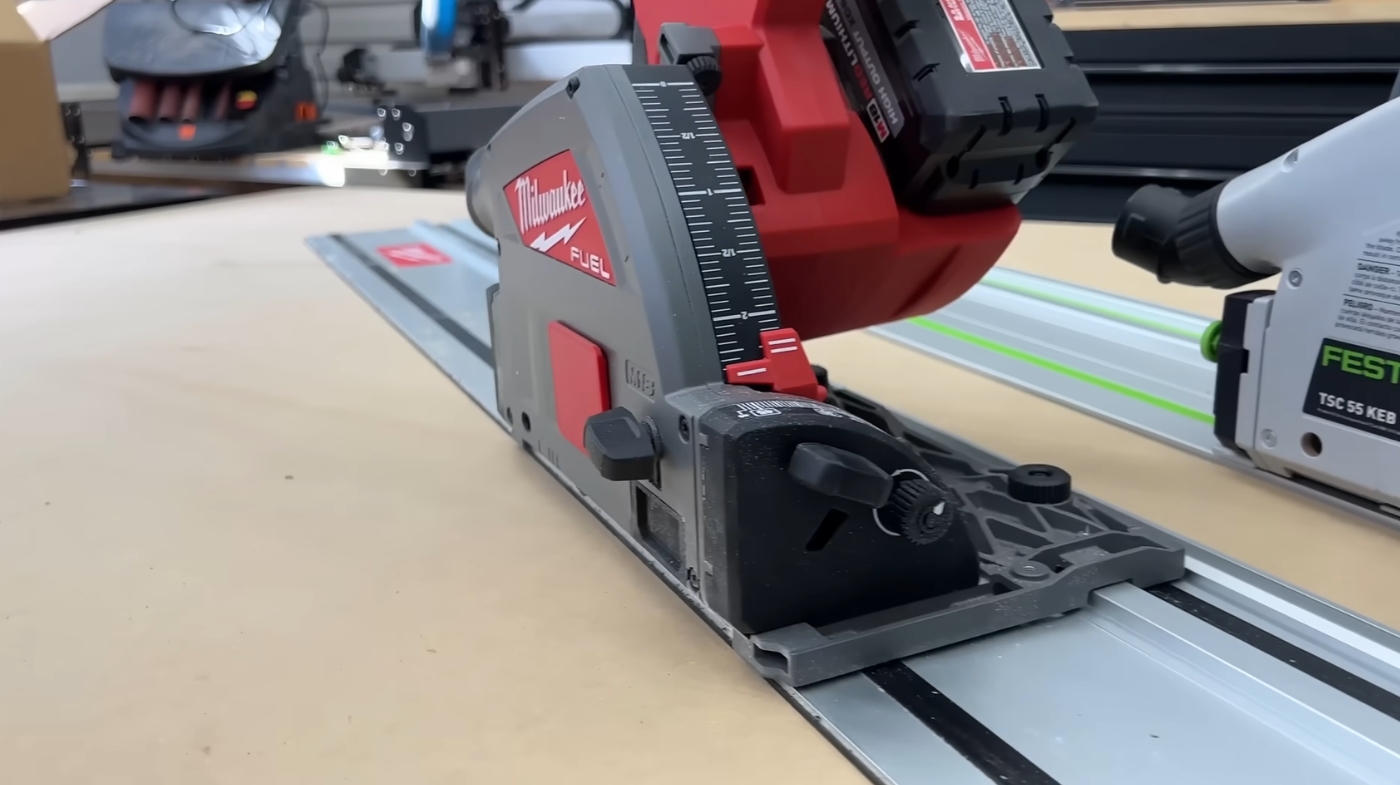
Loosen the depth adjustment knob and slide the pointer to the desired cutting depth, factoring in the guide rail’s thickness using the compensation lever if needed.
Securely tighten the knob to prevent shifting during the cut. It is important to remember that the depth setting should match blade height to ensure clean cuts without overexposure. Using a featherboard can help maintain consistent pressure and improve cut accuracy when making adjustments.
Next, tilt the saw shoe to align the bevel indicator with your target angle on the scale, typically up to 45°, then lock it firmly in place.
Use fine adjustment knobs to calibrate depth precisely, testing on scrap material to avoid cutting into your work surface. Always double-check that locking levers are tight before starting, ensuring safety and clean, accurate cuts.
Making Straight and Plunge Cuts With a Track Saw
When making straight or plunge cuts with a track saw, precise alignment and control are essential to achieve clean, accurate results.
For straight cuts, align the guide rail exactly along your cutting line and securely clamp the workpiece to prevent any movement. Insert the saw into the track before powering on, maintaining steady speed and pressure for a smooth cut.
Track saws typically use a guide rail made of extruded aluminum to ensure straight cuts. Accurate measuring and marking is crucial before starting the cut to guarantee precision.
For plunge cuts, adjust the blade depth to match material thickness, position the guide rail firmly with clamps, and lower the blade gradually to avoid kickback. Use both hands to control the saw throughout.
Always wear proper safety gear, keep your work area clear, and know your emergency stop procedures. Regularly maintain the saw and guide rail to ensure consistent performance and accuracy.
Techniques for Bevel and Compound Cuts
Straight and plunge cuts set the foundation for accurate woodworking, but mastering bevel and compound cuts expands your capabilities for more complex joinery and design.
Mastering bevel and compound cuts elevates woodworking beyond basics to intricate joinery and design.
To execute bevel cuts, adjust the saw’s angle via locking knobs, referencing clear scales or digital indicators before positioning it on the track. Confirm full support of both saw and guide rail to prevent tipping, using anti-tip features if available.
For deep cuts, multiple passes may be necessary. It is also essential to properly support the board to prevent dropping or shifting during the bevel cut.
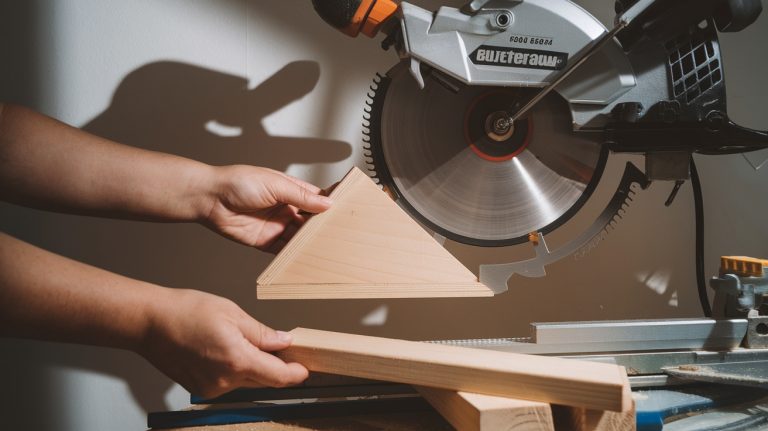
Compound cuts combine bevel and miter angles, requiring precise marking and often custom jigs for alignment. Always clamp the workpiece and rail, maintain steady feed rates, and test cuts to verify angles before final cuts.
After cutting, inspect edges for smoothness and angle accuracy, adjusting your setup as needed for ideal results.
Tips for Cutting Large Sheet Goods Efficiently
To cut large sheet goods efficiently, you need to guarantee your track is perfectly aligned with your cut line to maintain accuracy and prevent material waste.
Sheets are never perfectly square, regardless of supplier, so it’s important to establish a known straight edge along one long side before proceeding.
Maintain a steady, ideal cutting speed—too fast can cause tear-out, while too slow risks burning the wood. Using a carpenters level can help ensure your work surface is perfectly horizontal for consistent cuts.
Proper Track Alignment
Accurate track alignment demands a clear, stable workspace where the sheet goods are fully supported and secured against any movement.
To guarantee precise cuts, start by clearing debris and stabilizing the sheet on a flat surface. Use clamps or anti-skid strips to prevent shifting, as securing the workpiece is essential to ensure safety and accuracy during cutting.
Position the guide rail carefully, aligning its splinter guard to your marked cut line. Verify straightness with a long straight edge or digital angle finder before clamping.
Replace worn or nicked splinter guard material periodically to maintain cutting accuracy and visibility, using heat to remove old tape and applying new self-adhesive splinter guard from rolls (e.g., Makita or Festool) splinter guard maintenance.
Follow these steps for flawless alignment:
- Fully support and secure the sheet to avoid sagging or movement.
- Join and check rail sections for tight, gap-free abutment.
- Mark the guide rail’s position on the sheet for repeatability.
- Double-check alignment visually and with precision tools before cutting to reduce the risk of errors and ensure clean edges with proper blade alignment.
Optimal Cutting Speed
Once you’ve secured your sheet and aligned the track precisely, focusing on cutting speed will enhance both efficiency and cut quality.
Use variable speed control to match the material density—reduce speed for hardwoods and increase for softer sheet goods. Let the blade reach full speed before cutting, feeding steadily without hesitation. Sharp, appropriate blades minimize resistance and prevent burning.
Proper support and a stable guide rail prevent binding and maintain accuracy. Many track saws feature variable speed motors that help optimize cutting for different materials. Additionally, maintaining a steady grip improves cutting precision and control.
| Material Type | Recommended Speed | Blade Type |
|---|---|---|
| Plywood | High | 40-60 teeth fine |
| MDF | Medium-High | 48 teeth specialized |
| Particleboard | Medium | 40 teeth |
| Hardwood | Low | 60+ teeth fine |
| Softwood | High | 40 teeth |
Adjust speed based on feedback circuitry and maintain steady feed for clean, efficient cuts.
Maintaining Clean Cuts and Preventing Tear-Out
How can you guarantee your track saw cuts remain clean and free of tear-out? Focus on key practices that enhance edge quality and reduce splintering.
- Use splinter guards on guide rails, adjusting or replacing them as needed to protect the exit edge of the cut.
- Employ a multi-pass cutting technique, starting with a shallow scoring pass before completing the full-depth cut to minimize surface splintering.
- Select a high-tooth-count blade (63+ teeth) designed for fine cuts and replace dull blades promptly to maintain smooth edges.
- Stabilize your workpiece and guide rail firmly to prevent vibration and movement that cause rough cuts.
Proper Care and Maintenance of Your Track Saw
Maintaining clean cuts relies not only on technique but also on the condition of your track saw. Regularly clean the saw body, depth scale, and components with a soft brush or cloth, avoiding solvents on plastic parts to prevent damage. It is important to remove sawdust buildup to prevent abrasive wear and performance issues.
Inspect power cords, safety features, and handles for wear. After each use, clean the blade with a specialized fluid, dry it thoroughly, and check for damaged teeth or warping—replace or sharpen as needed.
Adjust the track knobs for smooth, equal tension to ensure precise cuts and eliminate wobble. Set the splinter guard lightly against the workpiece to avoid tear-out.
Store your saw and blade in a dry environment, disconnect power during maintenance, and always use manufacturer-approved replacement parts to preserve tool integrity and safety.
Frequently Asked Questions
Can I Use a Track Saw for Metal Cutting?
You can use a track saw for metal cutting only if it’s designed for that purpose. Standard track saws focus on wood and light materials and won’t handle thick metals well.
You’ll need a heavy-duty model with carbide-tipped blades rated for metal to achieve clean, burr-free cuts. Always clamp your material securely, wear proper PPE, and make certain your saw has adequate motor power and safety features for metal cutting tasks.
How Do I Extend the Guide Rail for Longer Cuts?
When your project calls for a grander stage, you can gracefully extend your guide rail by connecting guide rail extensions. These extensions seamlessly lengthen your cutting path, allowing for longer, straighter cuts.
Secure them using pinserts and clamp systems to maintain stability and precision. Make certain your extensions are compatible with your existing rails and calibrate the entire setup carefully before cutting to guarantee accuracy and smooth operation throughout the extended length.
What Safety Features Reduce Kickback on a Track Saw?
To reduce kickback, you rely on several safety features. The KickbackStop sensor detects blade jams instantly and triggers emergency braking.
A raised saw-guide rib on the guide rail physically prevents backward saw movement. Using sharp, appropriate blades minimizes binding risks.
Mechanical riving knives keep material from pinching the blade, while stops on the guide rail help control plunge cuts. Always use original Festool blades for full system safety.
Are Track Saw Blades Interchangeable With Circular Saws?
You might think track saw blades and circular saw blades are interchangeable, but they usually aren’t. Track saw blades often require specific arbor sizes and kerf widths to fit the track system properly.
Circular saw blades vary widely. Some blades, like Makita’s, fit both systems, but that’s the exception, not the rule. Always verify arbor size, kerf, and compatibility to avoid damage and ensure precision during cutting.
Can a Track Saw Make Tapered Cuts?
Yes, you can make tapered cuts with a track saw, but it requires extra setup. You’ll adjust the blade angle or use jigs to tilt the workpiece against the track, since track saws don’t have built-in taper guides.
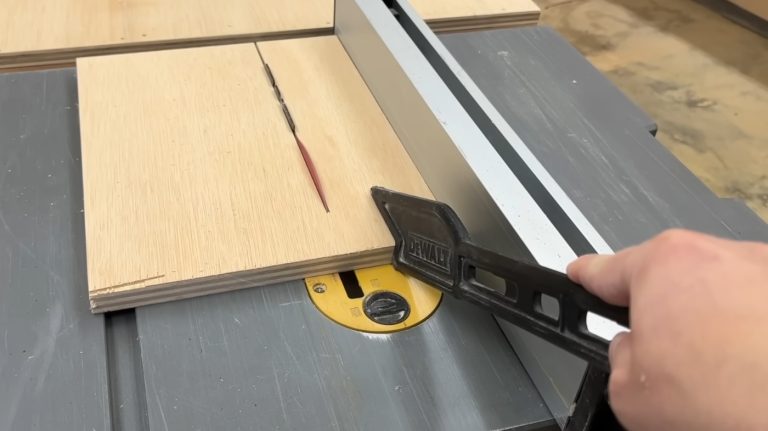
This method suits one-off or custom tapers in trim or paneling. For repeated, precise tapers, a table saw with a taper jig is more practical. Track saws excel in portability and versatility onsite.
Master the Track Saw for Clean, Confident Cuts
By choosing the right tools and setting up your workspace thoughtfully, you’re well on your way to mastering the art of the track saw. Keep your cuts clean and precise by adjusting depth and angles carefully, and don’t rush through large panels.
With regular care, your track saw will stay sharp and ready, turning complex cuts into smooth, confident strokes. Embrace these steps, and your projects will always come together with professional ease.

