How to Shorten a Chainsaw Chain? Simple DIY Instructions
To shorten a chainsaw chain, first count the drive links to know how many to remove. Use a chain breaker tool to carefully push out rivets at the correct link without damaging the chain.
After removing excess links, reconnect the chain using a master link or rivet, ensuring proper alignment and secure fastening.
Then, adjust the tension by loosening the bar nuts and turning the tension screw until the chain fits snugly without slack. Keep following to learn how to fine-tune and maintain your chain safely.
Key Takeaways
- Count the drive links to determine the correct chain length matching your bar size before shortening.
- Use a chain breaker tool or pliers to carefully remove the rivets and excess links without damaging the chain.
- Rejoin the chain securely with a master link or rivet, ensuring proper alignment and smooth movement.
- Adjust chain tension by loosening the guide bar nuts, turning the tensioning screw, then retightening the nuts firmly.
- Wear protective gear and work on a stable surface, inspecting the chain and bar for damage after shortening.
Chainsaw Chain Length and Drive Links
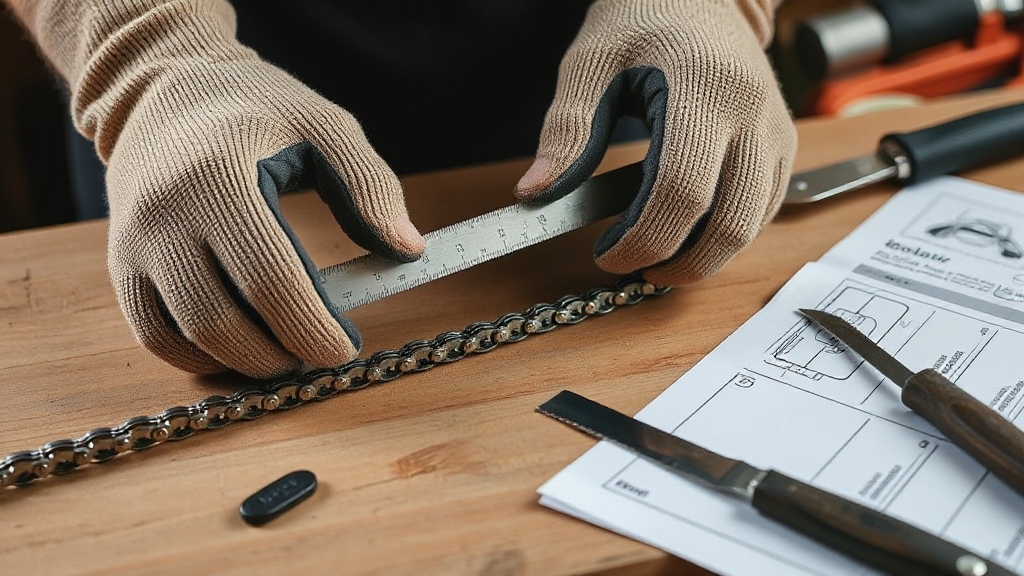
When understanding chainsaw chain length, you focus on counting the drive links—the metal pieces that fit into the bar’s guide groove and engage the sprocket.
Accurate chain length measurement depends on the number of drive links, not the chain’s total length in inches or centimeters. Each drive link must match the bar’s pitch and gauge to guarantee proper fit and function.
Chain length is determined by the number of drive links, ensuring correct pitch and gauge for optimal fit.
Drive links maintain chain alignment during operation; too few links mean the chain won’t fit, while too many create slack, reducing cutting efficiency.
You should always verify that the drive link count corresponds to the bar length and sprocket size, ensuring safe and ideal chainsaw performance before considering any chain modifications.
Using precise measurements and consistency in checking components is crucial for maintaining optimal cutting performance and safety, similar to how accurate blade width measurement is essential for bandsaws.
Reasons to Shorten a Chainsaw Chain
Although chainsaw chains are designed for durability, they often require shortening due to wear, damage, or compatibility issues.
You might need to remove cracked or broken links that compromise cutting efficiency and increase vibration. Choosing the right blade length is essential to ensure the chain matches the bar size for optimal performance.
Frequent use stretches chains, causing looseness that reduces effectiveness and safety. Additionally, chains longer than the bar length must be shortened to fit properly, preventing kickback and ensuring ideal tension. Proper knowledge of chain pitch and gauge is essential to select the right chain size for your bar before shortening.
Shortening also adapts the chain for specific cutting tasks, like trimming versus felling, improving control and reducing operator fatigue. Maintaining correct chain length prevents derailment, excessive vibration, and motor overload, enhancing both safety and performance.
Practically, you’ll save money by shortening a worn chain instead of replacing it, while prolonging your chainsaw’s lifespan and minimizing costly repairs. Proper grip material on the saw handle can also reduce user fatigue during extended use.
Essential Tools and Safety Gear for Chain Shortening
Before shortening a chainsaw chain, gather the essential tools and safety gear to guarantee efficiency and protection throughout the process. You’ll need precise instruments and protective equipment to work safely and accurately.
Equip yourself with:
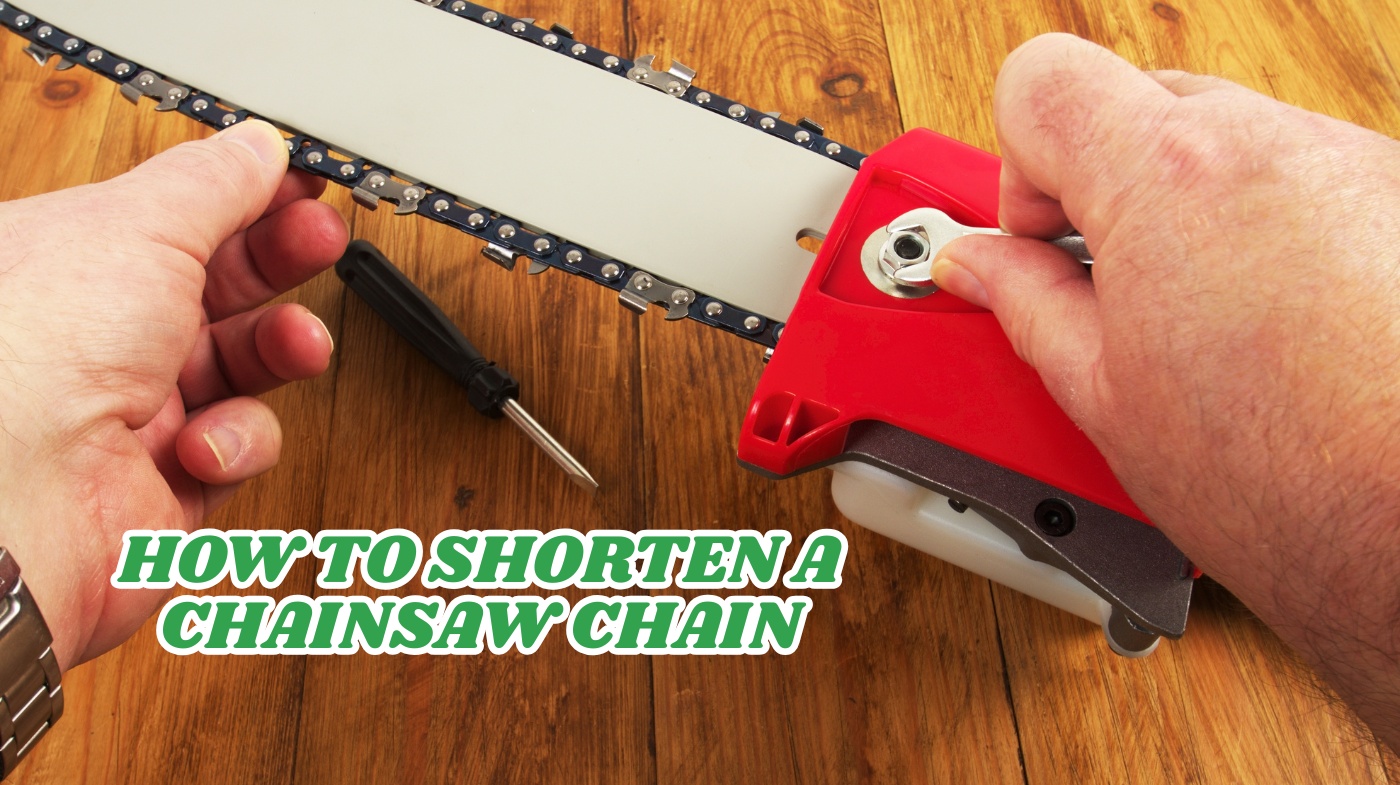
- A chain breaker tool to loosen rivets precisely, plus pliers or a small hammer for rivet removal. Consider using a bench mounted chain breaker tool priced at $99.95, which easily presses out rivets from chains of various pitches.
- Safety goggles, cut-resistant gloves, and ear protection to shield eyes, hands, and hearing from metal shards, sharp teeth, and noise. Proper operator comfort can significantly improve focus and safety when working.
- A measuring tape or ruler to determine the exact number of links to remove, ensuring correct chain length.
Also, prepare a stable, flat work surface to prevent accidents and facilitate controlled handling. Wearing chainsaw chaps and a hard hat adds further protection from accidental impacts during the process.
Preparing the Chainsaw for Chain Removal
When preparing the chainsaw for chain removal, start by guaranteeing the machine is powered off and completely cooled to prevent injury or damage.
Disengage the chain brake to allow free chain movement. Position the chainsaw securely on a stable surface. Using a stable grip enhances control and safety while handling the chainsaw.
Clean debris around the chain and guide bar for clear visibility. Inspect the guide bar for wear or damage that could hinder chain removal.
Wear protective gloves to safeguard your hands from sharp chain components. Before beginning, it is helpful to have the original tool wrench or similar tools ready to remove the guide bar side panel efficiently.
| Step | Action |
|---|---|
| Chain Brake | Disengage to enable free chain movement |
| Chainsaw Stability | Secure on a flat, stable surface |
| Cleaning & Inspection | Remove debris; check guide bar condition |
Removing Excess Links From the Chainsaw Chain
With the chainsaw secured and the chain brake disengaged, you’re ready to remove excess links to fit the chain to your guide bar.
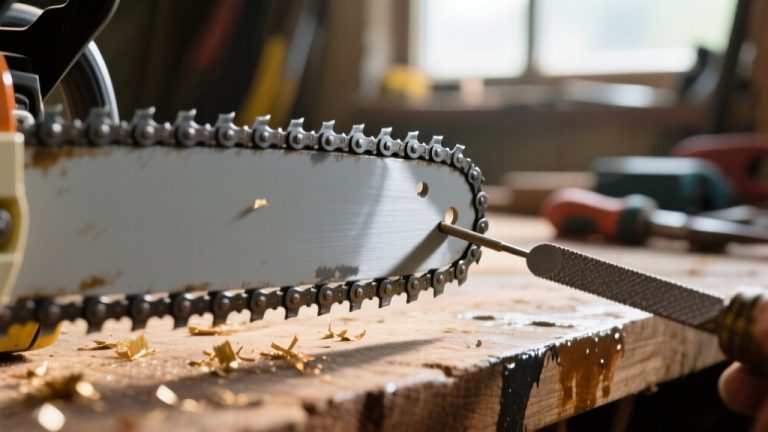
First, identify the exact rivet or link to remove, making sure you maintain the chain’s pitch and cutter sequence. Use a chain breaker or rivet tool to push out rivets carefully, avoiding damage to adjacent links. The chain breaker tool should be selected with the correct notches matching chain pitch to ensure precise rivet removal.
Identify the precise link to remove, preserving pitch and cutter sequence, and use a chain breaker carefully to avoid damage.
Follow these steps:
- Position the chain breaker on the rivet head and apply steady pressure to partially drive out the rivet.
- Flip the chain and repeat on the opposite side to free the link.
- Gently separate and remove the excess link(s), handling the chain carefully to avoid bending. Regular maintenance and sharpening of the chain are essential for optimal performance and safety, as a dull chain can lead to inefficient cutting and increased risk of accidents, which is why investing in sharpening tools is recommended.
Rejoining and Securing the Shortened Chain
Although shortening the chainsaw chain requires careful removal of excess links, rejoining the ends securely is equally critical to guarantee safe and efficient operation.
Start by aligning the chain ends and inserting a master link, ensuring its shape matches the chain links precisely. Place the retaining clip over the master link temporarily. It is important to inspect the master link and chain for any signs of wear before installation to prevent slippage during use.
Next, set the rivet using a ball peen hammer, tapping gently around the edges to form a dome shape that locks the link without flattening it. Using minimal force and proper technique guarantees chain strength and safety.
Inspect the rejoined link for smoothness and secure fit, rotating the chain manually to check for binding or stiffness. This ensures the connection won’t fail during use.
Adjusting Chain Tension and Positioning on the Bar
Since proper chain tension and positioning directly impact cutting performance and safety, you must locate the adjustment points before making any changes.
Typically, these are found on the side cover or near the front. Using appropriate safety devices similar to a riving knife can help prevent accidents during maintenance.
Loosen the nuts on the guide bar side panel and identify the tensioning screw. Always wear gloves to handle the bar and chain to prevent injury from sharp edges.
Then, proceed as follows:
- Hold the guide bar tip up and turn the tensioning screw inward slowly until the chain grips the bottom of the bar without sagging.
- Position the chain evenly around the bar groove, ensuring drive links sit correctly without twisting and teeth face forward on top.
- Firmly tighten the side panel nuts, then check the chain moves smoothly and snaps back after slight pulling.
Confirm the chain brake is disengaged during adjustment and visually inspect for even tension and correct seating before use.
Testing the Chainsaw and Maintaining the Chain Post-Shortening
Before operating your chainsaw after shortening the chain, you should perform a thorough inspection and functional test of all controls to guarantee safety and peak performance.
Check the throttle trigger, choke, stop switch, and master control lever for proper operation. Verify the chain brake engages and releases correctly. Regularly test safety features to prevent accidents and ensure proper saw operation.
Inspect the chain tension and ensure it moves smoothly along the bar without binding or slack. Confirm fuel and oil caps are sealed with no leaks.
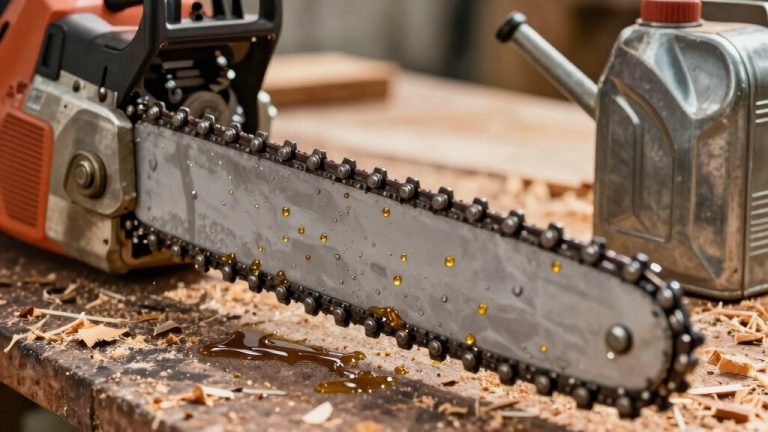
Saturate the chain with bar oil before installation, clean the bar groove and oil holes, and check for bar damage. Applying lubrication to the chain after cleaning helps maintain optimal cutting efficiency and reduces wear.
After use, remove debris, tighten bolts, inspect sprocket wear, and lubricate moving parts. Routinely monitor chain sharpness and confirm the chain brake and throttle respond properly during operation to maintain safety and performance.
Frequently Asked Questions
Can I Shorten Any Brand of Chainsaw Chain Using the Same Method?
You can shorten most chainsaw chains using the same basic method—removing links, reattaching ends, and adjusting tension—but you must verify compatibility first.
Differences in pitch, gauge, rivet type, and design across brands affect ease and safety of shortening. Some chains need specific tools or rivets.
Always confirm chain specs, use proper tools, and test functionality after. Ignoring brand-specific variations risks damage, poor performance, or voiding warranties.
How Often Should a Chainsaw Chain Be Shortened or Replaced?
You should replace your chainsaw chain once it shows significant wear, damaged links, or kinks, as these impair safety and performance.
Shortening a chain is rarely necessary and only done when adjusting for specific guide bar lengths. Regularly sharpen and inspect the chain to extend its life, but plan on replacement after several sharpening cycles or if sharpening no longer restores cutting efficiency.
What Is the Difference Between Chain Pitch and Gauge in Chainsaw Chains?
Imagine trying to fit a puzzle piece that’s either too thick or spaced wrong—it just won’t work. Chain pitch is the distance between rivets, affecting how the chain fits the sprocket and controls length.
Gauge is the thickness of the drive links, ensuring the chain fits snugly in the guide bar groove. You need both pitch and gauge correct for safe, efficient cutting and to avoid damage or poor performance.
Is It Safe to Reuse Old Rivets When Rejoining the Chain?
You shouldn’t reuse old rivets when rejoining a chainsaw chain because it jeopardizes safety. Old rivets often suffer from metal fatigue or micro-cracks, increasing failure risk.
Even if you carefully respin them, they rarely match original factory tolerances, causing uneven wear or chain looseness. Professionals and manufacturers recommend using new rivets with proper tools to ensure secure fit, maintaining chain integrity and preventing injury during operation.
Can Shortening a Chain Affect the Warranty of My Chainsaw?
Shortening your chainsaw chain is like altering a car’s engine—you risk voiding your warranty. Manufacturers design chains and bars with strict size and tension specs, so modifying chain length often breaches warranty terms.
If damage or defects arise from such changes, your warranty likely won’t cover repairs. To protect your coverage, follow manufacturer guidelines: maintain proper tension, sharpen regularly, and replace worn chains instead of shortening them.
Shorten Chainsaw Chains with Confidence and Precision
Now that you know how to measure, remove, rejoin, and tension your chainsaw chain correctly, you can work with confidence, work with safety, and work with efficiency. Always prioritize precision in every step, maintain proper tools and safety gear, and routinely test your chain’s performance.
By mastering these techniques, you guarantee your chainsaw operates smoothly, lasts longer, and delivers ideal cutting power every time you need it.