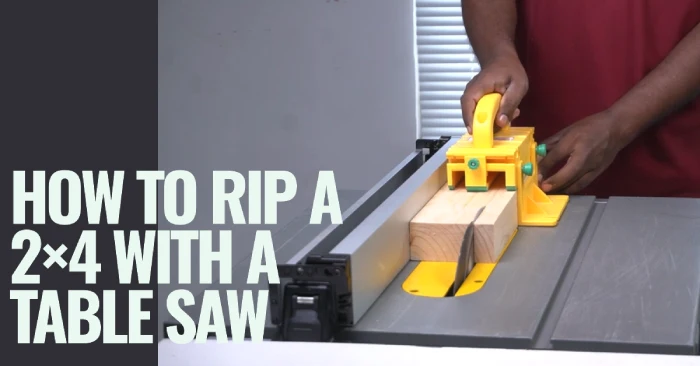
How to Rip a 2×4 With a Table Saw: 4 Easy Steps
In woodworking, one of the most basic and fundamental skills is ripping a 2×4 with a table saw. This technique comprises sawing the wood along its length to create thinner, narrower pieces.
As a woodworking enthusiast, I researched and identified a systematic approach that professional woodworkers use to rip a 2×4 with precision, control, and, most importantly, safety.
Based on my extensive research, ripping a 2×4 with a table saw requires setting the blade height and alignment, adjusting the rip fence, and following proper safety precautions.
I will provide an in-depth guide on how to rip a 2×4 with a table saw so that you can create precise and controlled cuts for your woodworking projects.
How to Rip a 2×4 With a Table Saw: 4 Steps to Follow
To successfully rip a 2×4 with a table saw, I recommend following these four steps in sequence:
Step 1: Adjust the blade height and check the blade alignment
Step 2: Set the rip fence
Step 3: Turn on the table saw
Step 4: Position and push the 2×4 steadily to make the cut
Step 1: Adjust the Blade Height and Check the Blade Alignment
You have to adjust the blade height to rip a 2×4 with a table saw. To do so safely, ensure that the table saw is turned off and unplugged.
Locate the crank wheel at the bottom of the saw and use it to raise the blade to its maximum height. This will ensure that the blade effectively cuts through the 2×4. Also, make sure the table saw blade is sharpened enough for optimal cutting performance.
For a precise cut, employ a speed square to check if the table saw blade is square to the tabletop. Place the speed square against the blade and the tabletop, and adjust the blade angle if necessary.
Step 2: Set the Rip Fence
Once you have adjusted the blade height, the next necessary step is setting the rip fence. To begin, use a measuring tape or ruler to determine the desired width for the 2×4, considering the kerf loss caused by the saw blade.
Once you have the measurement, release the locking mechanism on the rip fence and slide it to the appropriate position, aligning it with your desired width.
It’s crucial to ensure that the rip fence is parallel to the saw blade to avoid any inaccuracies. You can verify this alignment by using a square against the blade.
Once you have confirmed the alignment, lock the rip fence securely to prevent movement during the cutting process.
Step 3: Turn on the Table Saw
With the blade height and rip fence in place, it’s time to turn on the table saw. Ensure that all safety measures are in place, such as the riving knife and blade guard, before turning on the table saw. Also, before proceeding with your cut, you need to allow time for the table saw blade to spin up to its full speed.
Stand to the side of the table saw, not directly behind it, to minimize the risk of injury in case of kickback. You should also put on hearing protection to guard against the loud noise the saw produces.
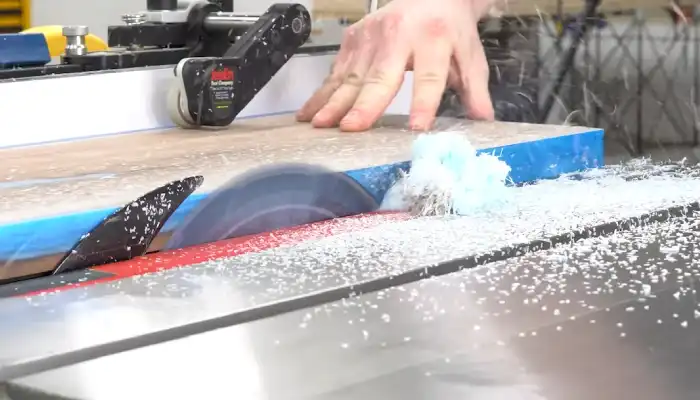
Step 4: Position and Push the 2×4 Steadily to Make the Cut
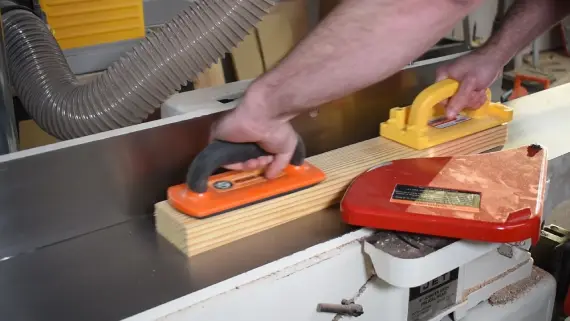
With everything in place, position the 2×4 against the rip fence, with the larger side next to it. Slowly feed the 2×4 into the table saw blade, holding it securely against the fence throughout the cut. The key is to maintain a controlled and steady feed to get a clean and accurate cut.
Always use a high-quality push block for added safety, putting even pressure on the 2×4 to guide it through the cut. Don’t exert too much force, though, as this can cause the blade to bind and the saw to jam.
Allow the saw blade to do the work for you, and don’t rush the cut. Maintain a consistent pace to achieve the best results. Once you have completed the cut, turn off the saw and remove the 2×4 from the table.
Is it necessary to use a featherboard when ripping a 2×4 with a table saw?

Using a featherboard when ripping a 2×4 with a table saw can greatly enhance the quality and safety of your cut. While not strictly necessary, incorporating a featherboard can provide numerous benefits.
Placed before the blade, the featherboard applies consistent pressure against the 2×4, ensuring it remains firmly pressed against the rip fence throughout the cut. This prevents the wood from wandering or drifting during the operation, resulting in a smoother and more controlled cut.
Can you operate a table saw to rip a 2×4 without using a riving knife or blade guard?
Operating a table saw to rip a 2×4 without a riving knife or blade guard is strongly discouraged for safety reasons. The riving knife is crucial in preventing kickback by keeping the kerf behind the blade. It ensures a smoother and safer cutting process by reducing the risk of the wood binding or getting caught in the blade.
Also, the blade guard provides an extra layer of protection, shielding you from potential accidents.
Accurately Rip a 2×4 with Confidence
You can now confidently approach ripping a 2×4 with a table saw, armed with a systematic understanding of the essential steps that I have described to you.
Adjust the blade height and alignment, set the rip fence, and follow safety precautions meticulously. Precision and control are paramount in woodworking, and by adhering to these steps, you ensure not only accurate cuts but also a safer working environment.
Embrace these foundational techniques, and with each precise cut, you’ll enhance your woodworking skills, turning your projects into masterpieces.