How to Fold a Band Saw Blade: 6 Efficient Steps
Folding and unfolding bandsaw blades are essential for any woodworker or metalworker, contributing to safety and efficient storage. Whether the conventional 3-loop fold or the more intricate 5-loop technique pioneered by professionals, the process demands precision and attention.
As per my findings, you must ensure that your workspace is clear and organized before folding your band saw blade. Put on protective gear such as gloves and goggles. Then, securely hold the blade and create a loop by crossing the teeth.
To know the looping process more clearly, stay tuned to this article and explore the step-by-step process that will revolutionize your woodworking experience.
How to Fold a Band Saw Blade: Steps to Take
As a woodworking enthusiast, I believe safety and organization are key aspects of any project. That’s why I listed here the necessary steps to take in order to fold a bandsaw blade effectively and efficiently.
- Prepare the workspace
- Wear protective gear
- Secure the blade
- Create a loop
- Identify the teeth’ direction
- Toe grip
- Hand insertion
- Downward motion
- Twisting and folding
- Secure the fold
- Store properly
Step 01. Prepare the Workspace
Before you begin, having a well-organized and unobstructed workspace is crucial. Remove any tools, materials, or debris that may impede your movement or cause accidents. Ensure you have enough room to maneuver the entire blade length without obstructions. This will allow you to handle the blade safely and efficiently.
Also, ensure your workspace is well-lit, providing clear visibility of the blade and your surroundings.
Step 02. Wear Protective Gear
Safety is paramount when working with tools, and wearing the right protective gear can significantly reduce the risk of injury. The gloves will provide a barrier between your hands and the blade’s sharp edges, preventing cuts and abrasions.
On the other hand, safety glasses will protect your eyes from any flying debris or metal fragments that may be released during the folding process.
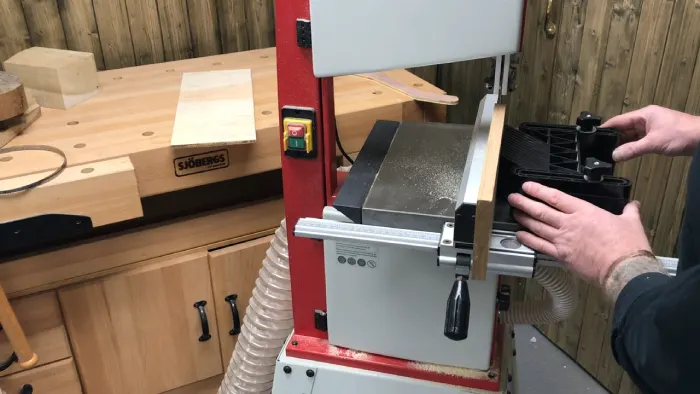
Step 03. Secure the Blade
For better control during folding, carefully remove the band saw blade from the saw, ensuring that it is completely turned off, and lay it flat on a stable surface.
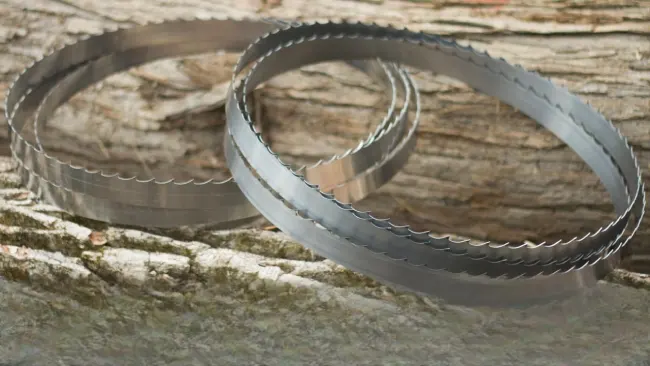
Now that the blade is in a controlled position, you should secure it properly. Begin by identifying the teeth of the blade. These are the sharp, serrated edges that do the cutting. Take one end of the blade and fold it over, aligning the teeth with the back of the blade.
Step 04. Create a Loop
There are several key points to consider when creating a loop in a woodworking bandsaw blade.
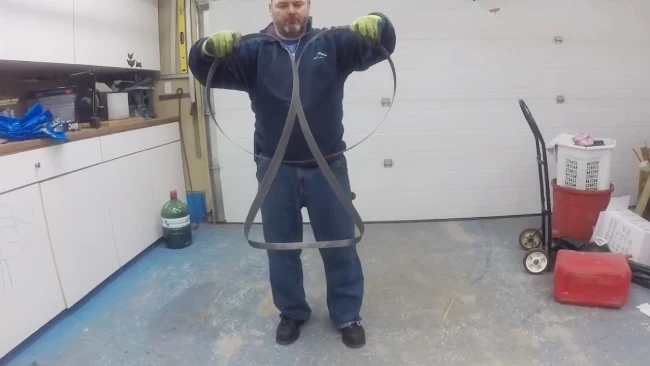
4.1: Toe Grip
Fold your woodworking band saw blade to make a loop to ensure smooth cutting and prevent binding. Place your foot inside the loop, stepping on the blade to secure it against the floor. This toe grip stabilizes the blade during folding, providing stability and control.
Make sure your foot is firmly positioned to prevent any accidents or injuries.
4.2: Hand Insertion
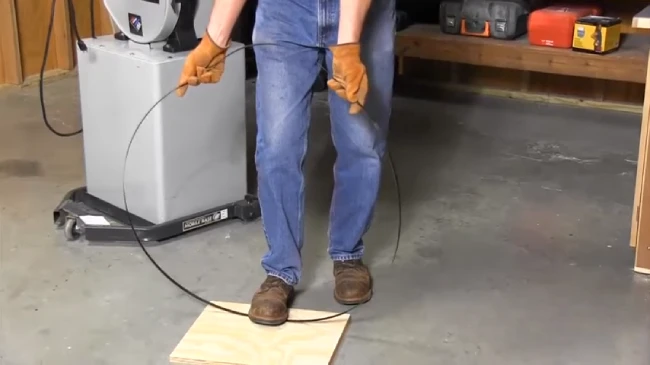
Grasping the top of the loop from underneath with your right hand establishes control for the subsequent folding steps of the woodworking band saw blade.
Insert your hand inside the blade, ensuring a firm grip on the loop. This will allow you to manipulate the blade smoothly and prevent accidental unraveling during folding. Keep your hand steady and maintain a secure hold as you fold the blade.
4.3: Downward Motion
When folding a woodworking band saw blade, firmly grasp the loop with your right hand and push downward, reducing the loop diameter by about half. This motion forms the initial folds in the blade.
The downward pressure applied by your right hand helps to maintain control and ensures that the blade folds smoothly and evenly. Maintaining a firm grip on the loop is important to prevent any slippage or mishandling during this step.
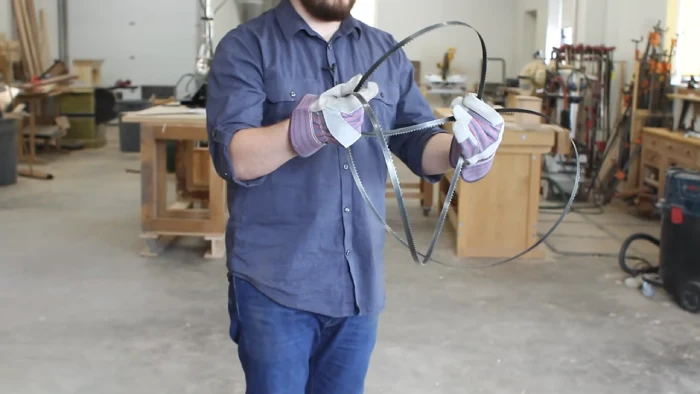
4.4: Twisting and Folding
- To achieve the twisting and folding of a woodworking band saw blade:
- Rotate your right hand to create multiple loops.
- Use your left hand to hold the loops in place.
- Reposition your right hand as necessary.
- Continue folding until the desired number of loops (typically 3 to 5) is achieved.
This twisting and folding technique helps to compact the blade and make it easier to handle and store. And I recommend ensuring that the loops are evenly spaced.
Step 05. Secure the Fold
Now securely hold the folded position of the woodworking band saw blade; use either a wire tie or a piece of string, ensuring it’s tightly fastened. This step is crucial to maintain the folded shape and prevent the blade from accidentally unfolding during storage or transportation.
When using a wire tie, wrap it around the folded portion of the blade and pull it tight, ensuring it’s secure. If you choose to use a piece of string, tie it tightly around the folded section, ensuring there’s no slack.
Step 06. Store Properly
To store the bandsaw blade safely, find a dedicated space to keep it safe. This can be a tool cabinet, a wall-mounted rack, or other suitable storage solution. Ensure the area is clean and free from any debris that could damage the blade.
Also, I advise avoiding placing the blade where it may come into contact with other tools or objects, as this can damage or dull the blade’s teeth.
How do you fold a bandsaw blade into 3 loops?
If you want to achieve the task of folding a bandsaw blade into three loops, firmly secure the blade to the floor by placing your foot inside one of the loops and applying pressure. I strongly recommend wearing a glove if you have one handy for protection.
By putting your foot inside the loop and stepping on the blade, you can ensure it’s securely held. Simultaneously, rotate and lower your hand as you hold the top of the blade. As your hand makes three-quarters to one full revolution, you’ll notice that the blade pops into three coils.
How do you fold a bandsaw blade into 5 loops?
Begin by placing a foot in the loop and stepping on the bandsaw blade to secure it. Simultaneously rotate and lower your hand, creating three initial coils. Hold the bottom of the loop against the floor to maintain stability.
Next, insert your right hand inside the blade and push it downwards to reduce the loop diameter. This will help create tighter and more compact loops.
Now, it’s time to twist the blade. Start by rotating your right hand, which is still inside the blade, to create the first twist. As you twist, use your left hand to grasp the loops. I suggest you continue twisting until you have created a total of five loops.
How do you unfold a large bandsaw blade?

Identify the tied loops, and carefully remove the twist or zip ties. Hold the loops in one hand while allowing the blade to uncoil gently.
To prevent the blade from springing open uncontrollably, I recommend releasing tension slowly, guiding the unfolding process. Keep a firm grip on the loops and handle the blade cautiously, ensuring it unfolds smoothly without kinks or twists.
Secrets of Folding and Unfolding Woodworking Bandsaw Blades
As you can see, mastering the art of folding a woodworking band saw blade requires meticulous precision and finesse. You can ensure its safe storage and efficient use by skillfully manipulating the blade into multiple loops.
Whether opting for the traditional 3-loop fold or exploring the innovative 5-loop method, the key lies in meticulous execution. The insights I shared in this guide, from wrist positioning to the secure tying of loops, empower craftsmen to handle bandsaw blades confidently without risk of injury.
Unfolding a large bandsaw blade may seem challenging, but with careful attention to detail, it can be accomplished with ease. Embracing this technique with utmost dedication will elevate your woodworking endeavors to new heights.