How to Cut Trim with a Miter Saw? Step-by-Step Guide
To cut trim with a miter saw, make certain you’ve got the right blade—preferably a high tooth count for clean cuts. Set up your saw with a stable stance and a zero-clearance throat plate.
Use clamps to secure your workpiece and mark your measurements accurately. Adjust the miter angle for precise corners, especially for crown molding.
Always wear safety gear and maintain clear sight of the blade. Continue to explore techniques for cutting different trim types effectively.
Key Takeaways
- Select the right blade with a high tooth count for clean cuts and ensure it is compatible with your trim material.
- Configure the miter saw for accuracy by checking the alignment of the blade and fence, and making test cuts.
- Mark the trim clearly, using a gauge for reveals, and make rough cuts slightly longer than needed for adjustments.
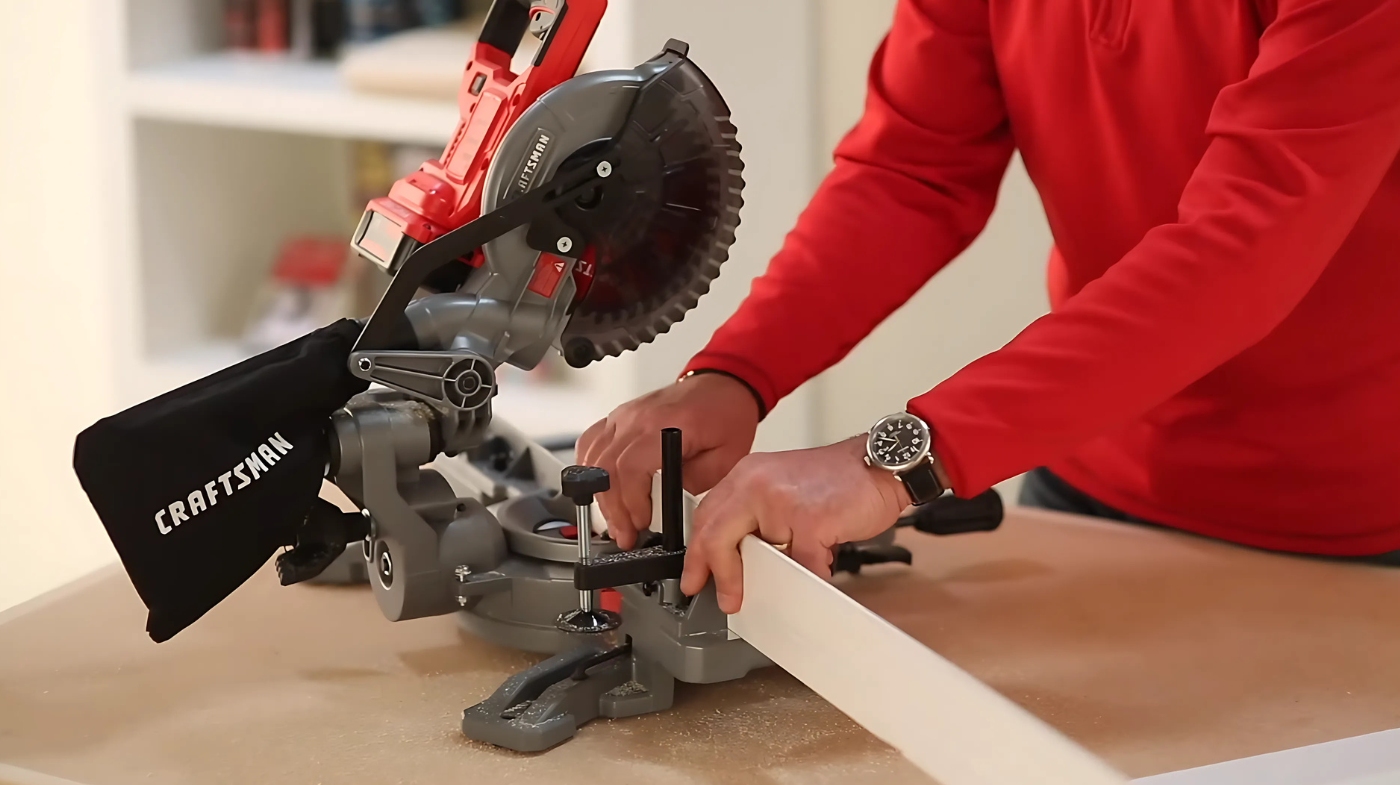
- Hold the workpiece firmly against the fence and use clamps for stability, ensuring hands are kept away from the blade.
- Practice cutting techniques on scrap material, especially for crown molding, to achieve precision before working on final pieces.
Preparation and Safety Measures
Before you start cutting trim with a miter saw, it’s important to guarantee you’re properly prepared and aware of safety measures.
First, confirm you’ve received adequate training and understand the saw’s operation and safety features. Familiarize yourself with the types of trim and wood you’ll be working with, planning your cut sequence in advance.
Additionally, consider using a zero-clearance throat plate to minimize the gap and prevent losing small pieces during cuts. Always ensure that safety features such as the blade guard and anti-kickback pawls are functional before starting your project.
Always wear protective gear: eye protection to shield against debris, ear protection for noise, and a dust mask to avoid inhaling particles.
Always prioritize safety by wearing eye protection, ear protection, and a dust mask to safeguard against hazards.
Keep your workspace clear of obstructions and debris, guaranteeing a steady, level surface. Maintain control of the workpiece with clamps, keeping hands at least 6 inches from the blade.
Stay focused and avoid distractions during operation to guarantee safe and accurate cuts.
Selecting the Right Blade for Your Trim
When selecting the right blade for your trim work, focus on blade type, tooth count, and material compatibility.
Blade Type Selection
Selecting the right blade for your trim is vital to achieving clean, precise cuts that enhance the overall finish of your project.
Here are three key considerations when choosing your blade:
- Blade Type: Opt for crosscut blades specifically designed for trim work, as they cut cleanly across the grain.
- Tooth Profile: Choose blades with an ATB (Alternating Top Bevel) tooth profile to guarantee smooth cuts, important for trim applications. Additionally, consider using full-kerf blades for greater stability and quality of cut.
- Blade Material: Invest in higher-quality carbide blades for longevity and sharpness, ensuring consistent performance over time.
Tooth Count Importance
Understanding the significance of tooth count is essential for achieving ideal cut quality in trim work. For smooth cuts, select blades with 60-80 teeth for 10″ blades and 72-100 teeth for 12″ blades.
Higher tooth counts yield finer finishes and reduce tearout during finishing cuts, though they cut more slowly. If you’re working on casual DIY projects, a blade with 40-60 teeth may suffice.
However, professionals often prefer blades with 80+ teeth for intricate tasks, as higher tooth count significantly contributes to reduced splintering and chipping.
Always remember that sharper blades maintain better cut quality, so regular sharpening is vital. To enhance performance, use a moderate hook angle and consider the gullet size to prevent sawdust buildup.
Material Compatibility Considerations
To achieve ideal results in trim work, it’s crucial to choose a blade that matches the specific material you’re cutting.
Consider these factors when selecting your blade:
- Blade Type: Use ATB (Alternate Top Bevel) blades for clean cross-cuts, while combination blades offer versatility for various trim projects.
- Blade Size: Opt for a 10-inch or 12-inch blade for thicker trim, or a 7 1/4-inch blade for precision on narrower materials. The blade sizes available depend on the saw type and the material being cut.
- Kerf Style: Full-kerf blades provide stability, but thin-kerf blades reduce resistance, making them suitable for cordless saws.
Configuring Your Miter Saw for Accurate Cuts
Configuring your miter saw correctly is essential for achieving precise and accurate cuts. Start by checking the saw’s alignment after purchase or shipping. Lower the blade toward the table and adjust it as necessary.
Make sure the fence is perfectly perpendicular to the blade, and verify that the table is flat and even. If available, use digital gauges for precise adjustments. Additionally, ensure that the saw blade is sharp and in good condition, as this will significantly affect the quality of your cuts. Regular maintenance helps maintain performance and cutting accuracy.
Ensure the fence is perpendicular to the blade and check the table’s flatness for accurate cuts. Use digital gauges for precision.
Make test cuts with jointed edges to confirm a perfect 90-degree cut and analyze any gaps to identify errors.
For compound miter saws, adjust the bevel angle for precision. Regularly check the saw’s alignment and settings to maintain accuracy, guaranteeing ideal performance for your trim work.
Effective Cutting Techniques for Trim
Effective cutting techniques are essential for achieving professional results when working with trim.
Start by ensuring your workpiece is prepped and marked accurately.
Follow these steps for effective cutting:
- Pre-Cutting Preparation: Mark the reveal using a gauge, and make rough cuts longer than needed for adjustments. Utilizing a repeatable stop can greatly enhance your efficiency during this process, as accurate measurements help to minimize errors.
- Making Miter Cuts: Use the saw’s pre-set angles for 45° cuts, ensuring the trim fits snugly in corners.
- Safety Measures: Always wear safety glasses, keep hands away from the blade, and hold the workpiece firmly against the fence.
Handling Different Types of Trim
When working with different types of trim, understanding their unique characteristics is essential for achieving clean and accurate cuts.
Base moulding requires precision to cover floor-wall connections, while crown moulding needs careful alignment to soften ceiling-wall junctions. For door and window trim, guarantee aesthetic appeal by focusing on clean edges.
When cutting chair rail or wainscoting, consider how they enhance wall design. For small trim pieces, use jigs and safety catches to stabilize them, guaranteeing precise blade alignment.
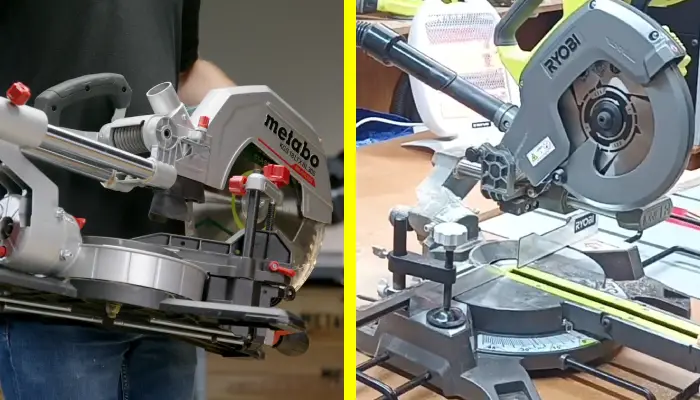
For larger pieces, leverage a sliding miter saw‘s mechanism and support extensions for stability. Always adjust the saw for compound cuts when necessary, utilizing detents and laser alignment for accuracy.
Additionally, using a sliding mitre saw offers increased cutting capacity for wider materials, making it an ideal choice for larger trim projects. This approach will yield professional results across all trim types.
Furthermore, cutting crown molding requires specific techniques to ensure a proper fit and alignment during installation.
Essential Tools and Accessories for Success
Achieving clean and accurate cuts in various types of trim depends not only on your technique but also on having the right tools and accessories at your disposal.
Here are three essential items you should consider:
- High-Tooth Count Blades: These provide cleaner cuts and minimize tearout, ideal for trim work, especially when working with materials like MDF for smooth cuts.
- Zero Clearance Inserts: They enhance cut quality and reduce tearout on the bottom side, which can be custom-made or bought. Incorporating zero clearance solutions into your setup can significantly improve the overall performance of your miter saw.
- Hold Down Sticks: Vital for securing small pieces while cutting, they keep your fingers safely away from the blade.
Frequently Asked Questions
What Types of Trim Can I Cut With a Miter Saw?
You can cut various types of trim with a miter saw, including baseboards, crown molding, window and door trim, and decorative trim.
Each type requires specific cutting techniques, like miter or bevel cuts, to achieve precise angles. For thicker materials, make sure your saw settings accommodate the depth needed.
Always consider the grain direction to maintain a clean finish. Using the right blade and adjusting your miter saw angles will enhance your cutting efficiency.
How Do I Maintain My Miter Saw for Longevity?
To maintain your miter saw for longevity, regularly clean it using compressed air to remove sawdust, especially from moving parts. Wipe the blade and saw body with a damp cloth, then follow up with a dry cloth.
Lubricate moving parts with graphite or PTFE to reduce friction. Inspect the power cord and replace damaged parts promptly. Finally, guarantee proper alignment before use to maintain accuracy and prevent wear.
Can I Use a Miter Saw for Angled Cuts on Furniture?
You can definitely use a miter saw for angled cuts on furniture. Adjust the miter angle using the saw’s gauge, ensuring it’s set accurately for precision. Support the board properly to avoid movement during the cut.
For wider panels, consider combining miter cuts with bevel adjustments for more complex shapes. Always prioritize safety by wearing protective gear.
What Safety Features Should I Look for in a Miter Saw?
When selecting a miter saw, look for essential safety features like a reliable blade guard and an emergency brake. Make certain it has a secure power-off switch to prevent accidental starts.
Adjustable fences are important for stability, while a dust collection port helps minimize debris exposure. Don’t overlook personal protective equipment, such as safety glasses and hearing protection.
Finally, check for a stable base and proper ventilation in your workspace to enhance safety.
How Do I Troubleshoot Common Miter Saw Issues?
When your miter saw stutters like a song out of tune, troubleshooting reveals its hidden notes. Start by checking the power cord and switch; a minor hiccup could stop the music. If sparks fly, inspect the brushes and armature.
For misaligned cuts, adjust the fence until it sings straight. Regularly clean and lubricate moving parts, ensuring smooth operation, while keeping safety at the forefront.
Cut with Confidence: Achieve Flawless Trim Every Time with a Miter Saw
So, you now have the knowledge and techniques to cut trim with precision using a miter saw. By selecting the right blade, configuring your saw properly, and following essential safety measures, you can achieve professional-quality results.
Whether you’re cutting baseboards, crown molding, or decorative trim, mastering these steps will help you work efficiently and safely. Remember to maintain your miter saw regularly to ensure long-term performance.
With practice and the right approach, you’ll confidently tackle any trim project with ease. Now, it’s time to put your skills to the test and create flawless cuts.