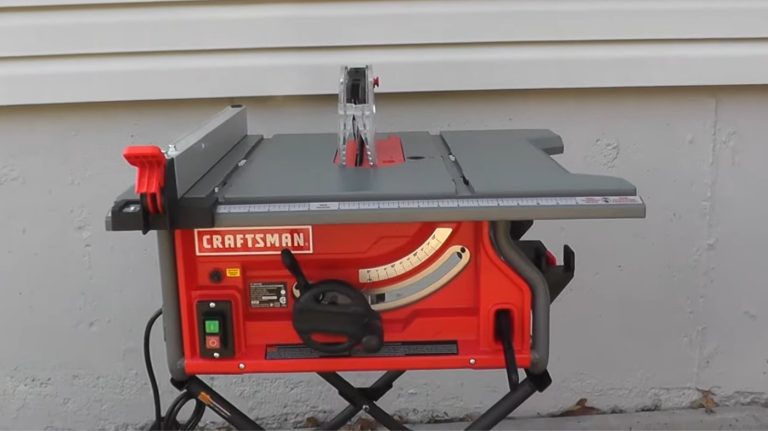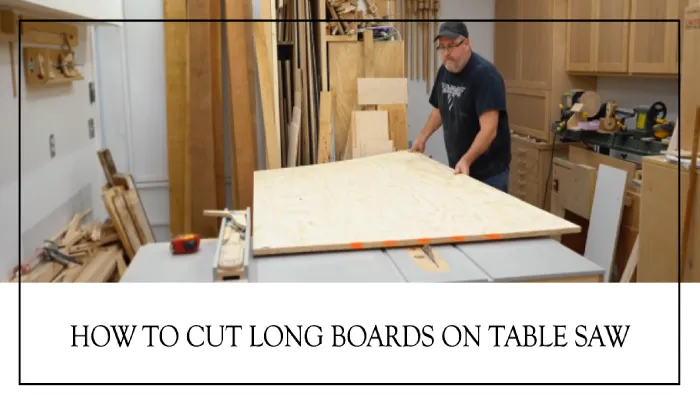
How to Cut Long Boards on Table Saw: 7 Steps to Follow
Cutting long boards on a table saw demands precision, attention to detail, and, most importantly, safety. As a woodworking enthusiast, I researched and gathered all the necessary steps to ensure a precise and safe cut.
Based on my findings, to cut a long board, you need to measure and mark the board to align accurately with the cut line. After that, you need to choose the appropriate blade, adjust its height for the blade’s teeth to extend below the board’s thickness, and make the cut to achieve the desired outcome.
I will now explain all the steps properly so you can confidently cut long boards on your table saw.
7 Steps for Cutting Long Boards on Table Saw

According to my research, the following are the seven crucial steps you need to follow to cut a long board precisely on a table saw:
- Step 1: Measure and mark the long-board
- Step 2: Select the right blade and set the blade height
- Step 3: Set the fence
- Step 4: Wear eye and ear protection
- Step 5: Position the board and start the saw
- Step 6: Feed the board slowly
- Step 7: Turn off the saw and check the cut
Now I will expand on each of these steps in detail, so you can fully understand the process and make it your own.
Step 1: Measure and Mark the Long-Board
To cut long boards on a table saw, the first step is to measure and mark the board accurately. Place the measuring tape along the board’s edge and mark your desired length. Double-check your measurement to ensure accuracy.
Next, use a square to draw a straight line across the board’s width, indicating where you’ll make the cut. Take your time to make sure the line is straight and clearly visible.
If your board is particularly lengthy, consider using additional support like sawhorses to prevent sagging and maintain stability during the cutting process.
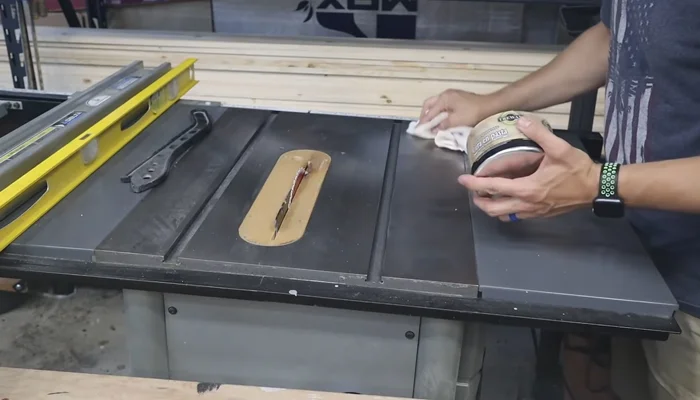
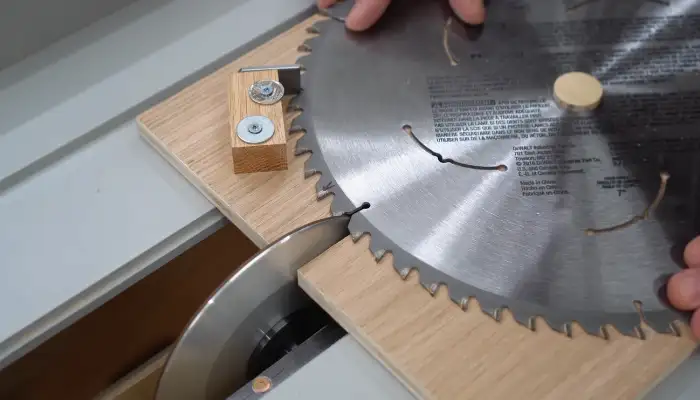
Step 2: Select the Right Blade and Set the Blade Height
After measuring and marking the long board, the next necessary step is choosing the right blade for the job and properly setting its height.
Opt for a fine-toothed rip blade for long cuts. This blade type is designed to cut through the wood fibers effectively, ensuring clean and smooth cuts.
To set the blade height, locate the height adjustment wheel or crank on your table saw. Adjust the blade height so that it extends approximately 1/8 inch above the thickness of the board. This ensures that the blade will cut through the wood without causing any tear-out or splintering.
Step 3: Set the Fence
Once you have selected the appropriate blade and set the blade height, you have to position and secure the fence correctly. You’ll need to loosen the locking mechanism of the fence mechanism, which is usually parallel to the blade so that you can move it.
Measure the distance between the blade and the fence using a measuring tape, ensuring it matches the desired width for your board.
Slide the fence along its rails to align it with the marked cut line on the board. Make sure the fence is parallel to the blade for accuracy. Once in the correct position, tighten the locking mechanism securely.
For added precision, consider using a featherboard to keep the board firmly against the fence and table.
Insert the featherboard’s guide into the miter slot and adjust its position to apply gentle pressure against the board. Tighten the featherboard in place using its adjustment mechanism.
Step 4: Wear Eye and Ear Protection
The safety of the operator is critical when operating a table saw. Ensure that you put on eye and ear protection before starting the saw. This will protect you from the noise and wood particles that may be expelled during cutting. High-quality safety glasses and earmuffs help ensure top-notch protection.
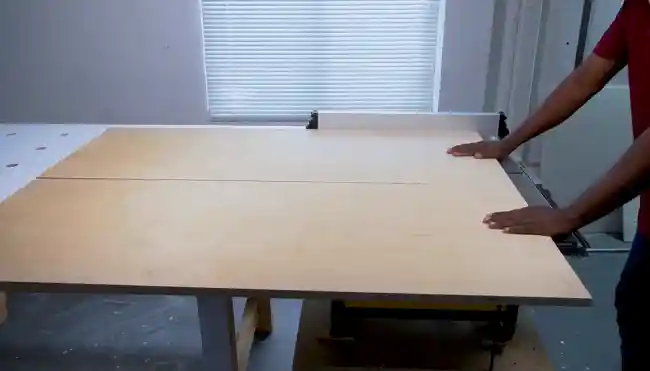
Step 5: Position the Board and Start the Saw
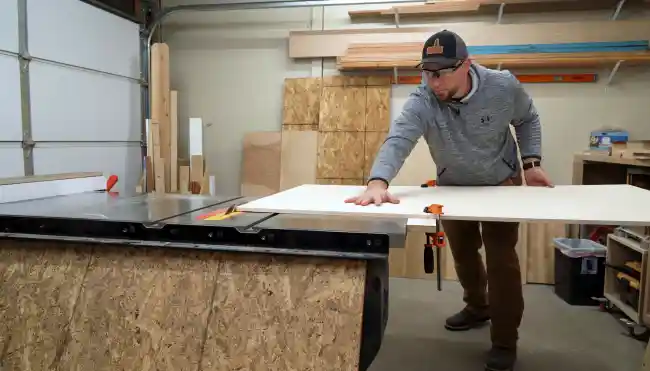
Now, position the long board against the fence, ensure that the marked cut line is aligned, and check that the board is flat and stable on the table.
Once you have verified the setup, it’s time to start the saw. Start the table saw and allow it to reach full speed before initiating the cut. Starting the saw at full speed ensures a smooth and controlled cut, reducing the risk of kickback and other accidents.
Keep your hands clear of the blade and maintain a firm grip on the board as you guide it through the cut.
Step 6: Feed the Board Slowly
As the blade engages the board, feed the board through the saw slowly and steadily. Avoid pushing the board too hard, as doing so can lead to an uneven cut or kickback.
Therefore, a consistent feed rate is crucial for a smooth and precise cut. Allow the saw to do the work, and to further enhance safety, use a push stick to guide the board through the blade.
Step 7: Turn off the Saw and Check the Cut
Upon feeding the entire length of the board through the saw, turn off the power switch and wait for the blade to come to a complete stop.
Inspect the cut for any irregularities or rough edges. You can use sandpaper to smooth out any blemishes in your project. Sand any rough edges with sandpaper to achieve a smooth finish.
What is the maximum depth that a table saw blade can cut?
When using a 10-inch table saw, you can achieve a maximum cutting depth of up to 3.5 inches. For deeper cuts, a 12-inch table saw allows for cuts up to 4 inches deep.
Knowing these specifications is crucial to ensure that your cuts are precise and safe during your woodworking projects.
Adjusting the settings correctly won’t only help you achieve the desired depth, but it will also prevent any accidents or damage to your material.
How many long boards can a fine-toothed table saw blade cut?
The number of long boards a fine-toothed table saw blade can cut depends on several factors, including the blade’s sharpness, the type of wood being cut, and the overall condition of the blade.
Generally, a well-maintained, sharp, fine-toothed blade can cut numerous long boards before needing replacement. However, it’s essential to monitor the blade’s performance and adjust accordingly.
If you notice that your table saw is burning wood, experiencing increased splintering, or showing a decrease in cutting efficiency, it may be an indication that it’s time to sharpen or replace the blade.
Perfectly Cut a Long Board with Proper Technique and Safety Measures
Cutting long boards on a table saw demands a systematic approach, blending precision, careful measurement, and a keen focus on safety. Follow my researched and detailed seven-step guide for a confident and successful cutting experience.
From measuring and marking to selecting the right blade, setting the blade height, and securing the fence, each step is crucial. Always prioritize safety with eye and ear protection to avoid table saw-related accidents.
Position the board, start the saw, and feed it slowly for a smooth cut. With these steps, you’ll achieve accurate cuts and ensure a safe and enjoyable woodworking experience.