How to Cut 45 Degree Angle with Miter Saw? Easy Steps
To cut a precise 45-degree angle with a miter saw, start by clearing your workspace and wearing protective gear. Adjust the saw to 45 degrees, aligning the blade with your marked cut line.
Secure the wood against the fence and support it properly. Turn on the saw, allowing it to reach full speed before cutting smoothly without applying too much pressure.
After the cut, check for accuracy and smoothness, and follow up with essential maintenance for peak performance. There’s more to guarantee your cuts are perfect.
Key Takeaways
- Set the miter saw to 45 degrees with the jointed edge of the wood against the fence for accurate angle positioning.
- Ensure the workspace is well-lit and free of debris for visibility and safety during the cutting process.
- Support longer pieces of wood with T-supports or auxiliary fences to maintain stability while cutting.
- Align the blade with the marked cut line before lowering the saw smoothly without applying excessive pressure.
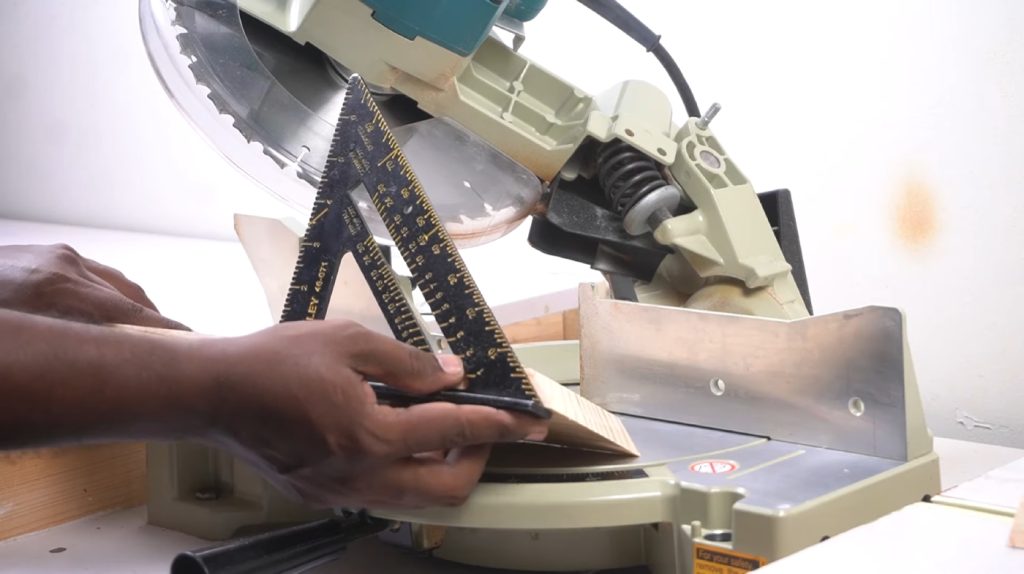
- Clean the workspace after cutting and inspect the angle for accuracy using a speed square to ensure quality results.
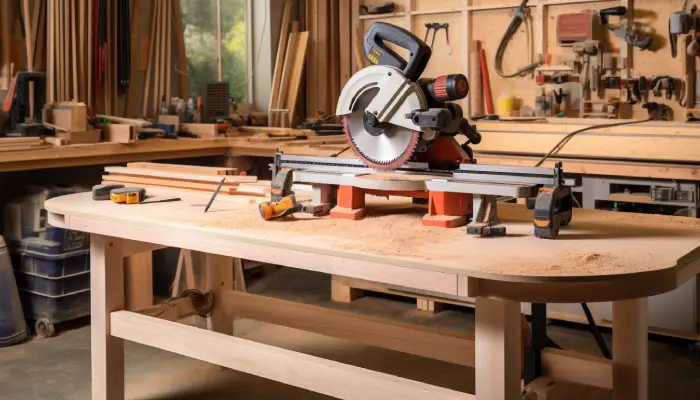
Workspace Preparation
To successfully cut a 45-degree angle, start by preparing your workspace effectively. Clear the area to guarantee you have enough room to maneuver safely. Adequate lighting is essential for visibility and accuracy, so position bright lights where needed.
Make sure the floor’s free of tripping hazards, and use a flat, stable surface for precise cuts. Consider laying down anti-fatigue mats for comfort during extended projects. Don’t forget safety measures: wear protective goggles and ear protection, and keep loose clothing and hair secured.
Confirm all safety guards are in place and maintain a dust-free environment to enhance visibility. Additionally, maintaining focus while operating the saw is crucial to avoid distractions leading to accidents.
Keep children and pets away from your workspace to prevent accidents. Additionally, ensure that the miter saw is placed on a stable surface to ensure accurate cuts.
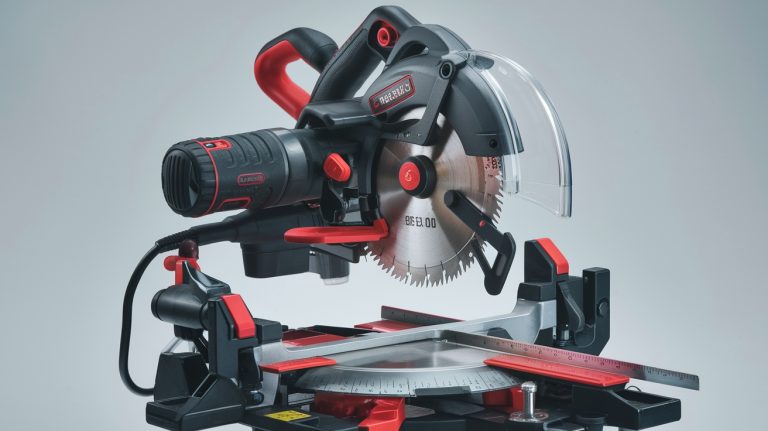
Preparing the Miter Saw
Before making your cut, you should do the following:
Clean the Miter Saw
Start by thoroughly cleaning your miter saw to guarantee peak performance and safety. Regular cleaning prevents debris buildup that can affect cutting quality. Additionally, regular maintenance is crucial for optimal performance, ensuring that your tools remain effective over time.
Using high-quality wax on the miter saw’s surfaces can also help reduce friction and improve the overall cutting experience.
Follow these steps:
- Remove Debris: Use compressed air or a studio vacuum to clear sawdust from all surfaces, focusing on moving parts for smooth operation.
- Clean the Fence and Table: Wipe the fence and table with a damp cloth in a circular motion, applying gentle force to eliminate stubborn particles. This guarantees accurate cuts.
- Lubricate Parts: After cleaning, lubricate hinges and rail systems according to manufacturer guidelines to minimize friction and wear.
Check Blade Sharpness
Checking the sharpness of your miter saw blade is essential for achieving clean, accurate cuts and maintaining safety during operation.
Begin with a visual inspection for signs of wear, such as rust, missing teeth, or damaged carbide tips. If you notice rough cuts, increased effort, or excessive sawdust, your blade may be dull.
Decreased performance is a significant indicator that the blade needs attention. Regular maintenance, including proper blade cleaning, can help extend the lifespan of your saw blade.
Listen for unusual sounds or vibrations, and watch for burn marks on your wood, indicating increased friction. If frequent sharpening doesn’t improve performance, it’s time to replace the blade.
Adjust Table and Fence
Adjusting the table and fence of your miter saw is essential for achieving accurate 45-degree cuts. Follow these steps to guarantee precision:
- Clean the Table: Remove sawdust and debris with compressed air and a cloth to enhance accuracy. Keeping the table clean is crucial for preventing splintering issues that can affect your cuts.
- Check Alignment: Verify that the miter saw table is square to the blade. Use a square tool and adjust as necessary.
- Set the Miter Angle: Find the miter knob, swivel the saw to 45 degrees, and lock it securely. Ensuring that the miter saw base is locked at 45 degrees helps maintain the accuracy of your cuts.
Understanding 45-Degree Cuts
A 45-degree angle is essential in woodworking, serving as a foundation for many precise cuts. It’s one of the most common angles used, particularly for projects like crown molding, trim installations, and framing.
To make a 45-degree cut, you’ll need to adjust your miter saw accordingly, typically by rotating the base to the correct angle. Confirm you mark your wood clearly to align it with the saw blade. Cutting 45-degree angles is crucial for achieving accuracy in your woodworking projects.
It’s important to ensure that you use a speed square for marking angles precisely, as this tool aids in achieving the necessary precision. There are two primary types of 45-degree cuts: miter cuts, which keep the blade vertical, and bevel cuts, which require tilting the blade.
Safety Precautions
Before you start cutting, prioritize your safety by keeping the following things in mind:
Personal Protective Equipment
Personal protective equipment (PPE) is essential for ensuring your safety while operating a miter saw.
To minimize hazards effectively, you should wear the following:
- Safety Glasses or Goggles: Protect your eyes from flying debris.
- Hearing Protection (Earplugs/Muffs): Safeguard against loud noise levels that can damage your hearing.
- Respirator (Dust Mask): Prevent inhalation of harmful dust and particles. Inhalation of dust and particles can lead to serious health issues over time. Additionally, avoid using gloves while operating power tools to maintain optimal control and accuracy during your cuts.
Clothing and Hair Safety
When working with power tools like a miter saw, making certain that your clothing and hair are secured is crucial for preventing accidents.
Avoid loose clothing that can catch in the saw, and remove any jewelry before starting. Gloves can create hazards, so it’s best to work without them.
If you have long hair, tie it back securely, and keep beards out of the way. Avoid untied shoelaces and make certain your clothing doesn’t hang loose around your neck.
Caps or hats should fit snugly, and long sleeves must be cuffed or rolled up. Additionally, understanding kickback dynamics is essential for maintaining a safe workspace while using a miter saw.
Wood Support Techniques
Proper wood support techniques enhance stability and accuracy during cutting, building on the safety measures already outlined.
To guarantee your cuts are safe and precise, follow these essential practices:
- Use Auxiliary Fences: They provide additional support, guaranteeing better alignment and accuracy. This is crucial for achieving precise cuts, which are a hallmark of effective miter saw use.
- Implement T-Supports: For longer pieces, T-supports help stabilize the wood, preventing tipping or movement.
- Utilize Scrap Wood: Place scrap wood under the workpiece to protect it and maintain a level cutting surface. Miter saws are particularly effective at ensuring precise cuts when combined with proper support.
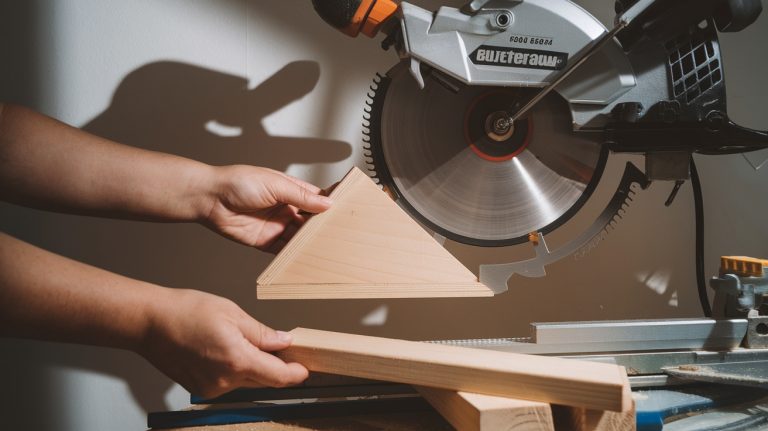
Executing the 45-Degree Angle Cut with a Miter Saw
Before executing the cut, verify that the miter saw is running at full speed to achieve a clean and precise slice through the wood.
Align the blade with your marked cut line, and gently lower the saw. Avoid applying excessive pressure; let the blade do the work. Using a diamond saw blade ensures a smoother and cleaner cut.
| Step | Action | Tip |
|---|---|---|
| Start the Saw | Turn it on and wait for full speed | Safety first! |
| Align the Blade | Position it accurately | Double-check alignment |
| Make the Cut | Lower smoothly | Don’t force the blade |
| Complete the Cut | Continue until finished | Turn off the saw afterward |
After ensuring a proper cut, you can proceed with your project.
Post-Cut Procedures
Once you’ve completed your cut, it’s crucial to follow proper post-cut procedures to guarantee safety and maintain the quality of your work.
Completing a cut means prioritizing safety and quality through careful post-cut procedures.
Start by ensuring your workspace is clean and organized. Here’s what you should do:
- Clean Up: Brush off the saw table and surrounding area, and dispose of sawdust and scraps appropriately.
- Inspect the Cut: Check your cut for accuracy and smoothness, using a speed square to verify the angle. Regular machine cleaning ensures precision in future cuts.
- Store Properly: Label and categorize your cut pieces, and store tools and materials in designated areas.
Finally, wash your hands thoroughly after working with power tools.
Common Mistakes to Avoid
When cutting a 45-degree angle, it’s easy to make mistakes that can compromise the quality of your work. One common error is failing to calibrate your miter saw, leading to inaccurate cuts.
Confirm the blade aligns perfectly with the fence; an offset can create uneven edges. Additionally, tuning up your miter saw can significantly improve cutting accuracy and help prevent gaps in your joints.
Don’t rely solely on detents, as they may not be set precisely. Always make manual adjustments for fine-tuning. Additionally, prepare your workspace by securing the wood and using adequate lighting to align cuts accurately.
Neglecting personal protective equipment increases injury risk, while not considering material issues like warping or grain direction can affect cut quality. Finally, fully understand your saw’s settings to avoid confusion between miter and bevel adjustments.
Tips for Improved Accuracy
Achieving accurate 45-degree cuts requires meticulous preparation and attention to detail. To guarantee your cuts are precise, follow these essential tips:
- Set miter saw angle: Confirm the miter saw is set at exactly 45 degrees before cutting.
- Verify fence alignment: Check that the fence is square to the blade to prevent skewed cuts.
- Measure and mark: Measure twice and mark your cut line clearly across the wood to avoid mistakes. Additionally, regular checks on blade alignment will help ensure consistent cuts.
Additionally, position the wood flush against the fence and clamp it securely. Use a sharp blade to minimize error and guarantee smooth cuts.
Frequently Asked Questions
What Type of Wood Is Best for 45-Degree Cuts?
When choosing wood for 45-degree cuts, consider hardwoods like oak and maple for their density and clean cuts.
Oak provides durability, while maple enhances visibility due to its light color. Cherry’s rich hue is ideal for precise angles, and walnut’s robustness aids in intricate work.
Avoid softer woods like birch and poplar, as they splinter easily Always align your cuts with the grain direction to guarantee smooth and stable results.
Can I Cut Metal With a Miter Saw?
Yes, you can cut metal with a miter saw, but you need the right blade. Standard blades aren’t suitable for metal, so invest in specialty blades designed for the material you’re cutting.
Make sure you set a slower operational speed to reduce friction and heat buildup. Always secure your workpiece firmly, and follow safety guidelines, like wearing protective gear, to minimize risks.
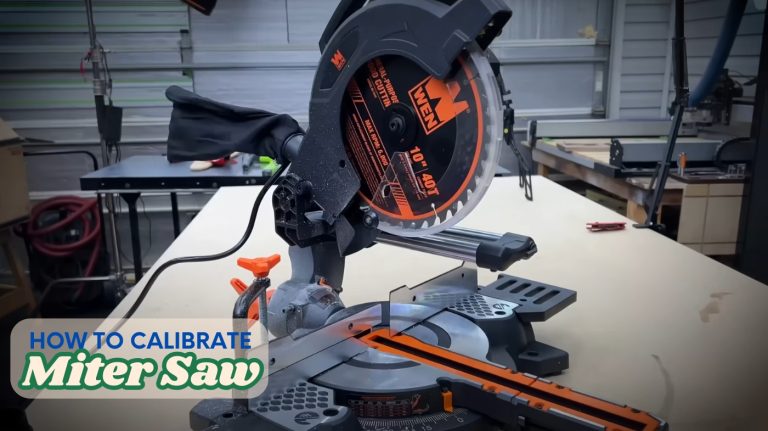
How Do I Know if My Miter Saw Is Calibrated Correctly?
To determine if your miter saw is calibrated correctly, start by using a square or digital angle finder to check the alignment of the blade and fence.
Make test cuts at 90° and 45° angles, comparing the results to your intended measurements. Adjust the fence and angle indicators as necessary, and confirm the table is level.
What Are the Signs of a Dull Miter Saw Blade?
You can spot a dull miter saw blade by observing several signs. If you notice rough cuts, tearing wood, or burn marks, it’s time to sharpen or replace the blade.
Listen for screeching sounds and increased vibration during cuts, as these indicate dullness. Additionally, larger sawdust particles and inconsistent cut quality signal that your blade isn’t performing well.
Is It Safe to Cut Small Pieces of Wood With a Miter Saw?
Cutting small pieces of wood with a miter saw can feel like walking a tightrope; one misstep and you could face serious risks.
It’s essential to prioritize safety by using clamps to secure your workpiece and keeping your hands at least six inches from the blade. Always wear protective gear, and avoid freehand cutting.
Practice Cutting 45-Degree Angles and Enhance Your Woodworking Potential
By mastering 45-degree cuts with your miter saw, you’re not just making precise angles; you’re revealing a world of creative possibilities in your woodworking projects. Like a sculptor chiseling away at stone, each cut you make can transform raw material into a masterpiece.
Remember to practice safety and accuracy, and don’t shy away from refining your technique. With patience and persistence, you’ll find that every cut you make brings you closer to your design vision.