How to Apply Polycrylic: Tips for a Streak-Free Wood Finish
Start by sanding your wood progressively from 80 to 220 grit. Remove dust with a ShopVac and an oil-free tack cloth.
Stir Polycrylic gently with a flat stick. Never shake to avoid bubbles. Use a high-quality synthetic brush and apply thin, even coats along the grain with steady strokes.
Allow about two hours to dry each coat. Lightly sand between coats, except the last one, and clean tools promptly.
Follow these steps, and you’ll guarantee a smooth, durable finish. More detailed tips await.
Key Takeaways
- Prepare a clean, dust-free, and dry surface, sanding progressively up to 220-grit for optimal adhesion.
- Stir Polycrylic gently with a flat stick, avoiding shaking to prevent bubbles and maintain smoothness.
- Use a high-quality synthetic brush and apply thin, even coats with long strokes following the wood grain.
- Allow each coat to dry for about two hours, lightly sanding between coats except for the final coat.
- Apply at least three thin coats for durability, brushing over bubbles immediately to pop them before drying.
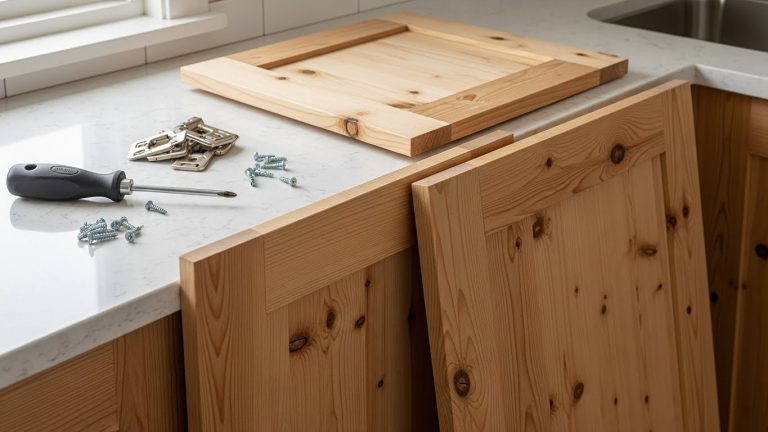
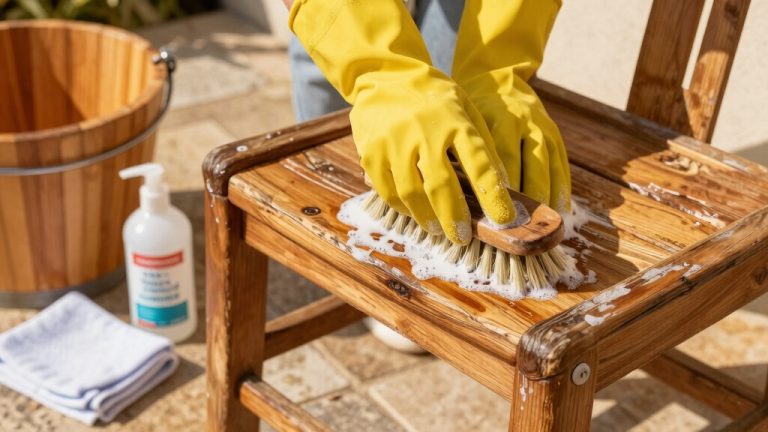
Prepare Your Wood Surface for Polycrylic

Before applying Polycrylic, you need to prepare your wood surface meticulously to guarantee proper adhesion and a smooth finish.
Start by setting up a dust-free work area; avoid wind or fans that can introduce contaminants.
Begin with a clean, dust-free workspace, avoiding wind or fans that may bring in contaminants.
Sand the surface progressively, beginning with 80-grit sandpaper and advancing through 100, 120, 150, and finally 220 grit, ensuring a uniformly smooth texture.
After sanding, thoroughly remove dust using a ShopVac followed by a tack cloth that’s free of oil or wax.
Confirm that any paint or stain is completely dry before proceeding.
If the surface is shellacked, skip sanding to prevent damage.
Proper surface preparation is critical; insufficient sanding or residual dust compromises Polycrylic’s bonding, leading to uneven finish and reduced durability.
For long-term maintenance, consider integrating your finished wood pieces into a custom storage solution to protect and organize them effectively.
Prepare Polycrylic for Application
Before you dive into applying Polycrylic, it’s a good idea to give the product a gentle stir. This helps keep its consistency just right and prevents any bubbles from forming.
Trust me, you don’t want those pesky bubbles ruining your finish!
Also, try to use a fresh can whenever possible. This ensures you get the best viscosity and performance out of the product.
Once you’ve stirred it up, pour a small amount into a tray. This way, you can keep the rest of the finish sealed and free from contamination while you work.
For optimal results, make sure the surface you’re applying Polycrylic to is fully dry and lightly sanded before starting.
Happy applying!
Stir Gently Without Shaking
A careful stir is essential to prepare Polycrylic for application without compromising its finish. When you stir, avoid shaking the can, as agitation introduces air bubbles that can mar the surface.
Use a clean, flat stir stick, gently folding the product from bottom to top to achieve uniform consistency.
Keep these points in mind: stir slowly to prevent bubble formation, which leads to uneven drying and visible texture.
Make certain any settled pigments or solids fully reincorporate to maintain color and protective qualities.
Avoid vigorous motion that traps air; bubbles cause imperfections and extend drying time.
This controlled stirring preserves the Polycrylic’s clarity and smoothness, making for a flawless, professional-grade finish on your project. Natural oils and finishes typically benefit from similar gentle handling to avoid surface imperfections and ensure optimal application results.
Use Fresh Polycrylic Can
Once you’ve stirred the Polycrylic gently to maintain its clarity, using a fresh can guarantees peak viscosity and performance. Old or partially used cans risk contamination, skin formation, and altered consistency. This compromises finish quality. Fresh Polycrylic guarantees smooth application, proper drying times, and optimal longevity. Proper surface preparation and cleaning are essential to ensure the best adhesion and finish results when applying Polycrylic, as detailed in the surface preparation techniques.
| Condition | Effect on Polycrylic | Outcome |
|---|---|---|
| Fresh Can | Consistent viscosity | Smooth, even coating |
| Partially Used | Skin formation, debris | Uneven texture, bubbles |
| Contaminated | Foreign particles | Reduced adhesion, defects |
| Expired Product | Thickened, separated layers | Poor flow, cracking |
Always inspect the can for clarity and consistency before use. Discard cans displaying separation or lumps to maintain finish integrity.
Pour Small Tray Amount
Pour a small amount of Polycrylic into a clean tray to guarantee controlled, manageable application. This minimizes waste and prevents the entire can from exposure to air, which can lead to drying or thickening.
Always stir the Polycrylic gently before pouring to maintain optimal viscosity and avoid bubbles. Cover the remaining product immediately to preserve freshness.
Keep these points in mind:
Use a fresh can to assure consistent texture and performance. Avoid shaking the can before pouring, as it introduces bubbles. Select a tray with a smooth, clean surface to prevent contamination. Water-based finishes like Polycrylic offer the advantage of water cleanup for easy maintenance and tool cleaning.
How to Apply Polycrylic Without Bubbles?
To keep those pesky bubbles at bay, start by stirring your Polycrylic gently. Avoid shaking it up since that can introduce air, which leads to bubbles. Instead, just give it a gentle stir to keep the consistency nice and smooth.
When it’s time to apply, grab a high-quality synthetic bristle brush that’s made for water-based finishes. This will really help you achieve those thin, even coats we’re aiming for. As you brush, remember to go with the grain of the wood. Long, steady strokes won’t only help you apply the finish evenly but also reduce the chances of trapping air. Trust me, this will lead to a beautiful, flawless finish!
Keep in mind that water-based finishes like Polycrylic rely more on mechanical adhesion than chemical bonding, so proper surface preparation is key for the best results.
Stir Polycrylic Gently
Although it might be tempting to shake the can vigorously, stirring Polycrylic gently is essential to prevent bubbles from forming during application. Agitation introduces air pockets, compromising the finish’s smoothness and clarity. Use a flat stir stick to blend the product evenly without whipping air into it.
Keep these points in mind when stirring Polycrylic:
Stir slowly with consistent motion, scraping the sides and bottom to reincorporate settled solids. Avoid shaking or rapid stirring, which traps air and causes uneven drying.
Stir only the amount you plan to use immediately; prolonged agitation can alter viscosity. For a smooth finish, also consider using paste wax to reduce surface friction when working on wood projects.
Use Quality Synthetic Brush
Once you’ve stirred the Polycrylic gently to prevent bubbles, selecting the right brush will markedly influence your finish’s smoothness.
Always use a high-quality synthetic bristle brush designed for water-based finishes. These brushes maintain stiffness and shape, ensuring even application without trapping air.
Avoid natural bristle brushes; they absorb water and cause streaks or bubbles. Choose a brush with fine, tightly packed synthetic fibers to lay down thin, consistent coats, which reduces the risk of bubbling.
Inspect the brush before use to remove loose bristles that could mar the surface. Proper brush selection is critical because an inferior brush can introduce bubbles, streaks, or uneven coverage, undermining your work.
Invest in a new, quality synthetic brush for each project to guarantee peak results.
For best results, apply multiple thin coats and allow sufficient drying time between each, as recommended for water-based finishes.
Brush With Long Strokes
Consistently brushing Polycrylic with long, deliberate strokes aligned with the wood grain minimizes air entrapment and reduces bubbles.
When you apply Polycrylic, maintain steady pressure and avoid back-and-forth motions that trap air and create an uneven finish.
Use a high-quality synthetic bristle brush designed for water-based finishes to guarantee smooth application.
To perfect your technique:
Apply thin, even coats to prevent buildup and blistering.
Start at one edge and move in one direction without lifting the brush.
Lightly brush over any minor bubbles immediately to pop them before drying.
This disciplined approach guarantees an ideal, bubble-free surface, enhancing the durability and clarity of the finished wood.
For optimal results, ensure each coat dries thoroughly before applying the next, similar to the recommended drying times for wipe-on polyurethane.
Apply the Right Number of Polycrylic Coats and Drying Times
Apply at least three coats of Polycrylic to guarantee durable protection, increasing to five for surfaces subject to heavy wear. Each coat requires approximately two hours of drying time to ensure proper curing.
Avoid rushing this step to prevent tackiness or uneven finishes. Use a hairdryer on low to speed drying if necessary, but do not compromise thorough drying.
Polycrylic finishes are valued for their fast dry times and self-leveling properties, which help achieve a smooth, durable surface.
| Coats Applied | Drying Time Per Coat | Suitable Surface Type |
|---|---|---|
| 3 | 2 hours | Light to moderate use |
| 4 | 2 hours | Moderate wear |
| 5 | 2 hours | High-traffic or heavy use |
| Final Coat | No sanding required | All surfaces |
Following these guidelines guarantees peak durability and finish quality.
Sand and Clean Between Polycrylic Coats
Sanding between Polycrylic coats is essential to achieve a smooth, professional finish and guarantee proper adhesion of subsequent layers.
After each coat dries for at least two hours, lightly sand the surface using 220-grit sandpaper. This process removes imperfections and creates a slight texture for the next coat to bond effectively.
Follow these steps carefully to assure optimal results:
Vacuum the sanding dust thoroughly to prevent contamination in the next coat.
Wipe the surface with an oil- and wax-free tack cloth to eliminate fine particles.
Avoid using steel wool, as it can cause rust stains on water-based Polycrylic finishes.
These precise steps maintain the integrity of the finish, guaranteeing durability and a flawless appearance.
Fix Polycrylic Streaks and Imperfections
When you notice streaks or imperfections in your Polycrylic finish, don’t wait to address them, as they can compromise the final appearance and durability.
First, allow the coat to fully dry. Then, lightly sand the affected area with 220-grit sandpaper to smooth the surface without removing too much finish.
Remove dust thoroughly using a ShopVac and a tack cloth. Reapply a thin, even coat of Polycrylic using long, consistent strokes following the wood grain.
Avoid over-brushing to prevent introducing new streaks.
| Problem Type | Cause | Fix Method |
|---|---|---|
| Streaks | Uneven application | Light sanding + thin recoat |
| Bubbles | Shaking or over-brushing | Brush gently, pop bubbles |
| Cloudiness | Dust or moisture | Sand lightly, clean, recoat |
Clean Your Polycrylic Tools Properly
Since Polycrylic is water-based, cleaning your tools immediately after use is crucial to prevent the finish from drying and hardening on bristles or rollers.
Cleaning tools right after using Polycrylic prevents the finish from hardening on bristles or rollers.
You should rinse brushes or rollers thoroughly under warm running water, using mild soap to remove all residue.
Avoid leaving tools to soak for long periods, as this can damage synthetic bristles.
After washing, reshape bristles to maintain their form and lay tools flat to dry, preventing distortion.
To clean your Polycrylic tools properly:
Use soap and warm water promptly after application.
Avoid steel wool or harsh abrasives that may rust or damage bristles.
Store brushes in a dry, dust-free environment to preserve quality.
Maintaining your tools correctly guarantees peak performance for every project.
Frequently Asked Questions
Can Polycrylic Be Used on Outdoor Wood Surfaces?
You shouldn’t use Polycrylic on outdoor wood surfaces because it’s designed for indoor use only.
Its water-based formula doesn’t provide adequate UV protection or weather resistance.
Exposure to sunlight, moisture, and temperature changes will cause peeling and degradation.
For outdoor wood, you need a product specifically formulated for exterior conditions, like exterior-grade polyurethane or spar varnish.
These alternatives offer durable protection against weather elements.
Is Polycrylic Safe for Children’s Furniture?
Imagine a clear, protective shield wrapping your child’s furniture. Polycrylic is safe for this task.
It’s a water-based finish, low in VOCs, making it non-toxic once dry and ideal for indoor use.
You can confidently apply it to children’s furniture, knowing it resists stains and scratches while maintaining a smooth, durable surface.
Just make certain proper drying and ventilation during application to keep your little ones safe and your furniture pristine.
How Long Does Polycrylic Last Once Opened?
Once opened, Polycrylic typically lasts about 6 months to a year if stored properly.
You should keep the lid tightly sealed to prevent air exposure, which causes thickening or skinning.
Store it in a cool, dry place away from extreme temperatures.
Stir gently before each use to maintain consistency.
Discard it if you notice clumps or foul odor, as this indicates the product has degraded and won’t perform well.
Can Polycrylic Be Applied Over Oil-Based Paint?
You can apply polycrylic over oil-based paint, but you must prepare the surface properly.
First, make certain the oil-based paint is fully cured, typically after 24-48 hours.
Then, sand the paint lightly with 220-grit sandpaper to promote adhesion. Remove all dust with a tack cloth.
Apply polycrylic in thin, even coats, allowing proper drying time between layers. This process guarantees a durable, smooth finish without peeling or adhesion issues.
What Temperature Is Ideal for Applying Polycrylic?
You should apply Polycrylic at temperatures between 50°F and 90°F (10°C to 32°C) for ideal results.
Avoid extreme cold or heat, as low temperatures slow drying and high temperatures cause bubbles and uneven film formation.
Maintain moderate humidity and a dust-free environment to guarantee smooth curing.
Working within this range guarantees proper adhesion, drying time, and finish clarity, preventing defects and ensuring a durable, professional coating.
Final Finish: Let Your Polycrylic Project Shine for Years
Applying polycrylic is like giving your wood a protective shield that enhances its natural beauty.
By preparing your surface, using the right techniques to avoid bubbles, and sanding between coats, you guarantee a flawless finish that lasts.
Don’t rush the drying times and always clean your tools thoroughly to maintain their effectiveness. With careful attention to detail, your project will shine with professional durability and elegance, standing the test of time.