Can You Cut Vinyl Flooring With a Miter Saw: 5 DIY Steps to Follow
Fitting vinyl flooring into your space requires some cuts. But can you use a miter saw for this task? The answer is yes.
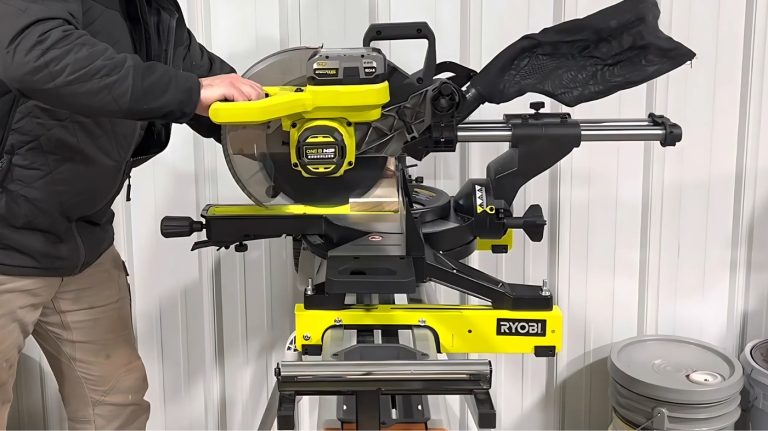
Using a miter saw to cut vinyl flooring can provide quick and precise cuts. But, taking safety precautions such as wearing goggles and ear protection, setting up the saw on a stable surface, and using the right miter saw blade is important for the best results.
Today we will explore the process of cutting vinyl flooring with a miter saw, providing you with the necessary knowledge and guidance to tackle this DIY project confidently. So keep reading for more information.
Can I Cut Vinyl Flooring With a Miter Saw: Detailed Answer with Steps
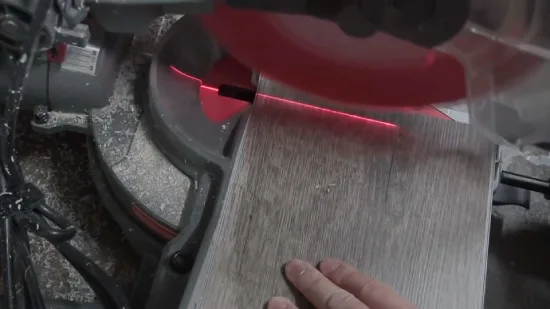
You can use a miter saw to cut vinyl flooring but with some important considerations. A miter saw is suitable for making cross-cuts, shortening vinyl flooring planks, or cutting angles to fit around obstacles.
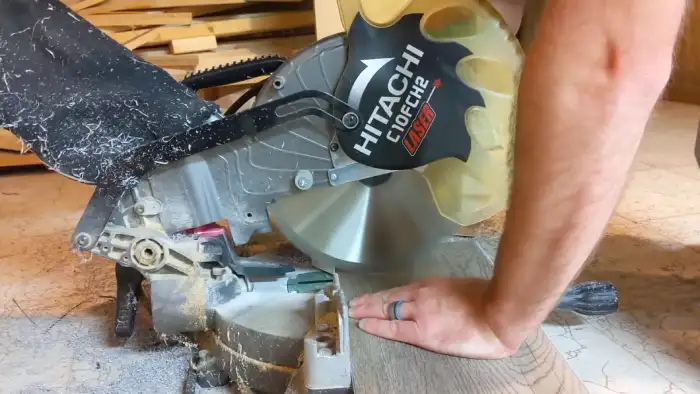
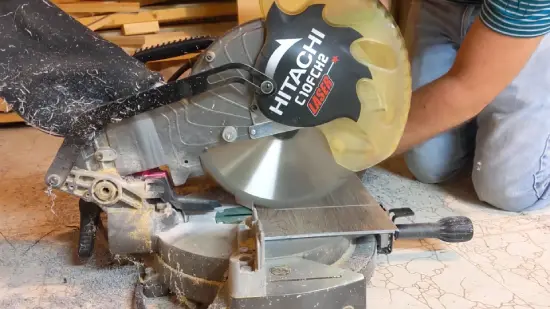
However, using fine-toothed, carbide-tipped, or concave blades specifically designed for cutting laminate flooring is crucial. These blades ensure a clean cut without chipping the vinyl.
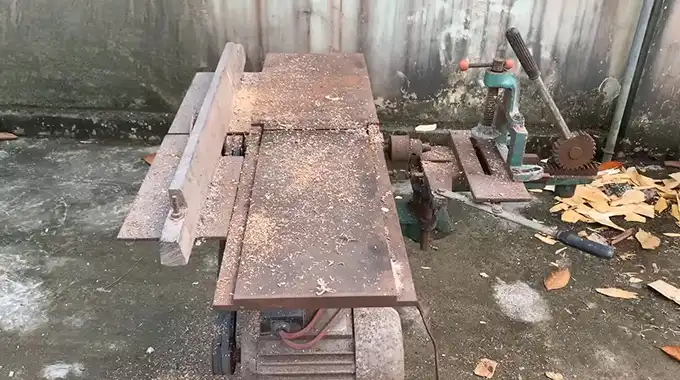
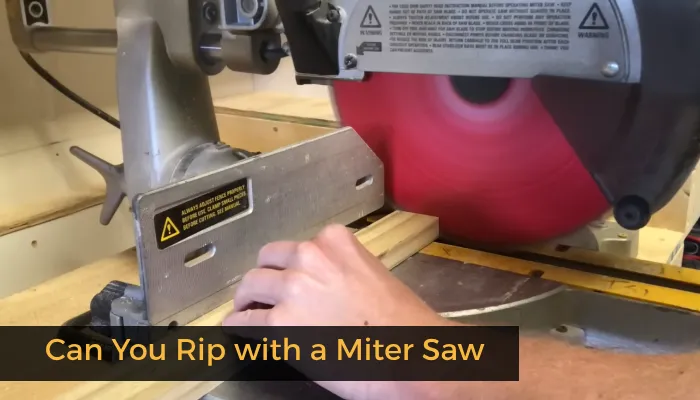
It’s important to note that a miter saw is unsuitable for performing rip cuts on vinyl flooring planks. But for rip cuts, you’ll need to use a different tool. Using your miter saw to cut vinyl flooring is quite straightforward if you clearly understand the process.
How to Cut Vinyl Flooring With a Miter Saw?
To cut your vinyl flooring with a miter saw, follow these steps:
Step 1: Gather Your Materials
First, gather all your materials and tools, including a miter saw with the right blade, vinyl flooring sheets, a ruler, or a framing square for marking. Remember to prioritize your safety with goggles and ear protection. Having these items ready will ensure a smooth and efficient cutting process.
Ensure the miter saw is equipped with a blade suitable for cutting vinyl. The correct blade will have fine teeth to prevent tearing or chipping of the flooring material. The ruler or framing square will aid in achieving precise and accurate measurements for cutting.
Step 2: Mark the Cutting Line
To ensure a straight and clean cut, mark the spot on the vinyl flooring where you want to make the precise cut. Use a ruler or framing square for accuracy. Here are three important tips to help you achieve the best results:
- Use a sharp pencil or marker to make a visible mark on the vinyl flooring. This mark will serve as your cutting guide.
- Double-check your measurements to ensure the cut line is in the right place. Accuracy is key to avoiding any mistakes.
- Take your time and be patient during this step. Rushing can lead to errors and imperfections in your cut.
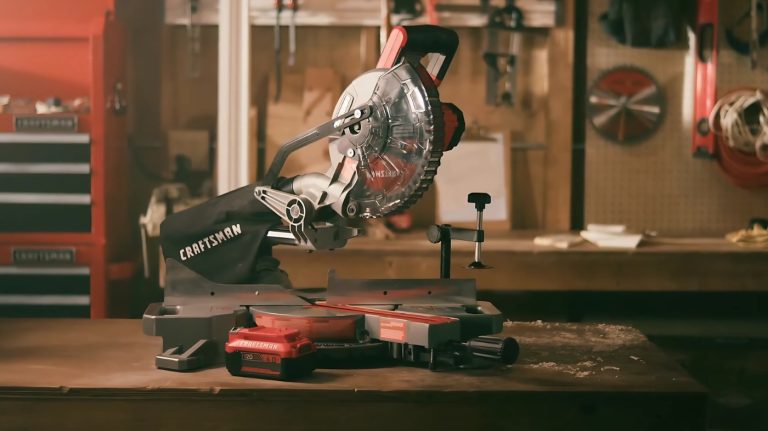
Step 3: Choose the Right Miter Saw and Blade
Finding the perfect miter saw and blade combo is crucial for tackling your vinyl flooring project like a pro. Selecting a miter saw with the right-sized blade when cutting vinyl flooring is important.
Look for a blade with a higher tooth count per inch, resulting in cleaner cuts. For vinyl flooring, a blade with 100 or more teeth is ideal. This will ensure smooth and precise cuts, giving your flooring a professional finish.
Remember, the key is to choose a miter saw and blade that can handle the specific demands of vinyl flooring. So, take your time selecting the proper combination to achieve the best results for your project.
Step 4: Cut the Vinyl Flooring
When cutting vinyl flooring with a miter saw, there are several cutting methods to consider.
1. Cutting to Length:
To cut vinyl flooring to length, you can use a miter saw. For example, if you need to install vinyl plank in a room that measures 10 feet long, you would measure and mark the plank at 10 feet plus the recommended ¼ inch expansion gap. Then, use the saw to cut.
To ensure a precise cut, follow these steps:
- Measure the length of the area and mark the plank accordingly.
- Place the plank in the desired orientation and mark the cut.
- Use the miter saw to cut, but avoid any underlying layers.
- Detach any attached layers with a knife or blade if necessary.
2. Cutting to Width:
For a clean and precise cut when cutting vinyl plank to width, follow these steps:
- Use a backer with a 1-inch rigid foam or similar material to protect the surface underneath.
- Securely clamp the board down to prevent any movement during the cutting process.
- Adjust the miter saw blade to cut just below the diameter of the vinyl plank, minimizing exposure.
3. Corner Notches:
Create cunning corner cuts by carefully curving the contours of the planks to conquer any wall bumps cleverly. When dealing with small bumps on the wall, measure the length of the plank first, going all the way to the wall.
To avoid cutting it too short, go slightly away from the bump and make a mark about ¼ inch from the wall. Mark the width of the notch, aligning it directly with the end where you will install it.
Draw straight lines connecting the marks and use the miter saw to make the cuts along these lines. Check if the notch fits correctly with the wall bump.
4. Side Notches:
Start by aligning the vinyl plank where it will be installed and marking the width of the notch from the edge where it will connect, then measure the depth from the top edge and lay out the lines where the cut will go. Cut an opening in the middle of the vinyl plank to create side notches, moving inward from the edge.
5. Cutting Curves:
Curved cuts may be necessary for obstacles like columns or toilet flanges. Start using a contour gauge to measure the precise curve and transfer it onto the vinyl plank. Once marked, use a miter saw to cut along the curve. This method ensures a precise and professional-looking cut every time.
Step 5: Check Your Cut
After cutting, inspect the edge of the cut with the precision of an eagle eye, ensuring it meets your requirements like a perfectly tailored suit. Also, carefully examine the edge to determine if it meets your desired specifications.
Take a moment to assess the quality of the cut. If it is unsatisfactory, take precise measurements again and mark the vinyl flooring accordingly. Make any necessary adjustments to ensure a clean and accurate cut. Also, pay close attention to any curves or intricate details requiring extra attention.
Safety Precautions to Take While Cutting Vinyl Flooring With a Miter Saw
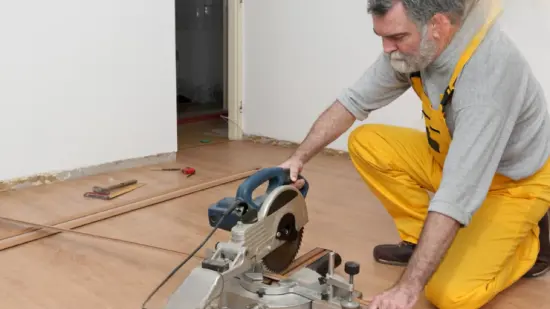
Please ensure your safety by taking necessary precautions when using a miter saw to slice vinyl flooring. Cutting vinyl flooring with a miter saw can be convenient and efficient, but prioritizing safety is important.
- First, wear appropriate protective gear, such as safety goggles and ear protection, to prevent potential injuries.
- Also, ensure the miter saw is set up on a stable and level surface to avoid accidents or mishaps.
- It is also crucial to always keep your hands and fingers away from the blade, using a push stick or a similar tool to guide the vinyl flooring through the saw.
- Finally, be mindful of the saw’s power cord to prevent any tripping hazards.
What miter saw blade teeth to cut vinyl flooring?
When selecting a blade for your miter saw, opt for one with a high TPI (Teeth Per Inch) count to achieve clean cuts on your vinyl floors effortlessly. Use a blade with a tooth count of 100 or more to ensure the safety of your flooring.
A blade with a higher TPI count will have more teeth per inch, allowing for smoother and more precise cuts. This is especially important when working with vinyl flooring, as it can easily chip or crack if not cut properly. Also, swap out the blade once it becomes dull to maintain its effectiveness.
What is the best miter saw blade material for cutting vinyl flooring?

Cutting vinyl flooring can be daunting, especially if you’re unsure which blade to use. While several options are available, concave blades have become increasingly popular in the flooring industry.
When cutting vinyl or luxury vinyl flooring, these blades feature a fine edge for greater accuracy. This means you can achieve a perfect finish every time without worrying about any errors or mistakes.
Cutting Vinyl Flooring with a Miter Saw: Must follow the Safety Precautions
Cutting vinyl flooring with a miter saw is possible and can be done with the right approach. You can achieve precise and clean cuts by following the correct technique and using a suitable miter saw blade.
However, prioritize safety and take necessary precautions to avoid any accidents or damage. So, if you’re wondering if you can cut vinyl flooring with a miter saw, the answer is yes, but make sure to proceed with caution and always prioritize safety.