Can You Cut Tile With Miter Saw: 4 Steps to Success
Are you embarking on a home improvement project that involves tiling? Cutting tiles with precision and finesse can make all the difference in achieving a professional and polished look. But can you cut the tile with a miter saw?
Cutting tile with a miter saw can be extremely useful for DIY projects or professional work. It’s like adding a sharp tool to your toolbox, giving you the precision and efficiency you need to easily tackle those tile-cutting tasks.
As you read this article, our aim is to discuss the process of cutting tile with a miter saw, providing you with step-by-step instructions and expert tips. We’ll also address common questions such as how to smooth the tile after miter cutting and whether you can miter cut porcelain tile.
How Can You Cut Flooring Tile with a Miter Saw?
To cut flooring tile with a miter saw, you will need some knowledge about tile and miter saw. If you already have, then follow these steps:
- Step 01: Gather the necessary tools and safety gear
- Step 02: Proper blade attachment
- Step 03: Water lubrication
- Step 04: Making cuts
Step 01: Gather the Necessary Tools and Safety Gear
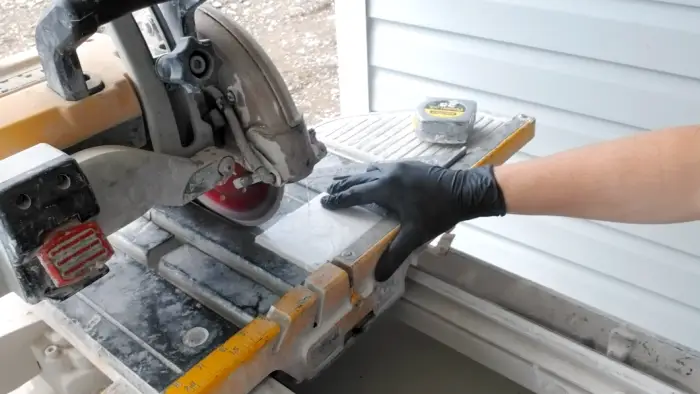
First, ensure you’ve got all the tools and safety gear you need to tackle cutting ceramic tiles using a miter saw. Safety should always be a top priority, so wear your safety glasses to protect your eyes from flying debris. Remember your ear plugs to shield your ears from the loud noise generated by the miter saw.
Step 02: Proper Blade Attachment
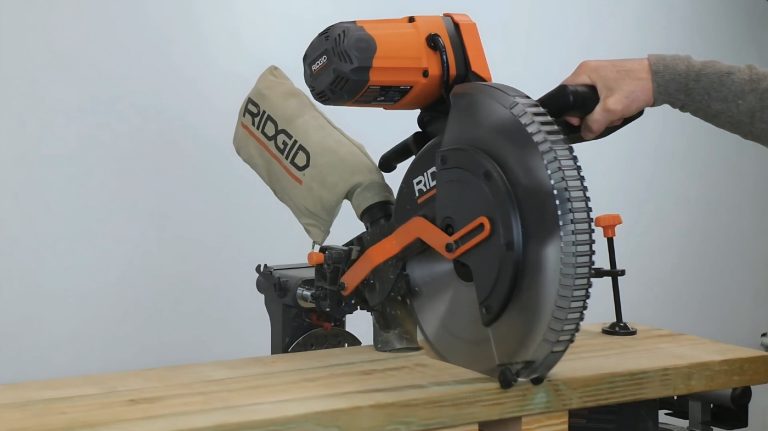
When cutting tile with a miter saw, using a diamond blade specifically designed for tile cutting is crucial. This type of blade has small, sharp, and durable diamond particles embedded in the edge, allowing it to smoothly cut through the hard surface of the tile without chipping or cracking.
Attach the blade by unplugging the miter saw and removing the current blade, if necessary. Next, carefully align the diamond blade with the arbor, ensuring it faces the correct direction. Use the provided wrench to tighten the blade securely onto the arbor, ensuring it is snug and won’t wobble during operation.
Remember, a properly attached blade is essential for achieving clean and precise cuts when working with tile.
Step 03: Water Lubrication
Using a wet or dry vacuum or hooking up a garden hose to the miter saw’s dust port can make your cuts smoother and reduce wear on the blade.
This method of water lubrication is highly effective when cutting tiles with a miter saw. The water acts as a lubricant, allowing the blade to glide through the tile with ease, resulting in cleaner and more precise cuts.
Additionally, the water helps to keep the blade cool, preventing it from overheating and extending its lifespan. By attaching a household vacuum or a garden hose to the saw’s dust port, you can easily control the water flow and ensure that the blade remains properly lubricated throughout the cutting process.
Professionals widely use this technique and can greatly improve the cutting performance of your miter saw when working with tiles.
Step 04: Making Cuts:
After the blade is in place, and water lubrication has been set up, you are ready to make the tile cuts.
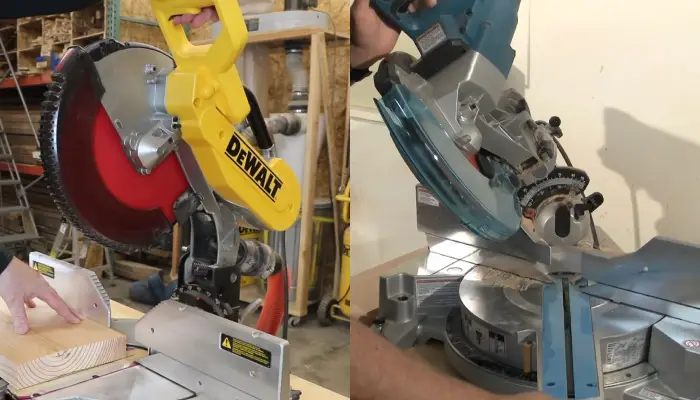
For Making Straight Cuts
Start with straight cuts:
- Take a pencil and a tape measure to mark the front of the tile where you need to make the cut.
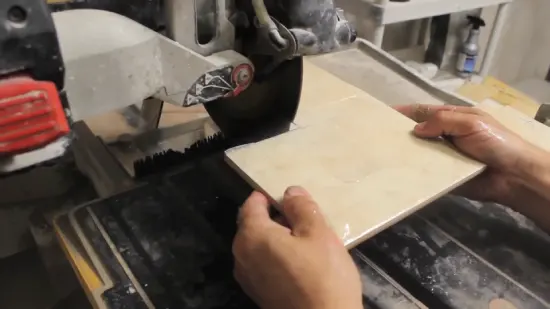
- Firmly place the tile directly onto the tray of the miter saw, ensuring it stays in place.
- Now, it’s time to cut. Gently squeeze the trigger of the miter saw and carefully run the blade through the tile, ensuring a smooth and accurate cut.
For Making Angle Cuts
- To achieve precise angle cuts, follow these steps:
- Adjust the miter saw’s blade slant by loosening the adjustment bolts or lever of the miter feature.
- Use the markings on the tile to ensure accurate alignment.
- Hold the tile squarely under the blade when making angle cuts.
- The markings on the tile will serve as your guide to adjust the appropriate angle blade percentage correctly.
For Making Square Cuts
To make clean and precise square cuts, follow these steps:
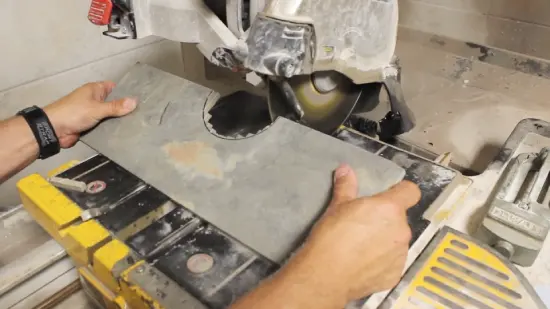
- Mark the back of the tile and place it face down on the miter saw tray.
- Ensure the tile is securely in place and pull the blade down on top of the cut line.
- Rotate the tile if needed to ensure all sides of the square are cut.
- Tap the cut-out area lightly with your knuckles until it falls off.
How Do You Smooth Tile After Miter Cutting?
When smoothing tile after miter cutting, there are a few things you should consider.
- a. Use a tile file or sandpaper
- b. Work gently
- c. Check the progress
- d. Clean the tile
- e. Grout and finish
a. Inspect the Cut Edges
Check the cut edges with your miter saw to ensure they are smooth and even, giving you a sense of satisfaction and pride. Start by visually examining the edges for roughness, chipping, or unevenness.
Run your fingers along the edges to feel for any imperfections. If you notice any rough spots or unevenness, use a sanding block or sandpaper to gently smooth them out. Pay attention to any corners or angles that may require extra attention.
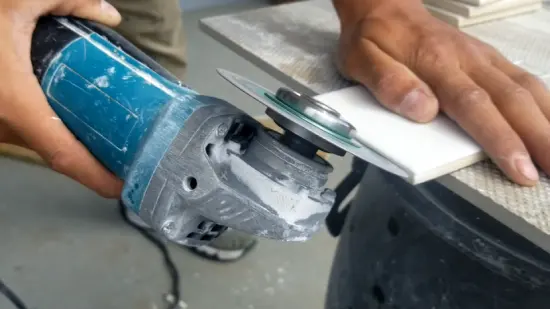
b. Use a Tile File or Sandpaper
Smooth out the edges with a tile file or sandpaper to achieve a polished and professional look for your project. Both options can effectively smooth tile edges, but a tile file is specifically designed for this task and is the preferred tool.
If you don’t have a tile file, fine-grit sandpaper with a grit size between 120 and 200 can be used as a suitable alternative. When using a tile file or sandpaper, hold it at a slight angle to the edge of the tile and apply even pressure as you move it back and forth.
This will gradually smooth out any rough or jagged edges, resulting in a clean and finished appearance. Take your time and be patient, as it is important to achieve smooth and even edges for a professional finish.
c. Work Gently
Take care to handle the file or sandpaper gently to avoid causing any additional damage or roughness to the edges of your project.
When using sandpaper, apply only light pressure to prevent chipping. Keep the file or sandpaper at a slight angle and use smooth, even strokes along the edge of the miter cut.
Working in one direction, preferably back and forth, will help you avoid creating any chips or rough spots. Remember, excessive pressure can lead to more chipping, so be gentle.
d. Check the Progress
Now that you’ve been working gently on cutting the tile with a miter saw, it’s time to check the progress. This step is crucial in ensuring that you achieve the desired smoothness of the edges.
Take a moment to inspect the smoothed edge carefully. Look for any imperfections or rough areas that may need further attention. Remember, achieving the perfect smoothness may require some patience and time.
e. Clean the Tile
After ensuring the edges are well-smoothed, be sure to give the tile surface a thorough wipe-down to remove any remaining debris or dust. This step is crucial for achieving a clean and professional-looking finish.
To begin, take a damp cloth or sponge and gently wipe down the entire surface of the tiles. Be sure to pay extra attention to the edges and corners where dust and debris tend to accumulate. Use firm but gentle pressure to effectively remove any particles that may have been left behind during the smoothing process.
Take your time and be thorough in this step to ensure a pristine result. Once you have finished wiping down the tiles, allow them to air dry completely before proceeding with any further installation or finishing tasks.
f. Grout and Finish
To achieve a professional and polished look, applying grout and completing the finishing touches on the tiled surface is essential.
- Start by mixing the grout according to the manufacturer’s instructions, ensuring a smooth and consistent consistency.
- Using a grout float, apply the grout diagonally across the tiles, making sure to fill in all the gaps completely.
- Once the grout is applied, use a damp sponge to gently wipe away any excess grout from the surface of the tiles, being careful not to remove too much grout from the joints.
- Allow the grout to dry for the recommended amount of time before applying a grout sealer to protect the grout from stains and moisture.
- Finally, buff the tiles with a clean, dry cloth to achieve a glossy finish.
With these steps, your tiling project will be complete and ready to showcase its professional appearance.
Can you miter cut porcelain tile?
Using a wet saw equipped with a diamond blade, you can easily miter cut porcelain tile to achieve precise angles and a seamless finish.
- Start by measuring the tile and marking the desired cutting line.
- Set up the wet saw according to the manufacturer’s instructions, ensuring the reservoir is filled with water.
- Prioritize safety by wearing goggles, gloves, and a dust mask.
- Place the tile on the cutting surface, aligning the marked line with the saw’s blade.
- Slowly push the tile through the blade, maintaining a steady and even pressure.
- Once the cut is complete, check the miter angle to ensure it matches your specifications.
With the right tools, technique, and attention to detail, miter cutting porcelain tile is an achievable task that yields professional results.
Is it better to cut tile wet or dry with a miter saw?
One definite advantage of using a wet miter saw is that it provides a safer and cleaner cutting experience, reducing respiratory risks and health hazards.
When cutting tile with a wet miter saw, the water acts as a barrier, minimizing the dust that spreads into the air. This is particularly beneficial for individuals who have respiratory sensitivities or allergies.
Additionally, the water helps to cool down both the machine and the tile, preventing overheating and potential damage. The use of a wet miter saw also results in a cleaner work area, as the water traps the dust and prevents it from settling on surfaces.
On the other hand, some individuals prefer to use a dry miter saw as it can make more precise cuts and provide better accuracy. This is especially important when making bevel cuts or when trying to match the edges of two pieces of tile together.
Get Perfect Tile Cuts Every Time with a Miter Saw
You can cut tile with a miter saw which is a precise and efficient method for achieving clean, accurate cuts. However, there are a few things to keep in mind.
Make sure you have the appropriate blade for cutting tile. Always take necessary safety precautions when operating the miter saw. After cutting the tile, you can smooth the edges using a tile file or sandpaper.
Whether you choose to cut the tile wet or dry with a miter saw depends on the type of tile and your personal preference.