Can You Cut Plexiglass With a Table Saw: 4 Steps to Follow
Plexiglass is an excellent material for a variety of DIY projects. It is often necessary to cut the plexiglass appropriately to achieve the desired shape or design. As it requires proper handling prior to cutting, many DIY enthusiasts wonder if a table saw is suitable for this task.
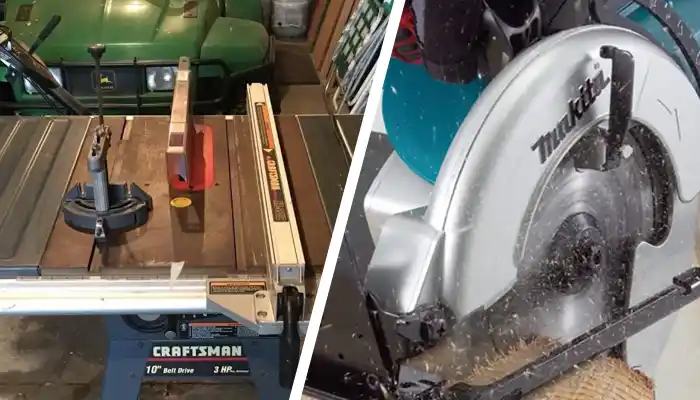
Based on my findings, cutting plexiglass with a table saw is possible, but it requires careful planning and adherence to safety measures. You have to use a table saw with a sharp, high-quality carbide finish-grade blade suitable for cutting plexiglass.
I will share insights on how to cut plexiglass with a table saw safely and efficiently. So you can easily complete your DIY projects without any hassle.
How to Cut Plexiglass With a Table Saw: Step-By-Step Guide
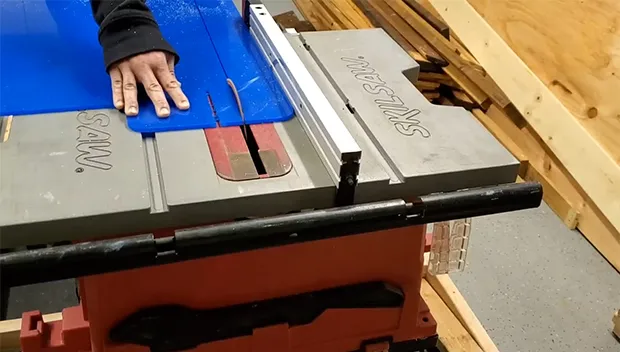
To cut plexiglass with a table saw, you’ll need to follow a few steps, like:
- Step 1: Gather all the supplies together
- Step 2: Setting up the table saw
- Step 3: Measure and mark the plexiglass
- Step 4: Start cutting the plexiglass
Step 1: Gather All the Supplies Together
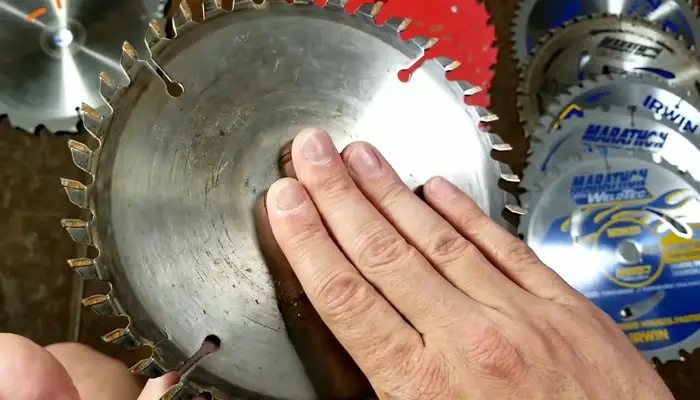
To begin with, gather all the necessary equipment for cutting plexiglass with a table saw. According to my research, using a blade specifically designed for plastics is advisable to achieve clean and precise cuts. Ensure you have a table saw equipped with a high-quality carbide blade suitable for cutting plexiglass.
You’ll also need measuring tools, such as a tape measure, to determine the dimensions of the plexiglass accurately. Additionally, have a permanent marker on hand for clearly marking the plexiglass before cutting.
Safety should be a priority, so make sure to wear essential safety goggles to protect your eyes from debris and potential chipping. However, remember that you should not wear gloves while using a table saw. Gloves can pose a safety risk by potentially getting caught in the saw blade, leading to severe injuries.
Step 2: Setting up the Table Saw
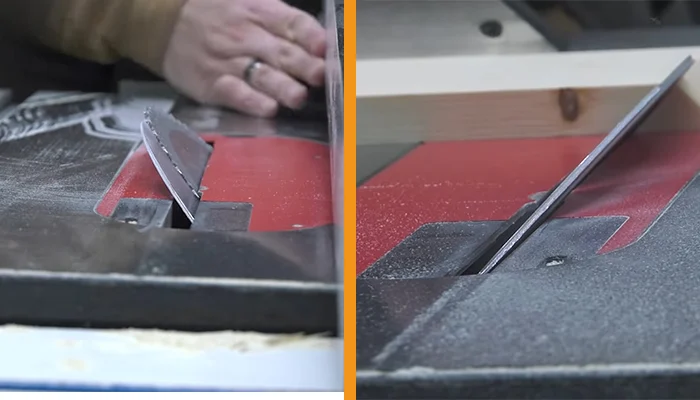
Depending on the thickness of the plexiglass, adjust the blade height before starting the cutting process. Most table saws have a height adjustment knob or lever that allows for precise adjustments. Locate the knob or lever and rotate it to raise or lower the blade accordingly. Ensure that your table saw is tall enough to accommodate the plexiglass.
It’s important to match the blade height to the thickness of the plexiglass to ensure clean and accurate cuts. Taking the time to make this adjustment will prevent the plexiglass from chipping or cracking during the cutting process.
Step 3: Measure and Mark the Plexiglass
To avoid mistakes, you must mark the plexiglass to know exactly where to cut. Measure the length and width of the piece you want to cut and mark these dimensions on the plexiglass using a pencil or marker. Make sure the lines are straight and clearly visible.
Take into account the position of the table saw fence and leave an allowance if you’re uncertain about the measurements. It’s important to be precise and accurate in your markings to ensure that the final cut meets your specifications.
Double-check your measurements before proceeding to the next step to avoid any errors or mistakes during the cutting process.
Step 4: Start Cutting the Plexiglass
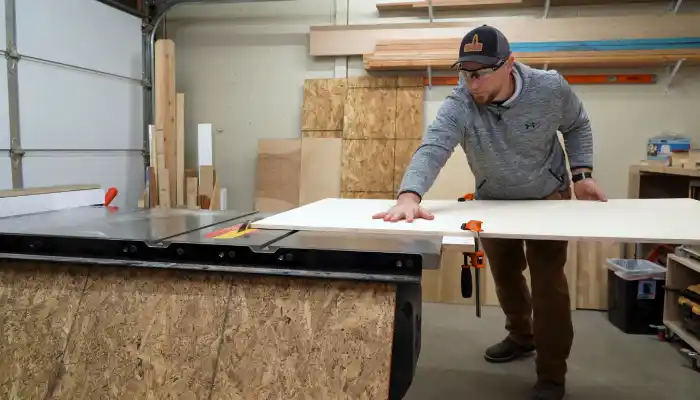
Now that you have measured and marked the plexiglass, it’s time to cut it using a table saw.
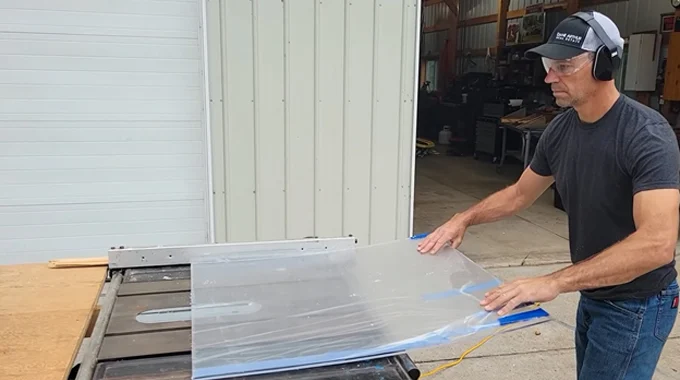
Before you begin, make sure you’re wearing safety goggles to protect your eyes. Position the plexiglass film side down on the table saw for a smoother cut.
To guide the cut, use a push block to move the plexiglass through the saw steadily. Be sure to maintain a slow and steady pace to prevent chipping or melting. It’s important to periodically pause during cutting to prevent the saw from overheating.
Do you need to sand and polish after cutting plexiglass with a table saw?
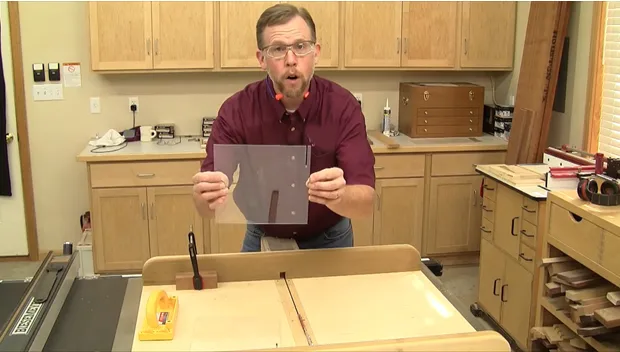
Based on my findings, it’s recommended to sand and polish the edges of the plexiglass with a table saw after cutting to achieve a smooth and refined finish.
To achieve this, use waterproof sandpaper with grit ranging from 120 to 600. Start with a coarser grit and gradually move to finer grits for a more polished result. Sand the edges in a back-and-forth motion, applying light pressure.
Once the edges are smooth, you can enhance the finish using an electric drill with a buffing pad. This step is optional, but it will contribute to a more professional and aesthetically pleasing result, especially if the cut edges are visible in the final project.
Can you use a table saw to cut all thicknesses of plexiglass?
You can use a table saw to cut various thicknesses of plexiglass, but it’s essential to adjust your approach based on the thickness of the material. But you have to be mindful that when cutting sheets thinner than 1/4 inch, while a table saw can be used, many individuals recommend using a utility knife instead.
Ensure that you adjust the blade height according to the thickness of the plexiglass and follow proper cutting techniques to achieve clean and precise results. Always consider the specific requirements of the material and the capabilities of your table saw to ensure a successful cutting process.
Can you curve-cut plexiglass with a table saw?
Curving cutting plexiglass with a table saw is challenging due to its design, which is primarily suited for straight cuts. Achieving precise curves with a table saw can be difficult and might not be the most suitable tool for intricate or rounded shapes.
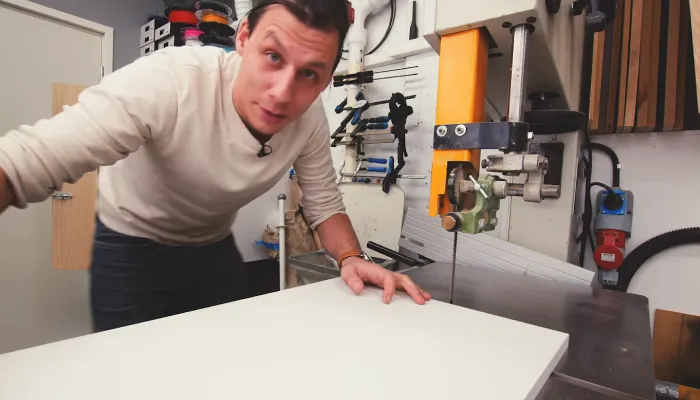
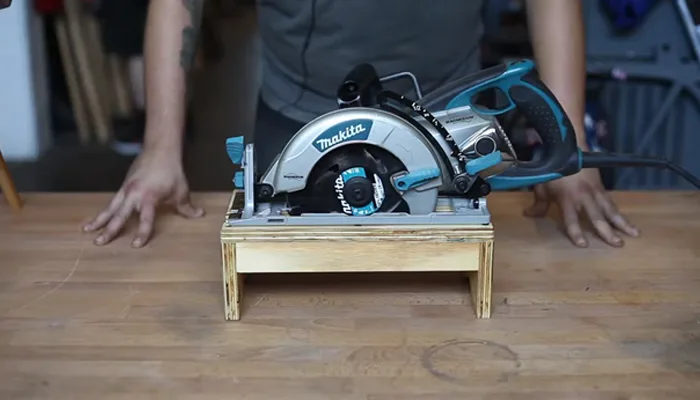
If you need to cut curved plexiglass, use a bandsaw or a jigsaw, which are better equipped for such tasks. These tools allow for more flexibility and control when navigating curves, ensuring you can achieve the desired shapes with greater accuracy.
What should you do if the plexiglass starts to melt during cutting with a table saw?
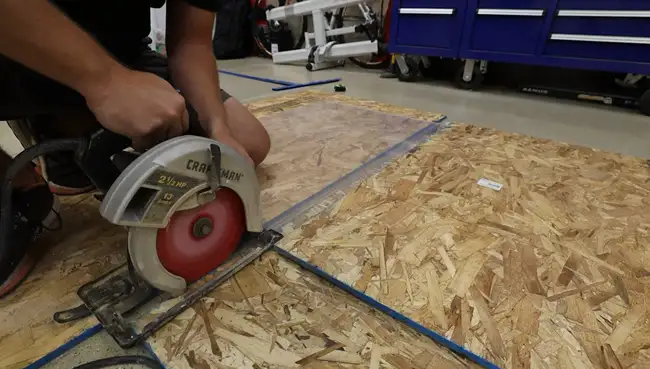
If you notice the plexiglass starting to melt while you’re cutting it with a table saw, you should immediately slow down the pace of the cut to reduce friction and heat. This can be achieved by adjusting the feed rate or reducing the saw speed.
Slowing down allows the material to cool and prevent further melting. Additionally, pausing periodically during the cut will help dissipate the heat and prevent overheating.
It’s also essential to check your cutting technique. Ensure that the blade is sharp and properly aligned to reduce friction and heat buildup.
Consider using a lubricant or coolant specifically designed for cutting plexiglass material to minimize heat generation further.
Accurately Cut Plexiglass With a Table Saw Through the Right Approach
Using a table saw for cutting plexiglass is possible and can be done effectively with the right precautions. Just use the right blade that I mentioned based on my research, ensure safety with goggles, and carefully follow each step in the process.
Adjust the table saw settings according to the thickness of the plexiglass, and be mindful of your cutting speed to avoid melting. Be careful not to wear gloves for safety.
After the cut, sanding and polishing contribute to a refined finish. Whether you’re a DIY enthusiast or working on a specific project, mastering these steps ensures a smooth and precise plexiglass cut for your endeavors.

