Can You Cut Metal With a Table Saw: 5 Steps to Follow
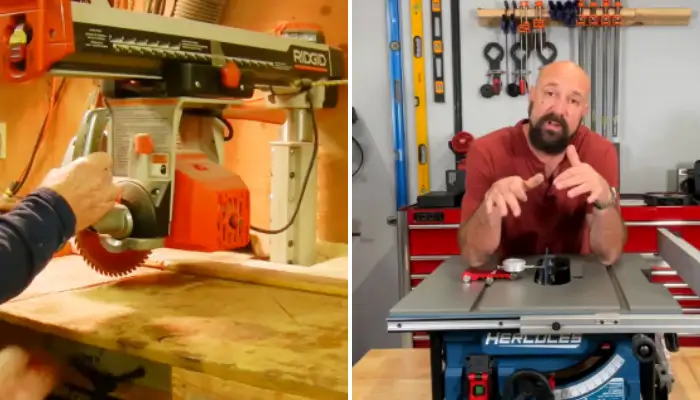
Table saw is generally well-known for its ability to cut through various types of wood, making it an essential tool for carpenters and woodworkers. As woodworking is also related to incorporating metal, you may wonder whether a table saw can be used to cut metals.
I researched this matter and found out that it is indeed possible to cut metals. But, based on my findings, I found that most woodworkers suggest cutting non-ferrous metals like aluminum, brass, and copper with a table saw equipped with a suitable blade.
Though cutting ferrous metal is also possible, professionals often advise against it due to the hardness of steel, potentially damaging the blade and posing safety risks.
I will discuss the best way to cut metals with a table saw to enhance your skills in woodworking.
How to Cut Metal With a Table Saw: Step-By-Step Instructions
Based on my findings, here are 5 steps you can follow to cut metal with a table saw:
- Step 1: Attach the right blade
- Step 2: Adjust the blade height
- Step 3: Set the fence
- Step 4: Turn on the table saw
- Step 5: Feed the metal through
Step 1: Attach the Right Blade
One of the significant aspects of preparing to cut metal with a table saw is to choose the appropriate blade. According to my findings, a carbide-tipped blade, specially designed for cutting metal, is the best choice.
Once you have the right blade, make sure the table saw is unplugged before attaching it. With a wrench, loosen the arbor nut and remove the existing blade.
Then, place the metal-cutting blade onto the arbor, ensuring that the teeth are facing forward. Afterward, tighten the arbor nut securely to avoid any wobbling of the blade, which can cause an inaccurate cut.
Step 2: Adjust the Blade Height
Once you have securely attached the appropriate metal-cutting blade, the next step is to adjust the blade height to match the thickness of the metal you’ll be cutting.
For accurate adjustments, consult the user manual of your table saw. Typically, there’s a handwheel or lever on the side of the saw that enables you to raise or lower the blade.
To ensure optimal cutting performance, set the blade height so that only a small portion of the teeth protrude above the surface of the metal. This will minimize the risk of the blade binding or causing unnecessary friction.
Step 3: Set the Fence
Now, position the fence on your table saw to establish a straight and precise cutting guide for the metal. Begin by loosening the locking mechanism on the table saw’s fence. Then, slide the fence to the desired distance from the blade, aligning it parallel to the blade.
Take care to choose the correct distance, as it will determine the width of your metal cut. Once you have positioned the fence, tighten it securely in place. Double-check the alignment to ensure that it remains parallel to the blade.
Step 4: Turn on the Table Saw
To power up the table saw and initiate the cutting process, ensure all safety features, including the blade guard and anti-kickback pawls, are in place.
Once everything is set up, plug in and turn on the table saw. Allow the blade to reach full speed before starting the cut.
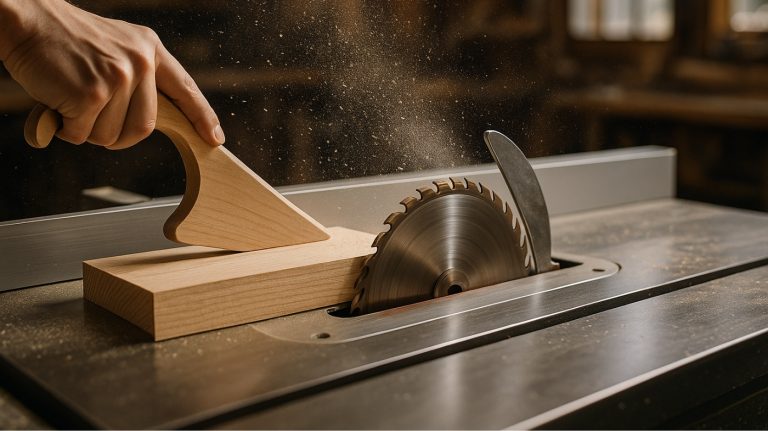
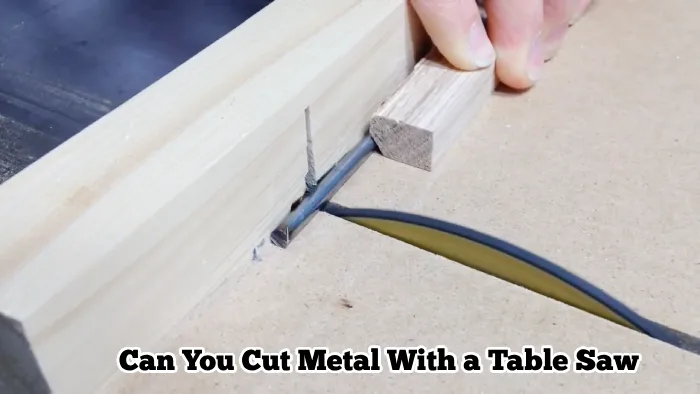
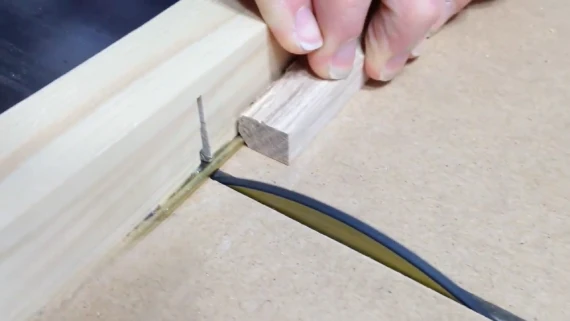
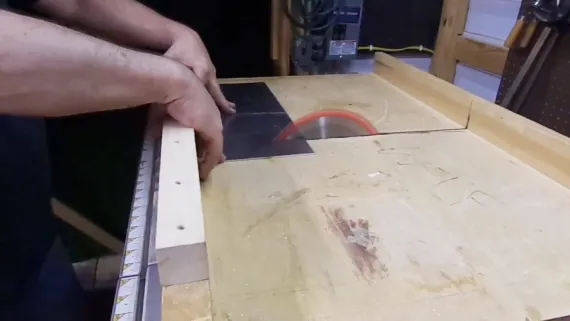
Step 5: Feed the Metal Through
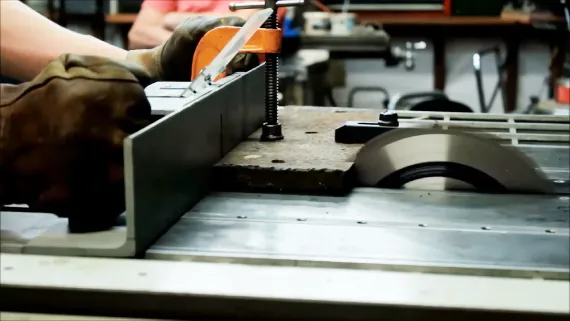
Now that everything is set up, it’s time to cut the metal. Carefully guide the metal through the running blade of the table saw, using a slow and steady motion.
As the blade cuts through the metal, maintain a firm grip on the material to ensure control and prevent any potential accidents.
To further enhance safety, use a push stick or push block to keep your hands at a safe distance from the blade. Don’t force the metal through the saw, let the blade do the work.
By maintaining a constant speed and pressure, you can achieve a smooth and accurate cut. When using a table saw, be careful and follow safety guidelines.
Can you cut irregular shapes in metal using a table saw?
While the table saw excels at making precise straight cuts, it may not be ideal for intricate or curved shapes. The rigid nature of the table saw blade and the limited maneuverability of the workpiece make it difficult to achieve non-linear cuts with accuracy.
To cut irregular shapes in metal, it’s recommended to use specialized tools such as a bandsaw or jigsaw. These tools offer greater flexibility and control when navigating through irregular patterns, allowing for precise and accurate cuts.
Do you need to use cooling water when cutting metal with a table saw?
When cutting metal with a table saw, the use of cooling water may be necessary depending on the type of metal and the intensity of the cutting process. Cooling water can be beneficial in certain situations, such as when working with ferrous metals or engaging in prolonged cutting sessions.
By dissipating the heat generated during cutting, cooling water prevents the blade from overheating and enhances its overall performance.
However, the use of cooling water may not be mandatory when cutting aluminum, brass, or other non-ferrous metals since they produce less heat. You have to assess the specific circumstances and consult the manufacturer’s guidelines to determine whether cooling water is required for a particular metal and cutting process.
Cut Metal Confidently with a Table Saw Employing the Correct Technique
Cutting metal with a table saw is possible if you follow the proper steps that I have shared with you. By choosing the right blade, adjusting the blade height, setting the fence accurately, and employing safe-cutting practices, you can achieve precise and clean metal cuts while minimizing the risk of kickback.
Always prioritize safety by using appropriate personal protective equipment and adhering to recommended guidelines. While a table saw is proficient at straight cuts, for irregular shapes, it’s advisable to opt for specialized tools like bandsaws or jigsaws.
Whether you’re a seasoned woodworker or a DIY enthusiast, understanding the technique of cutting metal with a table saw can elevate your skills to the next level.